Using Web Sharing
|
| < Day Day Up > |
|
You can make any folder on a Windows Small Business Server computer directly accessible from your Web site by using the Web Sharing feature. This feature provides a handy way to quickly make a virtual directory for a folder that stores a Web site or to simulate an FTP site. To do either, complete the following steps:
-
In Microsoft Windows Explorer, right-click the folder you want to share on your Web site and choose Properties from the shortcut menu.
-
Click the Web Sharing tab (Figure 18-2), and then select the Web site on which you want to share the folder (most likely Default Web Site).
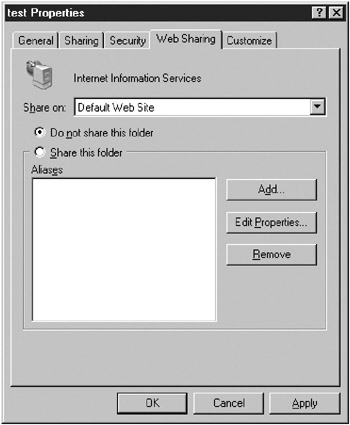
Figure 18-2: The Web Sharing tab. -
Choose Share This Folder. This opens the Edit Alias dialog box, shown in Figure 18-3.
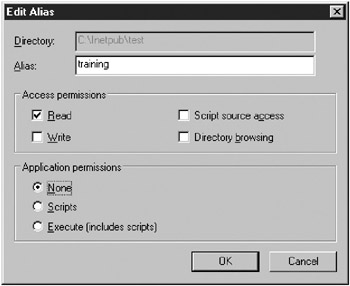
Figure 18-3: The Edit Alias dialog box. -
Type the virtual directory name you want to use in the Alias box.
-
Specify the Access Permissions and Application Permissions for the folder.
-
To use the folder as a standard Web site with the home page (Default.htm or Index.htm) linking to all relevant files, select the Read check box for the Access Permissions and the None option for the Application Permissions.
-
To use server-side scripting or dynamic Web pages in the virtual directory, select both the Read check box and Scripts option.
-
To allow users to browse the folder as if it were an FTP site, select the Directory Browsing check box.
Security Alert Directory Browsing is usually disabled on Web sites to improve security—visitors can view only those linked pages or files for which they know the exact URL. Although this is of less concern on an internal Web site, it’s still wise to leave this feature disabled when unneeded.
-
-
Click OK when you’re finished.
-
Click Add to create any additional aliases, and click OK when you’re finished.
|
| < Day Day Up > |
|
EAN: 2147483647
Pages: 224