Adding Comments, Keywords, and Ratings to Images
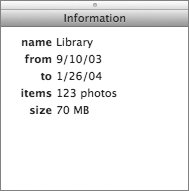
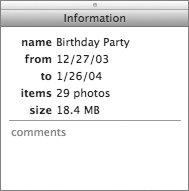
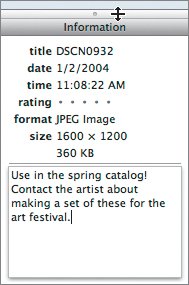
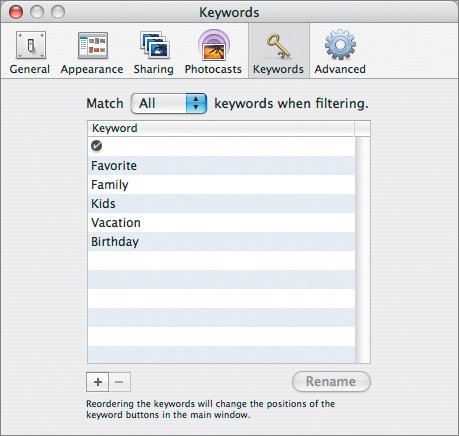
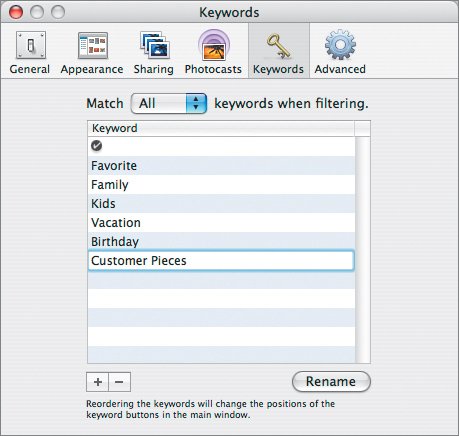
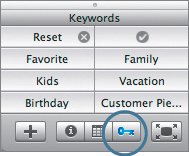
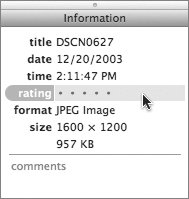
| Including information such as comments and keywords with your photographs is not only useful in keeping organized, but a great memory jogger when years have passed and you're not quite sure where you took a picture or who the guy standing to your left was. iPhoto provides a number of methods to help you catalog pictures. Adding a comment to a photo is the most basic approach and can be the most detailed. It's also perhaps the least useful, because iPhoto can show you this informationbut can't do much with it. Selecting one or a few keywords to attach to an image is exceptionally powerful, even though it provides less information than a comment. Selecting a rating is also easy, and you can use it in interesting ways, especially when combined with keywords. Going through your rolls of film and adding information for each picture may be beyond your commitment to your photo collection. Regardless of whether you add comments, keywords, or ratings to one photo or all of your photos, iPhoto does its best to simplify the work involved, and it offers powerful organizational features if you're willing to do the work. Adding CommentsYou can add comments to individual images, whole albums, or entire rolls by entering notes in the Information windows of these items. The Information WindowYou used the Information window in the lower-left corner of the iPhoto display back when you changed the name of one of your rolls in Lesson 2. Now let's explore the tool in more detail. The Information box gives you a running commentary about items that you select. If you click a roll, the Information box will report not only the title and date, but also how many photos are in the roll and the total size (in megabytes) of the set. Click an individual image and you'll see additional information about its format (for instance, JPEG or TIFF), dimensions (in pixels), and rating (which you'll explore in a moment). Whether you select one image or a roll, in the library or in an album, it's easy to add or update the information. Tip If you don't see this box, click the Info button at the bottom of the iPhoto window. Notice how the data changes depending on what you select. Compare the data in the Information windows for different items by first selecting the library, then an album, and finally a photo. Library info Album info Image info The Comments FieldWhen you select any iteman image, an album, or a rolla comments field becomes available at the bottom of the Information window. You can add a comment by clicking that field to make it active and then entering new information. 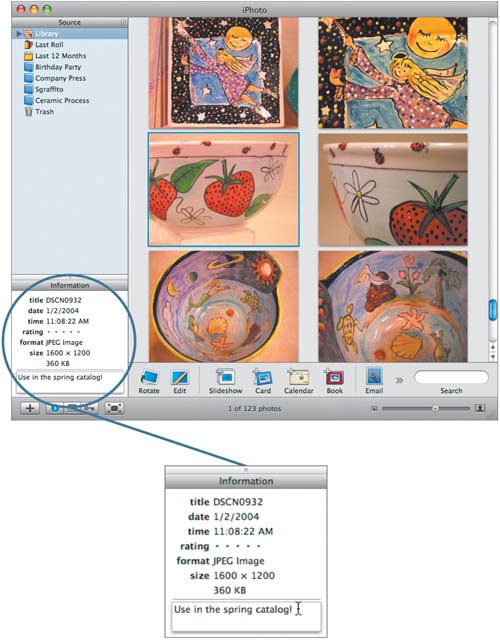 Adding notes to the comments field is a good way to include a detailed description that might be useful down the road (like who is in a picture or where a shot was taken). If your comments are going to be elaborate, you can easily make the Information box taller, extending the visible comments field, by clicking the dot centered above the box and dragging up. Adding KeywordsFor general organization, iPhoto offers a keywords feature. A keyword is a preset word or phrase that you can assign to any image. Assigning keywords makes it easy to find specific kinds of photos in your collection. You can select a keyword from a preset list, which forces you to catalog shots and helps you avoid that age-old organizational problem of having different labelsas in Dog, Dogs, Pets, Our Dogfor the same type of photo. Each variation on a label would only make it more difficult to keep all the dog shots together. You can also create your own keywords if the ones provided with the program aren't enough. Helping one of our characters use keywords will make the process even clearer.
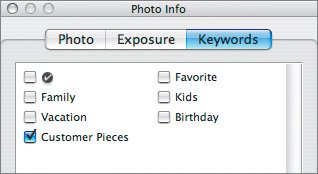
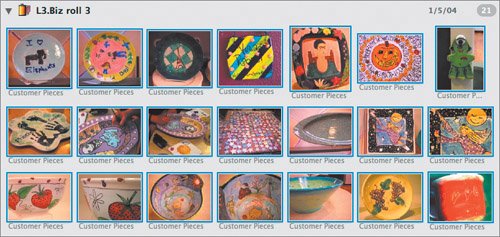
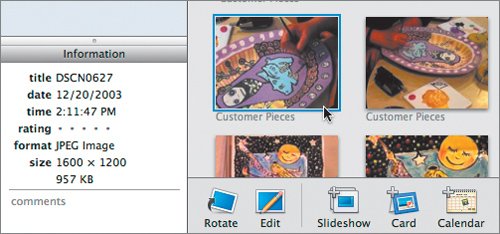
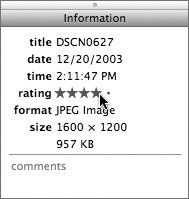
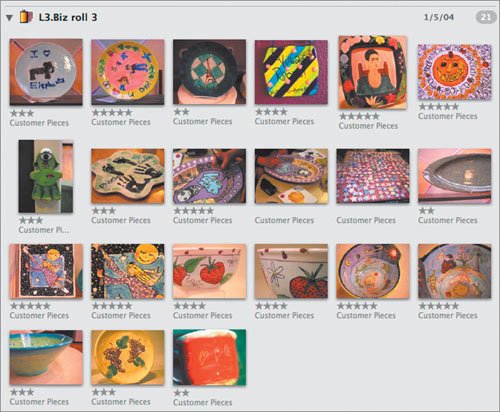
Adding RatingsIn addition to assigning keywords to your photos, you can categorize your shots even further by using ratings. iPhoto provides a scale of one to five stars (five stars being the best) that you can assign to any image. It can be too much work to rate everything, but sometimes rating selectively is useful. Take Jennifer's shots of customer pieces, for instance. By definition, everything labeled with the keyword Customer Pieces is a customer's finished piece. But Jennifer is more interested in the really good photos of customers' piecesand the keyword alone doesn't communicate this information. By going through the pieces and rating each one, she can store a little more valuable information with each photo.
Once you have rated a number of the pieces, you're ready to use one of the most powerful organizational tools in iPhoto: Smart Albums. Tip You can also rate images and make a few other useful adjustments while watching the images in a slideshow (discussed in Lesson 5). |


EAN: 2147483647
Pages: 142