Editing with the Program Monitor
| Overlay and Insert apply to source material; Lift and Extract apply to timeline material. Just as you can overlay and insert using buttons in the Source Monitor, you can also lift and extract in the Program Monitor using the Lift and Extract buttons or their keyboard shortcuts (; for Lift and ' for Extract). Give it a try.
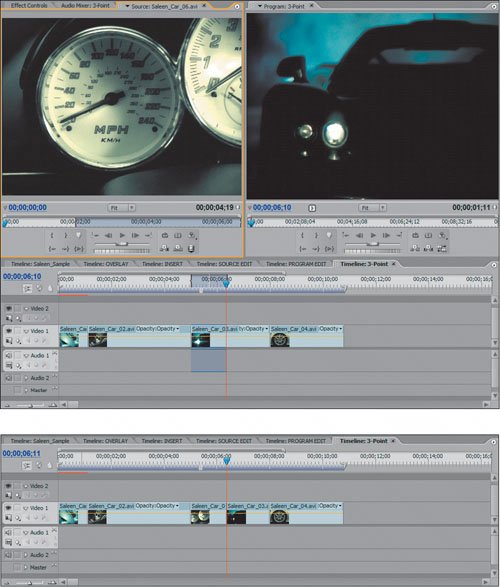
The primary benefit to using these Lift and Extract commands is that they remove the media from the timeline completely. Notice that when you lift or extract with the mouse, the selected material still has physical properties in the timeline and you have to decide where you want to put it. You can't just lift with the mouse and drag it out of the window to remove it; you have to find a new home for your dragged material. This is not the case with the Lift and Extract commands, which permanently remove the material from your timeline. Sounds mischievous, but it's really quite a practical alternative to the mouse moves. Three-and Four-Point EditingWhen the Program Monitor is used in conjunction with the Source Monitor, it can edit instances with exact precision thanks to three- and four-point editing. Say your source clip has an In point and an Out point defined; that's two points. If you define an In point in your timeline with your Program Monitor, that's considered a third editing point. A three-point edit is any edit that uses a combination of three edit points. Because the Insert and Overlay commands execute their edits to any assigned In point in the timeline, you can pick an exact instance in a source clip and place it starting at an exact point in the timeline. If your source material has an assigned In and Out point and the timeline also has a proper In and Out point, you have four points. By now, you should know your way around creating a sequence and editing material together. Try following along with clips of your own choice. This technique universally applies to a variation of three-point edits:
Congratulations, you have just performed a three-point edit (Figure 6.17). To try another variation, you need to isolate a portion of the timeline that you want filled with alternate material. Figure 6.17. With an In point assigned in the timeline and a source clip with both an In and Out point, clicking the Overlay button (or pressing the period key) executes a three-point Overlay edit starting at the marked timeline In point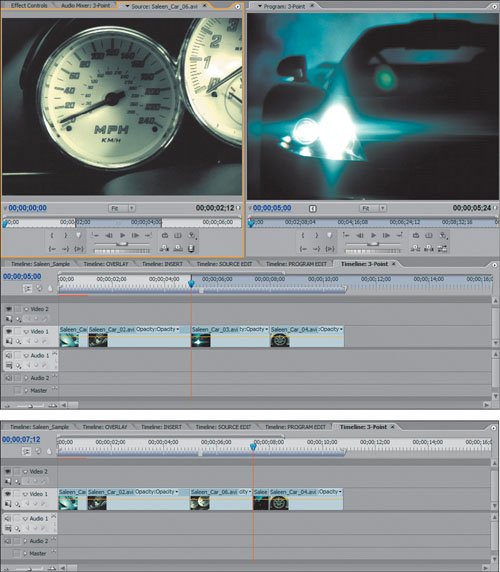
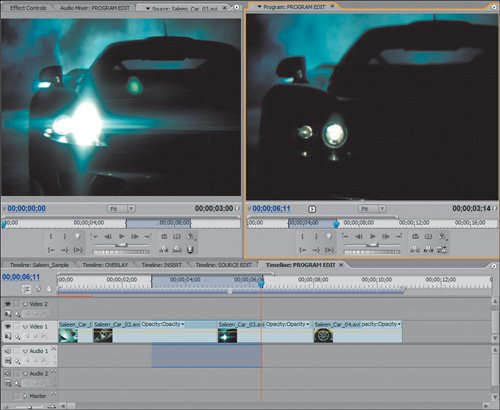
If you were to click the Insert button, Premiere would insert the clip within the boundary and shift all the material to the right. By clicking Overlay, you are physically replacing the exact media defined by your three-point edit. In a four-point edit, you define the boundaries of the timeline area you wish to edit (In/Out) and the exact source material (In/Out) that you wish to place between those boundaries. The primary difficulty with four-point edits is that the In/Out duration of the source clip must match the In/Out duration of the timeline boundaries; otherwise the Fit Clip dialog will appear warning you of the mismatch and asking you to speed or slow the source clip when adding it to the timeline. If the source clip's In/Out duration is longer than the space you wish to fit it in, you must increase the speed of the clip so that when it is added to the timeline the defined In/Out points will still be respected. Choose to slow the clip speed to make the clip longer if there is not enough source content to reach the Out boundary. Three-and four-point edits are excellent when you want to fill a specific gap or fit certain content in an exact location. As you'll learn, three-point editing is usually the most efficient way of working in Premiere Pro. Four-point edits are useful when you are making an edit with a voice-over track and you need to insert a shot for an exact amount of time. If the speed of the shot is not an issue, you can pick exactly what you want to see and for exactly how much time. |
EAN: 2147483647
Pages: 200