Setting Up for Lighting
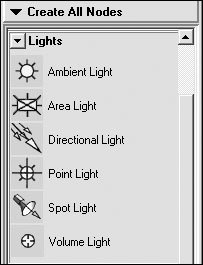
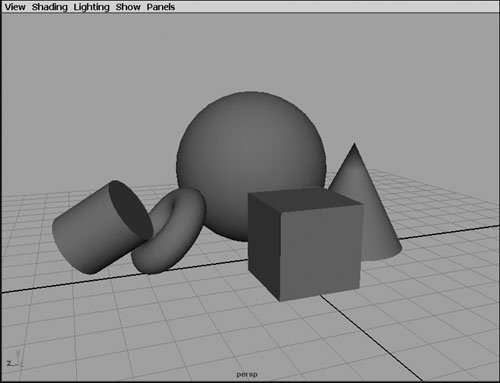
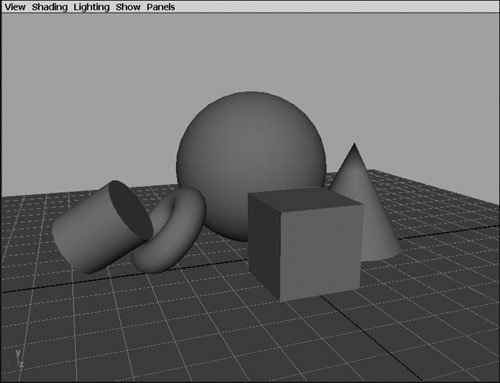
| Setting up lighting is an inexact science. It's not unusual to spend hours adjusting the light attributes and positions. In this section, we'll go over some ways to streamline your workflow, starting with commonly used windows. Four important windows are used to create an ideal lighting workflow: the Hypershade, the Render view, the Camera view, and the Attribute Editor. The Hypershade is used to create new lights (Figure 15.7) and adjust surfaces and advanced lighting options. The Render view lets you look at your Interactive Photorealistic Render (IPR) as you adjust your lights, or quickly do a non-IPR render. The Attribute Editor is useful for adjusting light properties quickly. It's also important to keep your Camera view open, because this is the view from which your scene needs to look good. If your scene contains multiple cameras, you may want to open multiple camera panels. You can tear off a camera panel by selecting Panels > Tear Off Copy (Figure 15.8). Figure 15.7. The Create bar with an expanded Lights section. Figure 15.8. If you have the screen space, you can tear off any view into a new window for a custom layout. You can arrange your windows in whatever way works for you. Tasks in this chapter assume you have all four windows open. A Hypershade/Render/Persp preset (Figure 15.9) is available from the marking menu in the north quadrant of the Hotbox (Figure 15.10). Then you can open the Attribute Editor in a separate window and be ready to light. Figure 15.9. The Hypershade on top, the Render view pane at lower left, and the Perspective view in the lower-right pane.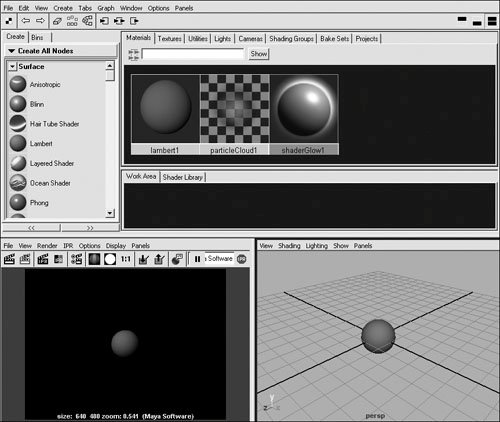 Figure 15.10. Streamline your setup with the Hypershade/Render/Persp option in the marking menu.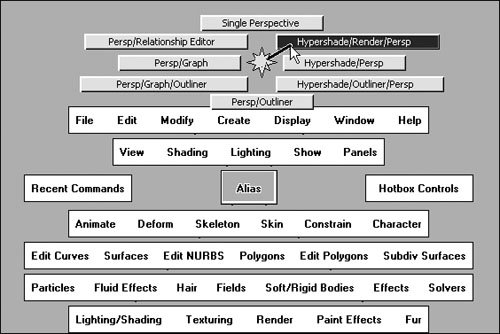 Before you begin, though, you need something to light. To create a practice scene:
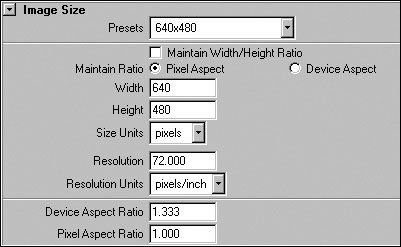
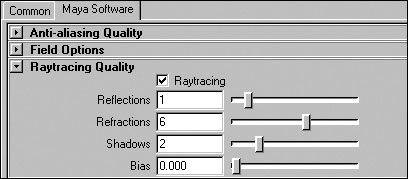
The render settings for your scene affect the resolution of your rendered image and previews, as well as whether raytraced shadows will render. (More about rendering can be found in Chapter 16, "Cameras and Rendering.") To adjust the render globals:
|

EAN: 2147483647
Pages: 185