| Sometimes you'll want to map one image across two or more surfaces. To do so, you can use a projection map. The default projection type is planar, which acts like a slide projector pointed at a surface. Other projection types include spherical and cylindrical, which project an image from a shape that surrounds the surface (Figure 14.67). Figure 14.67. A checkered texture is mapped to spheres using three different projection types: (left to right) cylindrical, planar, and spherical. 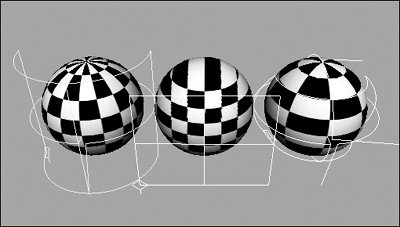
To map a texture as a projection: 1. | Open the Hypershade, create a lambert material, and assign it to a NURBS plane and a NURBS sphere (Figure 14.68).
Figure 14.68. A NURBS sphere and a plane. 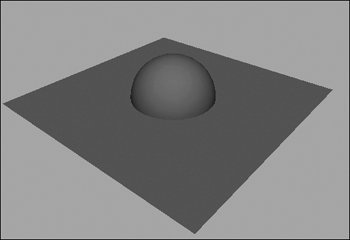
| 2. | Double-click the lambert in the Hypershade.
The Attribute Editor for the lambert opens.
| 3. | Click the Map button next to the Color slider  . .
The Create Render Node window appears.
| 4. | Click the As Projection radio button (Figure 14.69).
Figure 14.69. The As Projection radio button has been selected in the Create Render Node window. 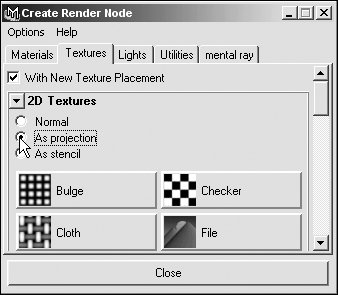
| 5. | Click the File button.
The Attribute Editor for the projection appears. A place3dTexture node appears in the Perspective view.
| 6. | Click the file1 tab at the top of the Attribute Editor.
The Attribute Editor changes to show the options for the file texture.
| 7. | Click the Folder icon next to Image Name.
The file browser appears.
| | | 8. | Browse for and open an image of your own.
| 9. | Click the Perspective view, and press  to switch to textured mode. to switch to textured mode.
The place3dTexture node is visible in the Perspective view. The image is visible on the surface, but it's stretched out because it's being projected on from the side (Figure 14.70).
Figure 14.70. The planar projection is projecting the image across the two surfaces from the side. This causes the image to be stretched along the plane. 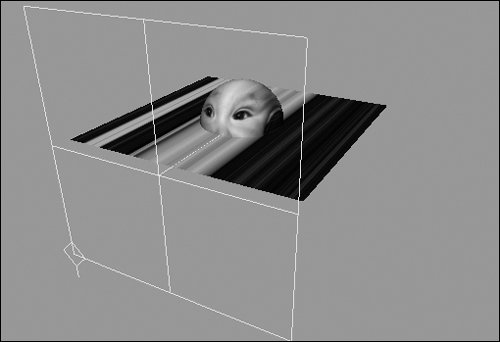
|
 Tip Tip
If you move a surface with a projection texture mapped to it, the surface will appear to be moving through its texture when it's rendered out. To solve this problem, select the surface and then, from the Texturing menu, select Create Texture Reference Object.
To adjust a projection: 1. | Projection-map a texture onto a plane as in the previous task, "To map a texture as a projection."
| 2. | Select the place3dTexture utility in the Perspective view (Figure 14.71).
Figure 14.71. The place3dTexture node has been selected in the Perspective view. You can move, rotate, and scale this node the same way you would any object. 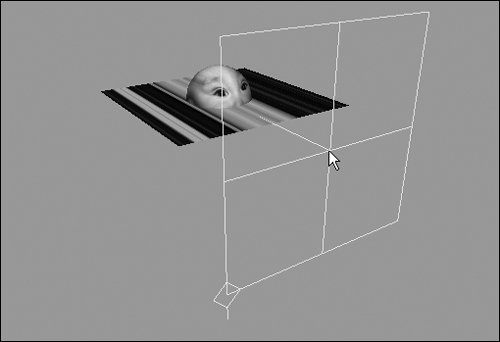
The line coming from the center indicates the projection directionin this case, on the side of the planeand you want it to project on the top.
| 3. | Rotate the manipulator so that it points at the surface from above.
The image stretches less as the angle of the projection becomes more perpendicular to the surfaces it's hitting. However, the image still doesn't quite fit the surface.
| | | 4. | With the place3dTexture still selected, press  to open the Attribute Editor. to open the Attribute Editor.
The Attribute Editor for the place3dTexture node opens.
| 5. | Click the Fit to Group Box button.
The place3dTexture is automatically resized to that of the plane, and the image now fits (Figure 14.72).
Figure 14.72. Now that the place3dTexture node is oriented to the surface, the image is projected across the two surfaces. 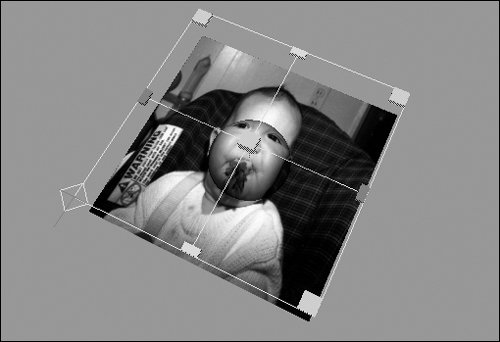
|
Tip If you move or rotate the place3dTexture, the image on the surface moves or rotates. If you scale it up, the image scales up. If you scale it down, the image scales down and is tiled (Figure 14.73). Figure 14.73. The place3dTexture node has been scaled down, rotated, and moved. 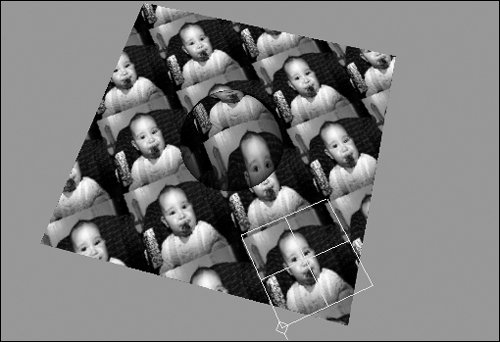 You can prevent the image from tiling by opening the Attribute Editor and deselecting the Wrap U and Wrap V check boxes in the place2dTexture node associated with your image. You may want to change the projection type to suit the shape of your object, To do this, choose an option from the Proj Type drop-down menu on the projection node (Figure 14.74). Figure 14.74. You can select a number of different projection methods to minimize the distortion caused by severe angles. 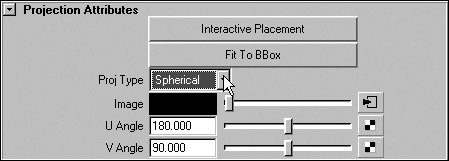
Textures, especially projected ones, often appear blurry in the view even though they render clearly. However, you often need the image to appear sharper in order to place the texture. To improve the quality of a texture image in a view: 1. | Following the steps in the previous tasks, projection-map a checkered texture onto a sphere (Figure 14.75).
Figure 14.75. A checkered texture is projected onto a sphere. It appears very blurry and doesn't accurately represent how it will look when it's rendered. 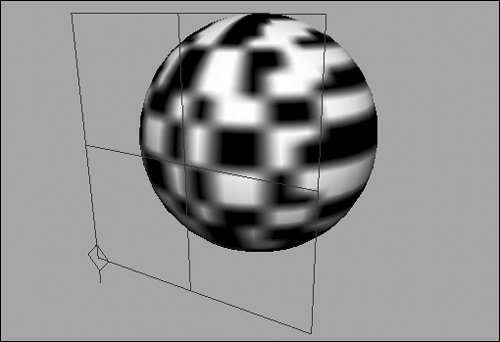
The texture on the surface appears very blurry.
| 2. | Select the sphere.
| 3. | Open the Hypershade, and click the Graph Materials on Selected Objects icon  . .
The material with all of its connections appears in the Work Area.
| 4. | Double-click the material in the Hypershade.
The Attribute Editor for the material appears.
| 5. | Under Hardware Texturing, click the arrow to expand the options (Figure 14.76).
Figure 14.76. Hardware Texturing options are visible in the Attribute Editor for a material. When you increase the Texture Resolution setting to High, the checkers become clear. 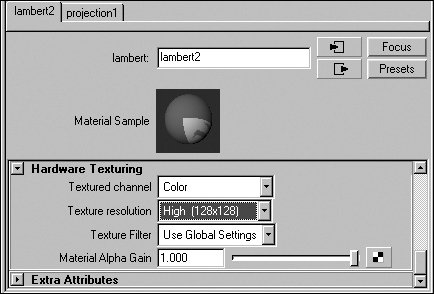
| 6. | Change the Texture Resolution setting to High.
The blurry checkers on the sphere become sharper (Figure 14.77).
Figure 14.77. The checker texture is much sharper now that the texture quality for Hardware Texturing has been increased. 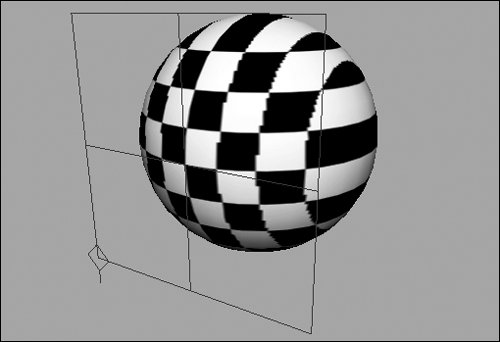
|
Tip
|