Setting Up for a Render
|
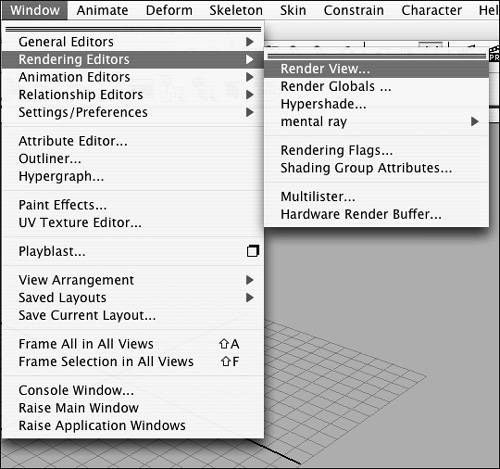
| Maya provides many ways to create the same result. In this section we'll go over some different setups for streamlining your workflow. Three essential windows are used to create a final render: the Hypershade, the Render View, and a camera view (Front, Top, Side, Perspective, or a camera you create). One way to streamline the render's setup is to use Hypershade/Render/Persp in the Marking menu in the north region of the Hotbox (Figure 14.9). This sets the Layout window to three panes. The top will become a Hypershade; the bottom-left pane will become a Render View; and the bottom-right pane will become a Perspective view (Figure 14.10). This is a good way to set up a scene for a render because you can tap the Figure 14.9. Streamline your setup with the Hypershade/Render/Persp in the Marking menu.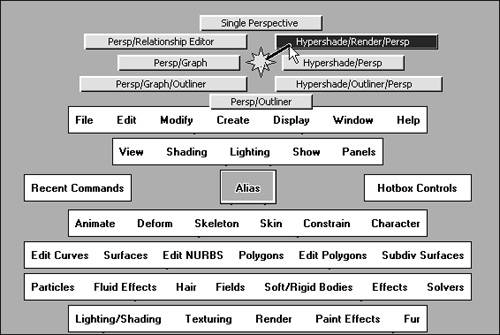 Figure 14.10. The Hypershade on top, the Render View pane on the bottom left, and the Perspective view on the bottom right pane.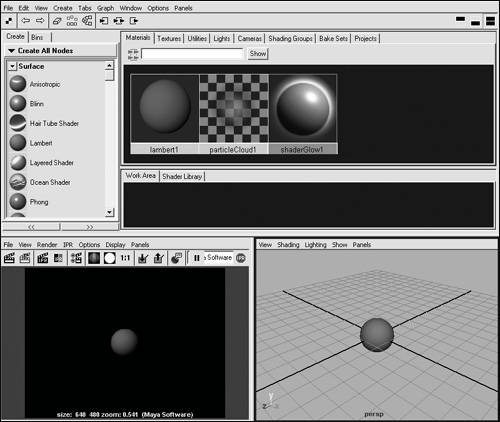 Another way to set up a render is to open each window separately as needed. To open the Hypershade or Render View in its own window, select the window you want in the Window > Rendering Editors menu (Figure 14.11). This opens a new window with the view inside it (Figure 14.12). Figure 14.11. The Window > Rendering Editors menu. Figure 14.12. The Render View in its own pop-up window.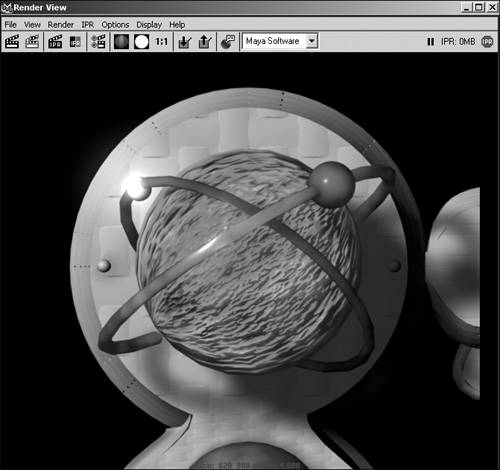 Since most of the light attributes can be edited in the Attribute Editor, you may want to temporarily change the Channel Box (on the right side of the Maya window) to an Attribute Editor (Figure 14.13). You do this by clicking in the east region of the Hotbox and selecting Attributes > Attribute Editor or clicking the icon Figure 14.13. The Attribute Editor is docked beside the Front view, replacing the Channel Box.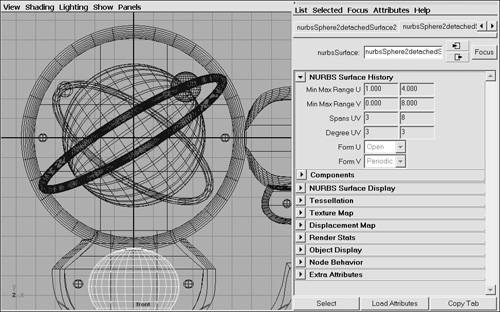 |
|