| Backup comes in two flavors: version 3 (or 3.1 at this writing), for Mac OS X 10.3.9 and 10.4.2 or later; and version 2 (technically 2.0.2), for Mac OS X 10.2.6. If your Mac starts up using an older version of Mac OS X or Mac OS 9, you are out of luck on this one; but if you run Mac OS 9 software in Classic mode under Mac OS X 10.2 or later, you can use Backup to safeguard the files those programs create. To use Backup, you need a .Mac account member name and passwordfrom a paid .Mac subscription, a trial account, or an expired account (including an expired trial account). As you might expect, Backup's features are somewhat limited for non-paid accounts: When Backup 3 is used with such an account, it cannot back up a file or folder that exceeds 100 MB in size (while there's no size limit for paid subscriptions). When Backup 2 is used with a trial subscription or expired account, the only location where it can place backed-up files is your iDisk; backing up to hard disks and recordable CDs or DVDs requires a paid subscription. Be sure your .Mac member name and password are entered in the .Mac section of System Preferences. Backup's user interface is pretty basicit asks where you want your backup files stored and shows you how much space is available there. It also lets you select what groups of files to back up, as well as add items, refresh your list, schedule backups, and eject the volume to which you're backing up all your files. But first you must download and install the Backup software. Backup Strategy A good backup strategy involves making two or more backups, preferably stored in two or more locations. That way, if your main computer and one of your backups is destroyed, you'll have a second copy. Sure, it sounds redundant, but here's an example: You've made a backup of your computer to DVD, and you've stored it in your basement. Then you have a house fire that starts in your basement and consumes not only your backup, but your computer, too. Do yourself a favormake two or more backups and put them in different physical locations, especially for important things such as financial data. |
To Download and Install Backup 3 1. | Using a Web browser, log in to your .Mac account (Figure 12.1).
Figure 12.1. Before you can download the Backup software, you'll need to log in to your .Mac account by entering your .Mac member name and password. 
The main .Mac Web page loads.
| 2. | On the left side of the page, click Backup (Figure 12.2).
Figure 12.2. Click the Backup link from the main page to go to the Backup download and information page. 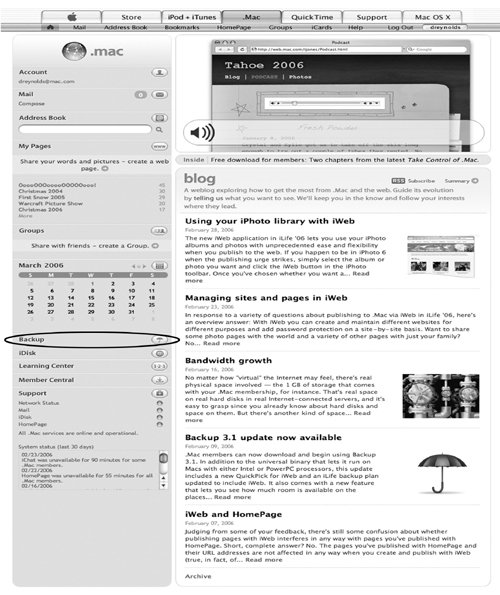
The Backup 3 page loads.
| | | 3. | In the main banner of the page (toward the left), click "Download Backup 3 now" (Figure 12.3).
Figure 12.3. The Backup page contains links to download the Backup software, as well as links to pages that provide in-depth information on the program. 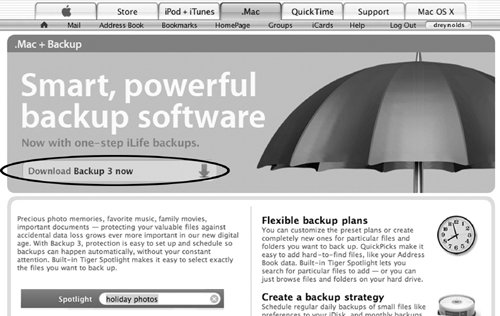
The main Backup download page loads. Here, you're presented with a choice of which version of Backup to download 2.0.2 or 3.1.
| 4. | If you're using Mac OS X 10.2.6, click the link to download Backup 2.0.2. If you're using either Mac OS X 10.3.9 or version 10.4.2 or later, click the link to download Backup 3 (Figure 12.4).
Figure 12.4. The Backup download page has download links for two versions of Backup: Backup 2 and Backup 3. Click the download link for the version appropriate to your operating system. 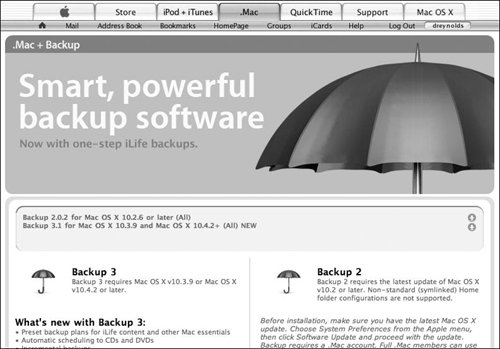
Backup is downloaded to your hard drive in the location to which you normally download files.
| 5. | Once the disk-image file downloads to your hard drive, mount it by double-clicking it (if it's not automatically mounted).
The disk image mounts (Figure 12.5).
Figure 12.5. The Backup disk image contains the installer package for Backup. Double-click its icon to launch the installer. 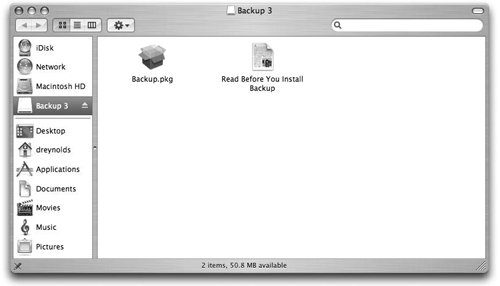
| | | 6. | Open the Backup disk image, and then double-click the Backup.pkg icon to launch the Backup installer.
The Welcome pane appears (Figure 12.6).
Figure 12.6. The Backup installer's Welcome pane gives you an overview of Backup. Click Continue to move on to the next step. 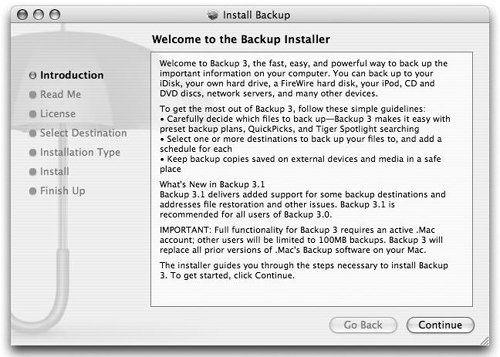
| 7. | Click Continue.
The Important Information pane opens; it contains valuable information about installing and using Backup (Figure 12.7).
Figure 12.7. The Important Information pane contains valuable information about how to install and use Backup. Read it and click Continue. 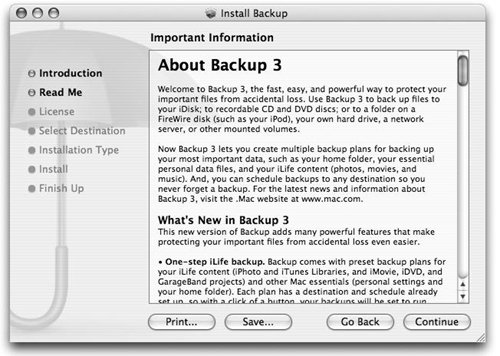
| 8. | Click Continue.
The Backup Software License Agreement pane opens (Figure 12.8).
Figure 12.8. The Backup Software License Agreement is a legal documentit's worth reading this to see what you're agreeing to. Click Continue to move on. 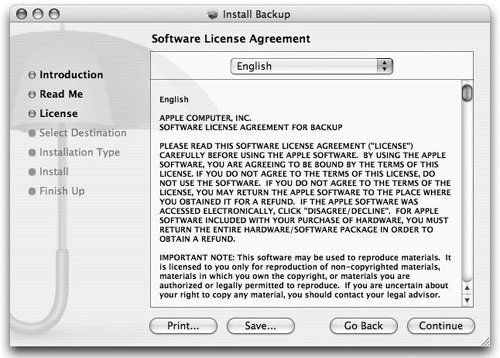
| | | 9. | Click Continue.
A dialog slides down, noting that in order to continue to install Backup, you must agree to the terms of the license agreement (Figure 12.9).
Figure 12.9. To continue with the installation, you must click the Agree button in the Software License Agreement pane. 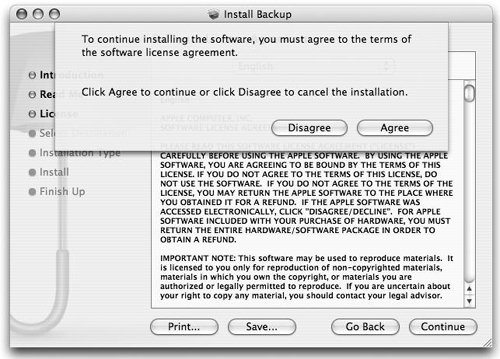
| 10. | Click Agree.
The Select a Destination pane opens; it lists all available locations where you can install Backup (Figure 12.10).
Figure 12.10. The Select a Destination pane lists all valid locations for a Backup installation. Select the one you want (usually your main hard drive) and click Continue. 
| 11. | Select a destination volume and click Continue.
The Installation Type pane loads (Figure 12.11).
Figure 12.11. In the Installation Type pane, there isn't much to do, since Backup doesn't have any installation options. Click Install. 
| | | 12. | Click Install.
The Authenticate dialog opens (Figure 12.12).
Figure 12.12. Before you can install Backup, you must type in your administrator password and click OK. 
| 13. | Type your system password and click OK.
The installer installs Backup in the Applications folder of your hard drive and does some other housekeeping. When it's finished, a message appears, noting that Backup has finished installing.
| 14. | Click Close (Figure 12.13).
Figure 12.13. Click the Close button to complete the installation of Backup. 
Backup is now installed in your Applications folder.
|
 Tip Tip
Backup is fussier than most applications about requiring the latest, greatest update of whichever version of Mac OS X it runs under. If you're using Backup 2 with Mac OS X 10.2 Jaguar, you must update to version 10.2.6, and if you're using Backup 3 with Mac OS X 10.3 Panther, you must upgrade to 10.3.9. At this writing, the latest version of Backup 3 (3.1) supports versions of Mac OS X 10.4 Tiger from 10.4.2 on, but for best results with Backup in the future, keep it and your system software up to date, using the Software Update utility found in the Apple menu.
|