In Flash MX, you can use ActionScript to load JPEG images into the Flash Player. Loading JPEG images is nearly identical to loading .swf files in Flashthe only difference is that the URL you specify is the URL of a .jpg file. Like .swf files, .jpg files can be loaded into levels in Flash. You can also load both .jpg and .swf files into movie clips. In the following exercise, you'll use the loadMovie method of the MovieClip object to load .jpg files into a movie-clip instance.
-
Open map9.fla from the FlashTFS folder.
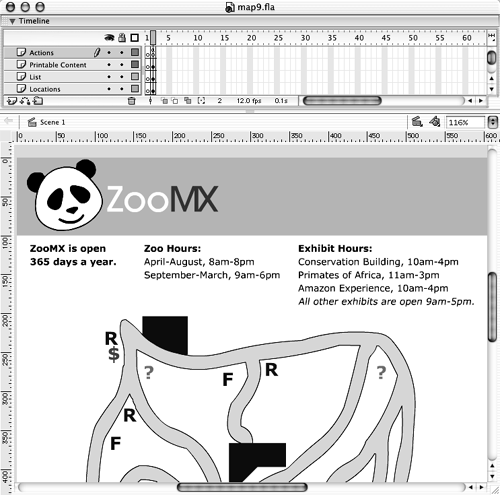
You're going to use some ActionScript to load a JPEG file into this movie.
TIP
If you already have this file open from the previous exercise, choose Window > map9.fla to switch to it.
-
Select frame 2 in the Actions layer, and add the following ActionScript to the getDetail function:
detailClip.createEmptyMovieClip("imgClip", 2); detailClip.imgClip._x = 12; detailClip.imgClip._y = 135; 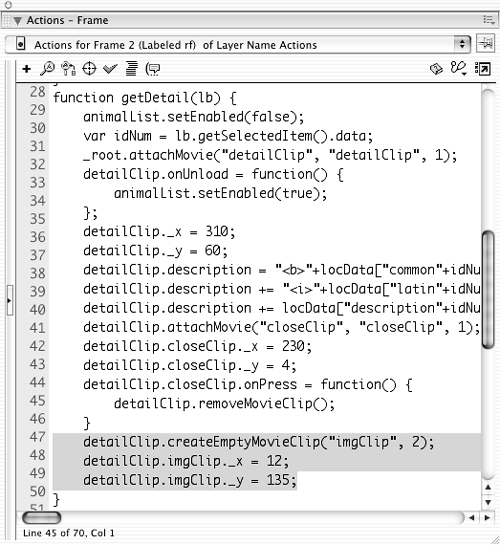
You should add this ActionScript to the end of the getDetail function. After you've added it, the function should look like this:
function getDetail(lb) { animalList.setEnabled(false); var idNum = lb.getSelectedItem().data; _root.attachMovie("detailClip", "detailClip", 1); detailClip.onUnload = function() { animalList.setEnabled(true); }; detailClip._x = 310; detailClip._y = 60; detailClip.description = "<b>"+locData["common"+idNum]+"</b><br>"; detailClip.description += "<i>"+locData["latin"+idNum]+"</i><br><br>"; detailClip.description += locData["description"+idNum]; detailClip.attachMovie("closeClip", "closeClip", 1); detailClip.closeClip._x = 230; detailClip.closeClip._y = 4; detailClip.closeClip.onPress = function() { detailClip.removeMovieClip(); }; detailClip.createEmptyMovieClip("imgClip", 2); detailClip.imgClip._x = 12; detailClip.imgClip._y = 135; } This simple bit of code creates a new, empty movie clip named imgClip inside of the detailClip instance. The code then places the imgClip movie clip at specific X and Y coordinates.
-
Now add this ActionScript to the getDetail function:
detailClip.imgClip.loadMovie(dataURL + "images/" + locData["image"+idNum]);
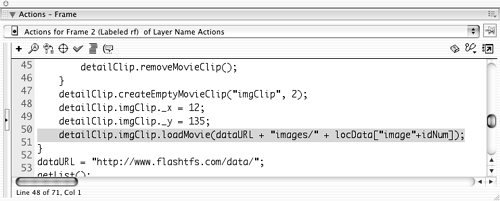
Add this code in a new line immediately after the ActionScript you added in the last step.
This ActionScript uses the loadMovie method of the built-in MovieClip object to load a JPEG image into the imgClip movie clip. The loadMovie method is similar to loadMovieNum , except that instead of loading a movie into a level, it loads the movie into a movie clip. Both loadMovie and loadMovieNum can load .swf files and JPEG images.
The URL of the image to be loaded is dataURL + "images/" + locData["image"+idNum] . This concatenates the value of the dataURL variable with the string "images/" and the name of the image from the locData object you worked with in Lesson 10.
-
Choose Control > Test Movie.
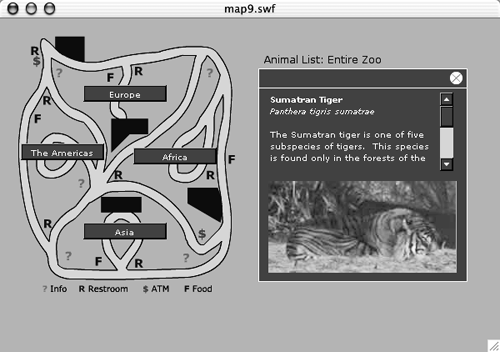
When you test the movie, click one of the animals in the list on the right side of the movie. When the Detail Clip movie clip appears, it should contain the common name, Latin name, some text about the animal, and a picture of the animal. The filename for the picture is specified in the data source that you connected to the movie in Lesson 10.
-
Choose File > Export Movie. In the Export Movie dialog box, browse to the FlashTFS folder on your hard drive, type map.swf in the File Name (Windows) or Save As (Macintosh) text box, and click Save.
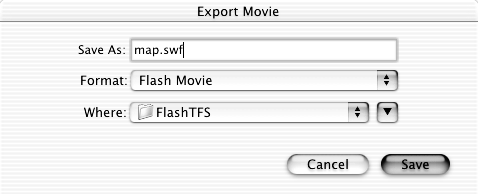
The map movie is now complete. As the movie has changed since the last time it was exported, you need to export it as map.swf once again. Make sure you export the .swf file to the FlashTFS folder, replacing the copy of map.swf that you created earlier in this lesson.
-
When the Export Flash Player dialog box opens, select the "Generate size report" option and click OK.
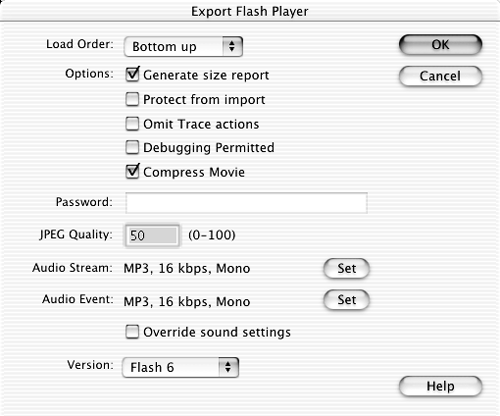
When you select the "Generate size report" option, Flash will create a text file containing information about the file size of each asset in the movie. You can use this information, in concert with the Bandwidth Profiler, to figure out which parts of your movie may need to be optimized further to decrease the file size as much as possible.
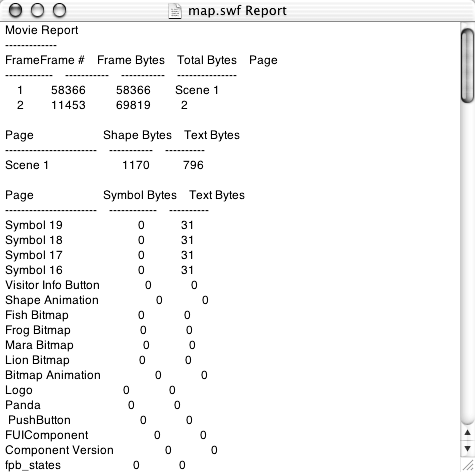
The size report, which should appear in the FlashTFS folder, contains information about the movie, including the size of each frame, how large each symbol is, which fonts and characters are used (and how much file size they take up), and which sounds are used (and how much file size they add to the finished movie). You can use the size report to optimize your movie. If you notice that one symbol is very large, for example, you might want to concentrate on reducing that symbol's size.
NOTE
A movie's size report appears in the same folder as the exported movie. The name of the size report will be map.swf Size Report or something similar
-
Save the movie as map10.fla in the FlashTFS folder.
You're done with this file for now, so you can close it.


