-
Open the Printable Map movie clip in symbol-editing mode.
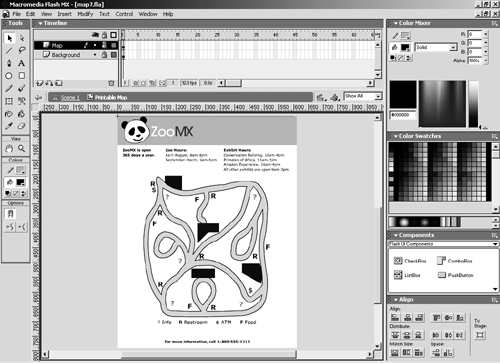
Double-click the instance of the Printable Map symbol on the stage, or select the instance and choose Edit > Edit Symbols.
-
Add a new layer, named Label. Select frame 2 of the new layer and insert a keyframe. Select frame 2 of the Background layer and insert a frame.
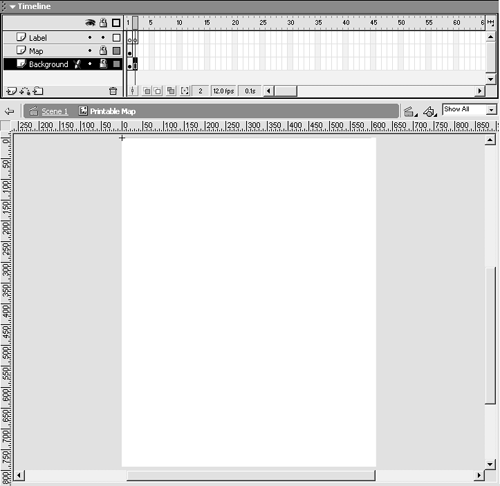
Place the new Label layer at the top of the layer stacking order. You're going to add labels to this layer, and it's a good idea to place labeled frames where they are easy to see and find.
After you add the new layer, select frame 2 of new layer and choose Insert > Keyframe. There should already be an empty keyframe in frame 1, and when you insert a keyframe in frame 2, you will have two empty keyframes in the Label layer.
Select frame 2 of the Background layer, and choose Insert > Frame. You don't need to add a keyframe to this layer; you only want the content from the previous frame (frame 1) to continue for two frames.
-
Select frame 1 of the Labels layer, and set the Frame label to #p.

The #p label specifies a frame as printable. When you specify a frame (or frames) as printable, only that frame (or frames) will be printed by the print action. Any frame(s) that are not labeled with a #p will be ignored by the print action.
-
Select frame 2 of the Labels layer, and set the Frame label to #b.

The #b label specifies that a frame contains the shape you would like to use as your print area. In other words, this frame will act as the bounding box for your printed movie clip. Frame 2 of the Background layer contains a large white rectangle, which is 612 pixels wide by 792 pixels highapproximately the size of a piece of letter-size paper (8.5 inches wide by 11 inches high).
NOTE
You can specify only a single frame in a timeline as the bounding box. You should not label more than one frame #b.
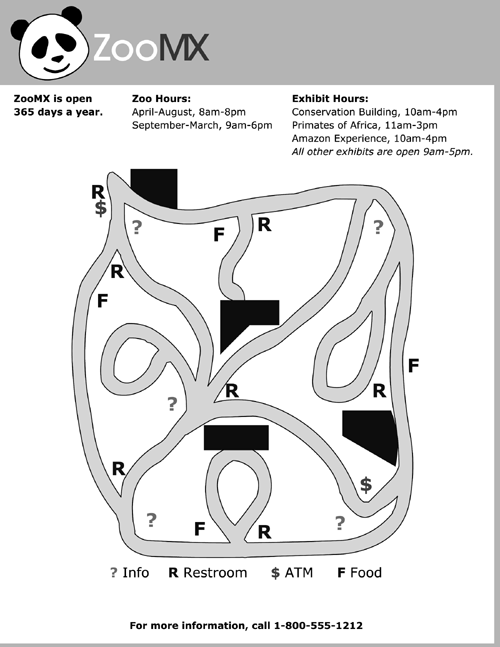
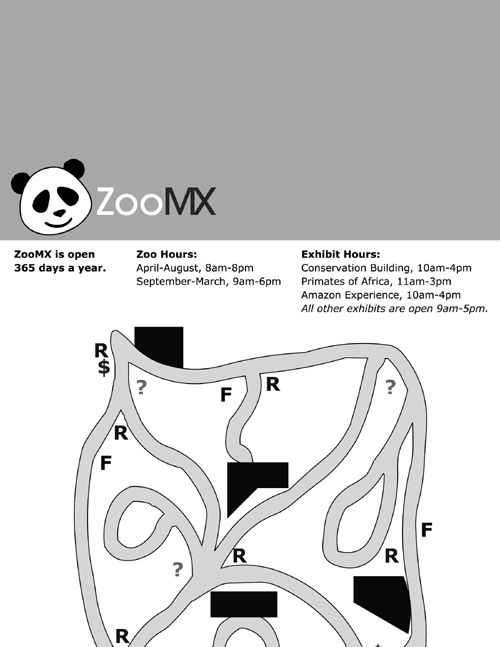
Test the movie to see how it looks. The printed movie clip probably still doesn't look quite right (see the figure below). You have to make one more change before everything is in perfect working order. You'll do that in the next step.
-
Click the Scene 1 icon, and select frame 1 of the Actions layer in the main timeline. Change the boundingBox parameter for the print action in the printContent function to "bmovie" .
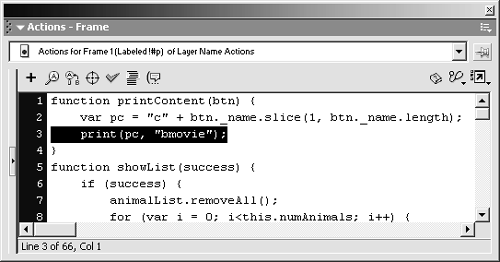
After you make this change, the printContent function should look like this:
function printContent(btn) { var pc = "c" + btn._name.slice(1, btn._name.length); print(pc, "bmovie"); } The boundingBox parameter of the print function can have one of three settings: "bmovie" , "bframe" , or "bmax" .
The "bmovie" setting you used in the printContent function lets you use the shape in the frame labeled #b as the bounding box for the printed content. The contents of frame 2 of the Background layer will act as the print area for the Printable Map movie clip. That works out wonderfully, because that shape is approximately the same size as a sheet of letter-size paper.
If you set the boundingBox to "bmovie" and didn't label a frame in the targeted movie clip or level with #b, Flash simply uses the dimensions of the movie as the printable area. Try removing the #b label from frame 2 of the Printable Map movie clip to see what this looks like, or take a look at the figure below.
Setting the boundingBox parameter to "bframe" will set the print area to the bounding box of the contents of each frame. Flash will scale the contents of each frame to fit the printed page.
The "bmax" setting uses the maximum area of all printable frames in the timeline as the print area. So if you have three printable frames, one with a 300-by-200 object, another with a 200-by-300 object, and a third with a 200-by-200 object, the print area will be 300 by 300 pixels.
NOTE
When you use the "bmax" and "bframe" settings for the boundingBox parameter, frames labeled #b in the targeted timeline will be ignored.
-
Choose Control > Test Movie, and click the Print Map button.
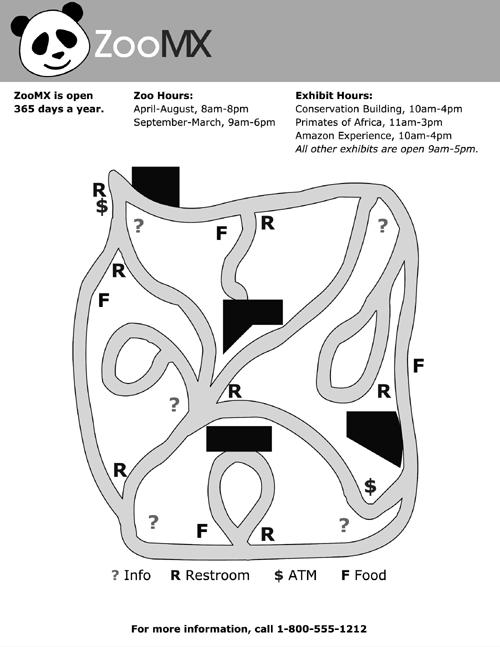
When you print the map this time, it should fit quite nicely on the printed page. After you print a copy of the map, close the Test Movie window.
NOTE
The background color for your movie is orange, but the map should have printed with a white background. This is not the default behavior for Flash; rather, the large rectangle in the Background layer acts as the background for the printed content. If you change the color of the rectangle shape, the color in the printed map will reflect that change.
-
Save the movie as map8.fla in the FlashTFS folder.
You're now a printing pro! If you would like to work through some additional tutorials on printing, be sure to visit the Flash TFS Web site.