Flylib.com

Books Software


Moving Within a Workbook


Moving Within a Workbook

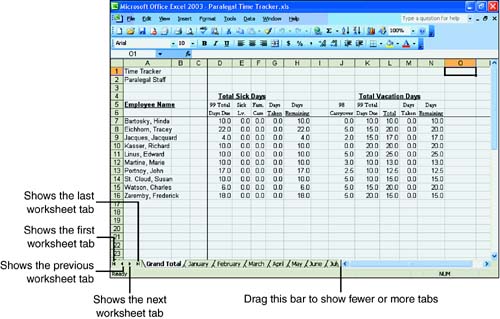
Each blank Excel workbook contains three worksheets. You can add or delete as many worksheets as you need. Because a workbook consists of one or more worksheets, you need to move between the worksheets. Here's how:

  • Click the tab of the worksheet you want to move to. If the tab isn't visible, use the tab scroll buttons , shown in Figure 1.16, to bring the tab into view, and then click the tab.

    Figure 1.16. Choose the sheet you want to work on.

    graphics/01fig16.jpg

Moving Within a Worksheet

When the worksheet you want is visible on the screen, you need to move around in it. It's important to remember that the view on the screen might represent only a small portion of the total worksheet. After all, a worksheet can consist of more than one million cells . Even the biggest computer monitor can't display the entire sheet so that it is legible.

You move around your Excel worksheet with the mouse or the keyboard. To move from cell to cell, click the cell you want to move to. Notice that a dark border, called a selector , surrounds a selected cell. If the cell you want to move to isn't visible, use the scrollbars to move around the sheet.

graphics/bookpencil_icon.gif

If you're using an IntelliMouse, you can scroll around worksheets using the center wheel button. Hold down the wheel button and drag to quickly move through the worksheet.


Using the Keyboard

If you're entering a lot of numbers or text from the keyboard, it's easier sometimes to move around a worksheet with the keyboard. That way, you can keep your hands on the keyboard and not have to jump on and off the mouse.

Table 1.3 shows the keystrokes you use to move around in a worksheet.

Table 1.3. Keystrokes That Move You Through a Worksheet

Press These Keys

To Move To

Enter

One cell down or to the next cell in sequence

Shift+Tab

One cell to the left

Shift+Enter

One cell up

Up Arrow, Down Arrow, Right Arrow, Left Arrow

One cell in the direction of the arrow

Ctrl+Right Arrow or Ctrl+Left Arrow

To the right or left end of a row that contains data

Ctrl+Up Arrow or Ctrl+Down Arrow

To the top or bottom of a column that contains data

Home

To the first cell in the row

Ctrl+Home

To the first cell in the worksheet

Ctrl+End

To the lower-right cell in the worksheet

Page Up

Up one screen

Page Down

Down one screen

Alt+Page Up

Left one screen

Alt+Page Down

Right one screen

Ctrl+Page Up

To previous sheet

Ctrl+Page Down

To Next sheet

F5 or Ctrl+G

Opens the Go To dialog box


Summary

In this first hour, you learned how to launch Microsoft Excel, how to use its basic screen elements, and how to work with toolbars . You used the Help task pane and the Ask a Question box to get online help. You also learned some navigational tricks to move through workbooks and worksheets. In Hour 2, "Entering Data," you create your own worksheet.


Q&A

Q1:

Help! My Standard toolbar is stuck on the left edge of the screen. Can I move it back to the top of the screen?

A1:

Sure you can. Click the Move handle and drag it directly under the main menu bar. When you release the mouse button, the Standard toolbar is repositioned in its default position.

Q2:

I typed in a question in the Answer a Question box, but the list of answers didn't match what I asked.

A2:

Excel Help isn't perfect. If the answers provided were too general, try rephrasing your query into something more specific, or try using different keywords.

Q3:

I inherited an Excel worksheet from someone in my office. How can I find out how many rows and columns it contains?

A3:

The easiest and fastest way to move to the bottom right-most cell in a worksheet is to press Ctrl+End. Make a note of the cell address shown in the Name box.