The Network Image Utility provides a unique function for moving images between Mac OS X Servers. The import and export functions can copy your NetBoot images among servers on the network. This copy service is facilitated through a Secure File Transfer Protocol (SFTP) connection.
1. | Choose /Applications/Server/Network Image Utility. (Figure 11.29).
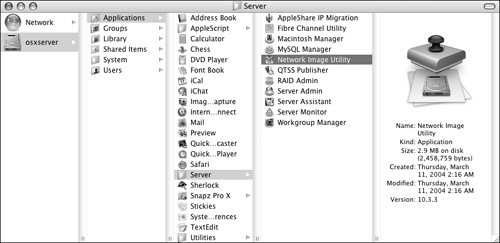
The Network Image Utility opens.
|
2. | Click the Images button and then the Import button in the Toolbar (Figure 11.30).
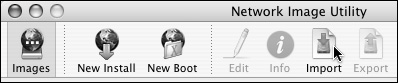
A dialog box drops down.
|
3. | Enter the network address and the root user password of the server from which you're importing the image (Figure 11.31).
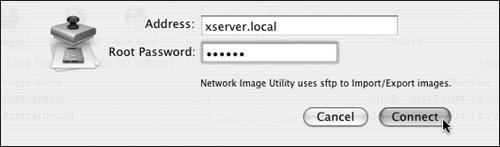
Click the Connect button. A dialog sheet appears, listing .nbi files.
|
4. | Select the .nbi files from the server (Figure 11.32).
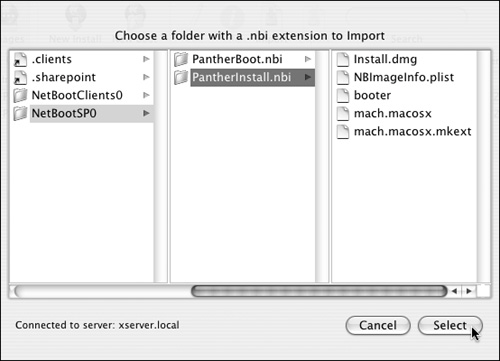
Typically, the images are stored in /Library/NetBoot/NetBootSP#.
|
5. | Click the Select button to continue.
A Save dialog sheet appears.
|
6. | In the Save dialog box, choose the destination for the imported image (Figure 11.33).
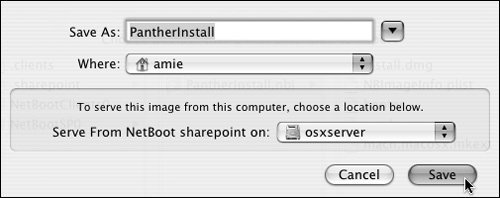
If you're running the Network Image Utility on a server running the NetBoot service, it will automatically choose the NetBoot share point.
|
7. | Click the Save button, and take a break. NetBoot images are typically over 1 GB in size and can take quite some time to transfer over a network connection, depending on the speed of that connection.
|
1. | Choose /Applications/Server/Network Image Utility (Figure 11.34).

The Network Image Utility opens.
|
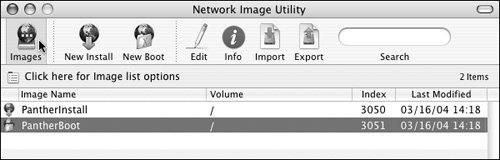
2. | Click the Images button in the Toolbar.
A list of images appears.
|
3. | From the image list, select the NetBoot image you wish to export (Figure 11.35).
|
4. | Click the Export button in the Toolbar (Figure 11.36).
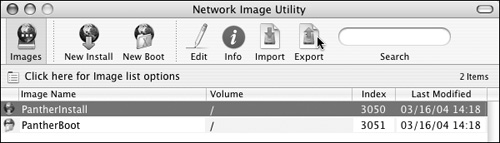
A dialog box drops down.
|
5. | Enter the network address and the root user password of the server to which you're exporting the image.
Click the Connect button (Figure 11.37). A dialog sheet appears, showing volumes and folders.

|
6. | Choose the destination location on the server to which you're exporting the image (Figure 11.38).
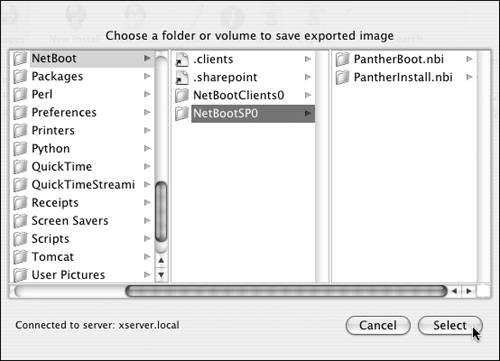
Typically, the images are stored in /Library/NetBoot/NetBootSP#.
|
7. | Click the Select button, and take a break.
NetBoot images are typically over 1 GB in size and can take quite some time to transfer over a network connection, depending on the speed of that connection.
|
 Tip
Tip