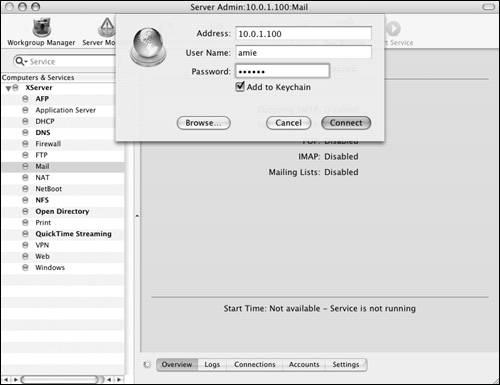
| Amazingly, even though electronic mail has become one of the most valued and trusted communication methods, it's still one of the least secure transactions. Mail protocols were originally designed before security was an issue, to ensure maximum compatibility among disparate systems. Most servers' default settings are incredibly insecure: Sending mail via SMTP doesn't require any authentication, checking mail via either IMAP or POP uses clear-text passwords, and 100% of all mail messages are transferred in the clear. The lack of any real security on many mail servers has helped to fuel the proliferation of spam and mail viruses. In addition, as publicly available and highly insecure wireless networks become more popular, the need to ensure secure mail communication is paramount. Because Mac OS X Server uses industry standard Mail service technologies, it's subject to the same insecure default mail settings. On the other hand, Mac OS X Server supports the latest secure mail authentication protocols and the Secure Socket Layer (SSL) protocol for message transfers. Configuring secure mail authentication is easy, as long as you have access to mail clients capable of supporting advanced authentication. Most contemporary mail clients, including Apple's free Mac OS X Mail application, support advanced authentication and SSL connections. To configure advanced mail authentication: 1. | Launch the Server Admin tool located in /Applications/Server, and authenticate as the administrator (Figure 8.36).
| 2. | Select the Mail service for your server in the Computers & Services list.
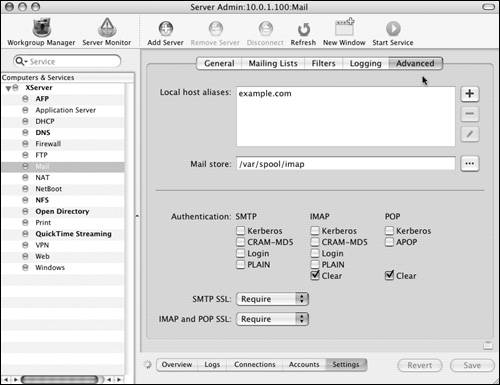
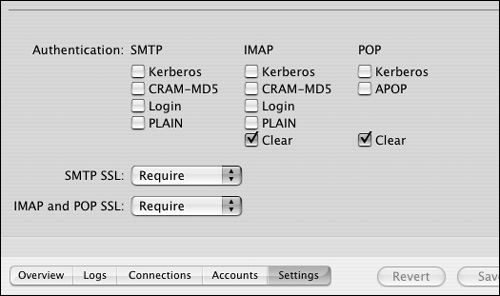
Click the Settings button and then the Advanced tab (Figure 8.37). Initially, Mac OS X Server uses no SMTP authentication and uses clear text for IMAP and POP authentication (Figure 8.38).
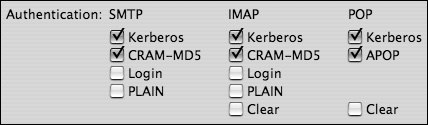
| 3. | For each mail protocol, choose an appropriate method of authentication (Figure 8.39):
Clear Only slightly better than nothing at all. All authentications are in clear text.
PLAIN Similar to Clear; all authentications are in clear text.
Login Passwords are encrypted and sent to be compared against the passwords on the server.
APOP (Authenticated POP) All authentications are handled by a medium-strength encryption method.
CRAM-MD5 (Challenge-Response Authentication MechanismMethod Digest v5) All authentications are handled by a very strong encryption method. To take advantage of this protocol, user credentials must be saved in the Password Server. (For more information regarding the Password Server, see Chapter 3.)
Kerberos All authentications are handled by a secret-key cryptography system. Kerberos is extremely secure and allows for single sign-on integration with the Login window. To take advantage of this protocol, user credentials must be saved in the Key Distribution Center (KDC).
| 4. | When you've finished making changes, click the Save button  . .
As with any service change, you should thoroughly test the configuration before going live.
|
 Tips Tips
You may need to leave clear-text authentication temporarily enabled as you migrate your users to a more secure setting. Nonetheless, you should phase out and disable all insecure authentication protocols as soon as possible. Securing mail authentication is a good first step, but your mail messages still remain in the clear. To ensure a completely secure message transfer, you should enable SSL support. You should always stop the Mail service prior to making changes and restart it only after saving your changes.
Configuring Secure Sockets Layer Once you've enabled a more secure mail authentication protocol, you should consider enabling Secure Sockets Layer (SSL) to encrypt the message data. This task covers how to enable SSL for the Mail service, but under the assumption that you've already obtained the proper SSL key and passphrase certificate files. Refer to Chapter 10, "Security," for detailed instructions on how to obtain SSL key and certificate files and where they are currently stored on Mac OS X Server. To configure SSL: 1. | Use your favorite plain-text editor to combine the contents of the SSL key and certificate files into one file.
Specifically, copy the contents of the certificate file to the end of the key file, and save the resulting file with a .pem extension.
| 2. | Make two copies of the .pem file.
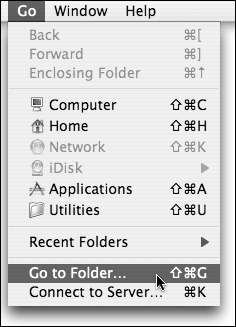
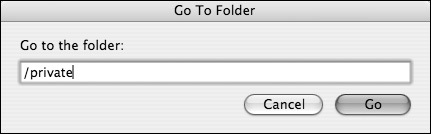
| 3. | From the server, open the Finder, select Go > Go to Folder, and navigate to the hidden /private directory (Figures 8.40 and 8.41).
| 4. | Place one copy of the .pem file in the /etc/postfix/ directory and the other copy in the /var/imap/ directory (Figure 8.42).

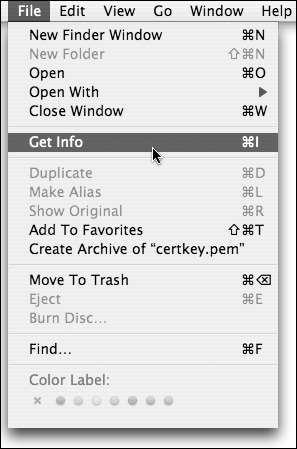
| 5. | From the server, select the .pem file inside the /var/imap directory, and then select File > Get Info in the Finder (Figure 8.43).
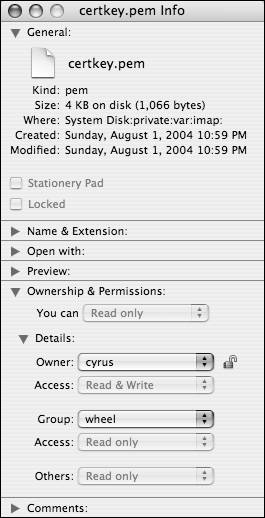
In the Get Info dialog, change the owner of the .pem file to the Cyrus user account (Figure 8.44). Close the Get Info dialog.
| 6. | Launch the Server Admin tool located in /Applications/Server, and authenticate as the administrator (Figure 8.45).

| 7. | Select the Mail service for your server in the Computers & Services list.
Click the Settings button and then the Advanced tab (Figure 8.46). Initially, Mac OS X Server isn't configured to use SSL for SMTP, POP, or IMAP (Figure 8.47).


| 8. | From the SMTP SSL pop-up menu, select either the Use or Require option (Figure 8.48).

Keep in mind that many other SMTP servers don't support SSL transactions. Thus, it's common practice to select the Use option here.
| 9. | From the IMAP and POP SSL pop-up menu, select either the Use or Require option (Figure 8.49).
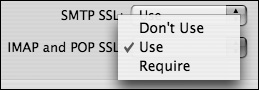
If you must support SSL clients that aren't SSL aware, then you should select the Use option here.
| 10. | When you've finished making changes, click the Save button .
As with any service change, you should thoroughly test the configuration before going live.
|
Tips You should always stop the Mail service prior to making changes and restart it only after saving your changes, including implementing SSL. If you're familiar with the command line, feel free to perform steps 14 of the previous task using an SSH session to the server and the equivalent command-line utilities. You may need to select the Use option from the SSL pop-up menus as you migrate all your users to a more secure setting. Nonetheless, you should phase out and disable as many insecure connections as possible.
|