| Mac OS X lets you set user disk quotas that limit the total amount of data a user is allowed to store on the server. These quotas work based on file ownership: Any file owned by a user applies to that user's disk quota. Disk quotas are applied separately for each volume. In other words, a user with a 50 MB disk quota can store 50 MB of data on each volume to which they have write access. To enforce disk quotas using Workgroup Manager, the user must have a home folder configured even if you never intend the home folder to be used. See the task "To create a user home directory." To enable disk quotas: 1. | Launch the Workgroup Manager tool located in /Applications/Server, and authenticate as the administrator (Figure 4.70).
Figure 4.70. Open the Workgroup Manager tool, and authenticate as an administrator. 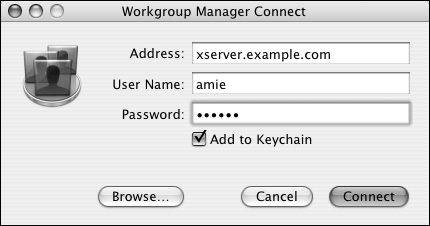
| 2. | Click the Sharing icon  in the Toolbar, and then click the All tab in the Toolbar, and then click the All tab  (Figure 4.71). (Figure 4.71).
Figure 4.71. Click the Sharing button in Workgroup Manager, and click the All tab to see all mounted volumes. 
| 3. | From the server volume list, select a volume on which to enable disk quotas, and select the "Enable disk quotas on this volume" check box (Figure 4.72).
Figure 4.72. From the server volume list, select a volume on which to enable disk quotas; then select the "Enable disk quotas on this volume" check box. 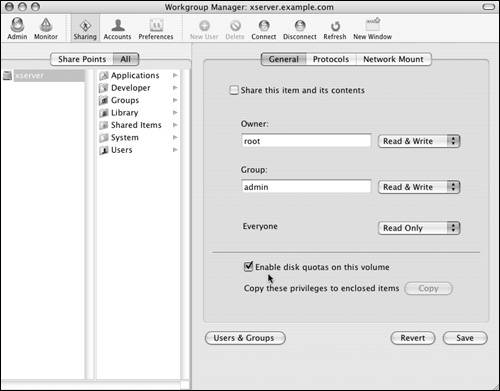
Typically, you'll select the volume where the user's home folders will reside.
| 4. | Click the Save button  , and then restart the server to enable quotas for the selected volume. , and then restart the server to enable quotas for the selected volume.
Doing so creates the hidden quota configuration files and enables the quota service for the selected volume.
| 5. | Repeat steps 35 for every volume on which you want to enforce disk quotas.
|
To set a user's disk quota: 1. | In Workgroup Manager, navigate to configure the user's Home attributes  (Figure 4.73). (Figure 4.73).
Figure 4.73. Click the Accounts button and the Home tab in Workgroup Manager. 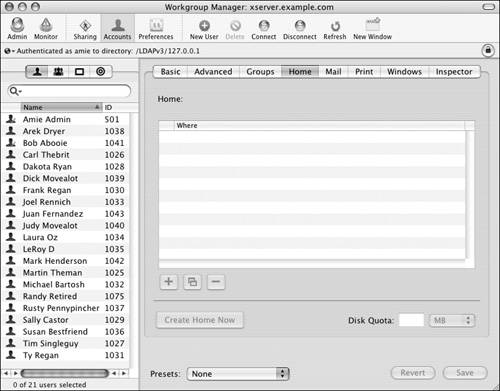
| 2. | In the user list, select the user or users you wish to configure (Figure 4.74).
Figure 4.74. Select the user or users for whom you want to set quotas. 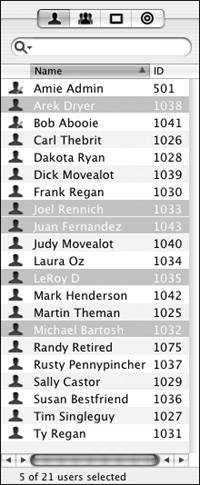
| 3. | Enter a number size in the Disk Quota field, and select MB (megabytes) or GB (gigabytes) from the pop-up menu (Figure 4.75).
Figure 4.75. Enter a number size in the Disk Quota field, and select MB or GB. 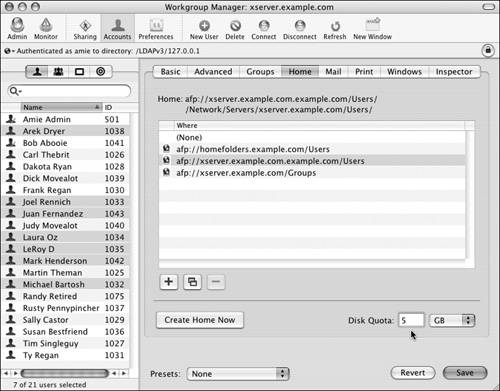
| 4. | When you've finished making changes, click the Save button .
The next time this user logs in via AFP, the quota files will be configured for their account. You can always change the user's quota in the future.
|
 Tip Tip
Setting disk quotas via the command line Enabling disk-usage quotas using the command-line tools gives you much greater control over quota settings than is available from Workgroup Manager. In fact, there are so many options that this section can cover only the basics. The following task outlines the generally practiced method for setting quotas from the command line. Note that you must be the super user to configure disk usage quotas. Quotas Expanded You can use command-line tools to further edit user quotasfor example, by adding group quotas and/or specifying the quotas as fixed (hard quotas) or malleable (soft quotas). Hard quotas are implemented immediately, and soft quotas allow users to go over their quotas for seven days after the quota is in place, at which time the soft quota turns into a hard quota. The quota command-line tools are as follows: quotaon and quotaoffTurn the quotas on and off repquotaSummarizes quotas quotaDisplays disk quota use and limits edquotaEdits user and group quotas quotacheckEnsures consistency smbcquotasUsed for NT File System (NTFS) quotas (NTFS is a Windows-based file system that isn't implemented on Mac OS X Server)
Refer to the section "Setting disk quotas via the command line" for more information about using these tools. |
To set a disk quota from the command line: 1. | Do one of the following:
| 2. | Do either of the following:
Use the quota files created by Workgroup Manager. Create the quota files .quota.user and .quota.ops.user at the root level of every volume on which you wish to enable quotas, by entering touch /.quota.user /.qouta.ops.user in the command line.
| 3. | Configure the correct ownership and permissions for the quota files by entering chown :admin .quota* and then chmod 640 .quota* in the command line.
| 4. | Update the quota files to reflect the current disk usage by entering quotacheck <volume name> in the command line.
| 5. | Enable the quota system by entering quotaon <volume name> in the command line.
| 6. | Configure the quota settings for your user accounts by using the edquota<user name> command.
This utility uses vi, a command-line text editor, to configure the quota settings; Consult the man pages for proper use of vi.
| 7. | Again, update the quota files to reflect the current disk usage by entering quotacheck <volume name> in the command line.
| 8. | Use repquota <volume name> or quota <user name> to view the disk quota usage and settings.
|
Tips Although it isn't recommended, once you've configured quotas using the command-line tools, you can still use Workgroup Manager to configure quota settings. Remember, it's always a good idea to experiment with quota settings on a test account before implementing quotas system wide. It's a good idea to run quotacheck anytime a change is made to a user's quota settings. You can also configure disk quotas based on group accounts by creating .quota.group and .quota.ops.group at the root level on any volume.
|