link text boxes
| < Day Day Up > |
| Before we set the gradient-filled text box to continue on page 3, we'll set up the continuation of the bigger cover page story onto page 2. On page 1, double-click the text box containing the headline and sub-head.  Navigate to page 2 of your document. Click the View icon in the toolbar and choose Show Layout. Click outside the column outlines so that there is no current insertion point. 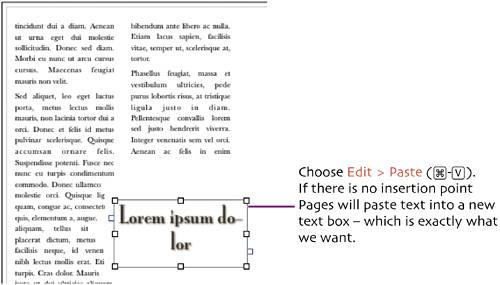  With the text box still selected, click the Style icon in the toolbar and choose Headline 1 (cont.).  In the Inspector window, click the Wrap Inspector button. We're only including enough room in our template for the story to continue to one column on page 2.  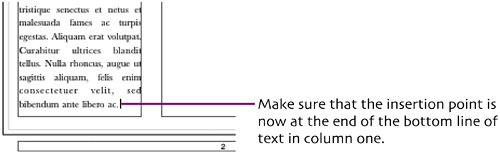 Select Insert > Section Break. A new page is added to the document and the insertion point moves to the top of the new page. Inserting a Page Break would have yielded almost the same result but it would not have allowed us to change the layout of the new page which we want to do.
Now let's create the linked text box from page 1. Scroll back to page 1 of your document. 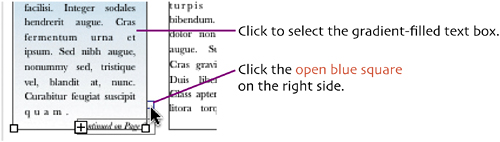
Drag the text box from the top of page 2 to the top of page 3. 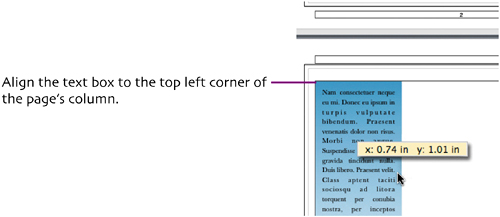  That completes the text layout and design for our newsletter template. We'll fill the two empty areas in the next chapter, but first we have a little more work to do to make our file usable as a template. |
| < Day Day Up > |
EAN: N/A
Pages: 97