9.3 Array Properties and Methods
9.3 Array Properties and MethodsSince an array is an object in JavaScript, it has properties to describe it and methods to manipulate it. The length of an array, for example, can be determined by the length property, and the array can be shortened by using the pop() method. For a complete list of array properties and methods, see Tables 9.1 and 9.2. 9.3.1 Array Object PropertiesThe Array object only has three properties. The most used is the length property which determines the number of elements in the array, that is, the size of the array. Table 9.1. Array object properties.
Example 9.5<html> <head> <title>Array Properties</title> <h2>Array Properties</h2> <script language="JavaScript"> 1 var book = new Array(6); // Create an Array object book[0] = "War and Peace"; // Assign values to elements book[1] = "Huckleberry Finn"; book[2] = "The Return of the Native"; book[3] = "A Christmas Carol"; book[4] = "The Yearling"; book[5] = "Exodus"; </script> </head> <body bgcolor="lightblue"> <script language="JavaScript"> document.write("<h3>"); 2 document.write("The book array has " + book.length + " elements<br>"); </script> </body> </html> (Output) The book array has 6 elements. EXPLANATION
9.3.2 Array MethodsWhether you have an array of colors, names , or numbers , there are many ways you might want to manipulate the array elements. For example, you might want to add a new name or color to the beginning or end of the array, remove a number from the end of the array, or sort out all the elements, reverse the array, and so on. JavaScript provides a whole set of methods for doing all of these things and more. See Table 9.2. Table 9.2. Array methods.
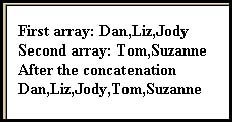
The concat() MethodThe concat() method concatenates the elements passed as arguments onto an existing array (JavaScript 1.2), returning a new concatenated list. FORMAT newArray=oldArray.concat(new elements); Example: names = names.concat("green, "blue"); Example 9.6<html> <head><title>Array concat() methods</title> </head> <body> <script language="JavaScript"> 1 var names1=new Array("Dan", "Liz", "Jody" ); 2 var names2=new Array("Tom", "Suzanne"); document.write("<b>First array: "+ names1 + "<br>"); document.write("<b>Second array: "+ names2 + "<br>"); document.write("<b>After the concatenation <br>"); 3 names1 = names1.concat( names2); document.write(names1); </script> </body> </html> EXPLANATION
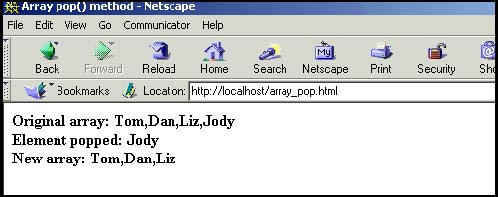
Figure 9.6. The concat() method. Output from Example 9.6. The pop() MethodThe pop() method deletes the last element of an array and returns the value popped off. FORMAT var return_value=Arrayname.pop(); Example: var popped = myArray.pop(); Example 9.7<html> <head><title>Array pop() method</title> </head> <body> <script language="JavaScript"> 1 var names=new Array("Tom", "Dan", "Liz", "Jody"); 2 document.write("<b>Original array: "+ names +"<br>"); 3 var newstring=names.pop(); // Pop off last element of array 4 document.write("Element popped: "+ newstring ); 5 document.write("<br>New array: "+ names + "</b>"); </script> </body> </html> EXPLANATION
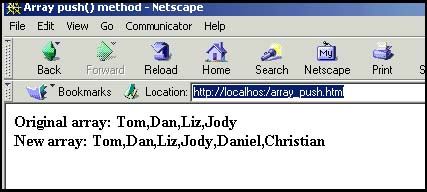
The push() MethodThe push() method adds new elements onto the end of an array, thereby increasing the length of the array. JavaScript allocates new memory as needed. FORMAT Arrayname.push(new elements); // Appended to the array Example: myArray.push("red", "green", "yellow"); Example 9.8<html> <head><title>Array push() method</title> </head> <body> <script language="JavaScript"> 1 var names=new Array("Tom", "Dan", "Liz", "Jody"); 2 document.write("<b>Original array: "+ names + "<br>"); 3 names.push("Daniel","Christian"); 4 document.write("New array: "+ names + "</b>"); </script> </body> </html> EXPLANATION
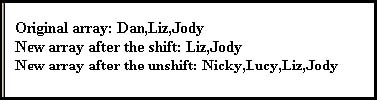
The shift() and unshift() MethodsThe shift() method removes the first element of an array and returns the value shifted off; the unshift() method adds elements to the beginning of the array. These methods are just like pop() and push() except that they manipulate the beginning of the array instead of the end of it. FORMAT var return_value=Arrayname.shift(); Arrayname.shift( new elements); // Prepended to the array Example: var shifted_off = myArray.shift(); myArray.shift("blue","yellow"); Example 9.9<html> <head><title>Array shift() and unshift() methods</title> </head> <body> <script language="JavaScript"> 1 var names=new Array("Dan", "Liz", "Jody" ); document.write("<b>Original array: "+ names + "<br>"); 2 names.shift(); document.write("New array after the shift: " + names); 3 names.unshift("Nicky","Lucy"); // Add new elements to the beginning of the array document.write("<br>New array after the unshift: " + names); </script> </body> </html> EXPLANATION
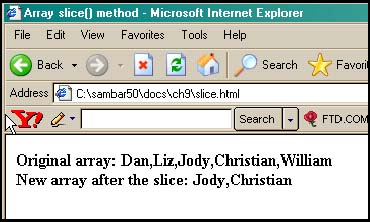
The slice() MethodThe slice() method copies elements of one array into a new array. The slice() method takes two arguments: the first number is the starting element in a range of elements that will be copied, and the second argument is the last element in the range, but this element is not included in what is copied . Remember that the index starts at zero, so that a beginning position of 2 is really element 3. The orginal array is unaffected unless you assign the result of the slice back to the original array. FORMAT var newArray = Arrayname.slice(first element, last element); Example: var ArraySlice = myArray.slice(2,6); // ArraySlice contains elements // 2 through 5 of myArray. Example 9.10<html> <head><title>Array slice() method</title> </head> <body> <script language="JavaScript"> 1 var names=new Array("Dan", "Liz", "Jody", "Christian", "William"); document.write("<b>Original array: "+ names + "<br>"); 2 var sliceArray=names.slice(2, 4); document.write("New array after the slice: "); 3 document.write(sliceArray); </script> </body> </html> EXPLANATION
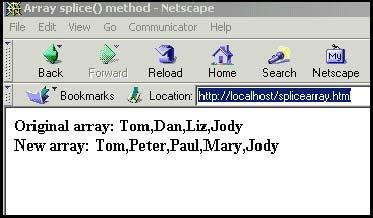
The splice() MethodThe splice() method [not to be confused with slice() ] removes a specified number of elements from some starting position in an array and allows you to replace those items with new ones. (Don't confuse this method with the slice() method. Ropes, tapes, and films are spliced; bread, meat, and golf balls are sliced.) FORMAT Arrayname.splice( index position, number of elements to remove); Arrayname.splice(index position, number of elements to remove, replacement elements); Example: myArray.splice( 3, 2); myArray.splice( 3, 2, "apples","oranges"); Example 9.11<html> <head><title>Array splice() method</title> </head> <body> <script language="JavaScript"> // splice(starting_pos, number_to_delete, new_values) 1 var names=new Array("Tom","Dan", "Liz", "Jody"); document.write("<b>Original array: "+ names + "<br>"); 2 names.splice(1, 2, "Peter","Paul","Mary"); 3 document.write("New array: "+ names + "</b>"); </script> </body> </html> EXPLANATION
|
EAN: 2147483647
Pages: 150