| This section steps through several examples of saving a project as an HTML document. After you complete each example, you'll see the resulting HTML file in Internet Explorer so you can immediately see what it would look like if it were published on the Web. Each of the following examples uses the Office Relocation Project.mpp file that is included in the Microsoft Project 2003 Examples section of www.quehelp.com. If you prefer, you can use one of your Project files for these examples. Saving a Project as an HTML Document To save a project as an HTML document, follow these steps: -
Open the Project file and select File, Save As Web Page. The Save As dialog box opens (see Figure 2). Figure 2. The Microsoft Project Save As dialog box allows you to save a project as an HTML document. 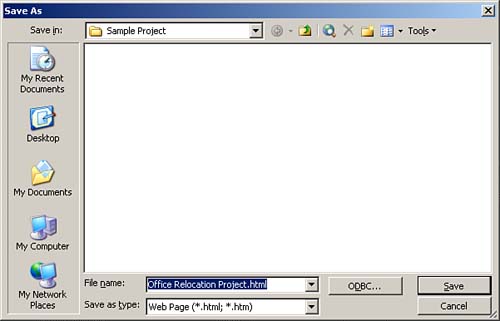 -
Navigate to the directory where you want to save the document and type the name of the HTML document in the File Name field. The document is automatically assigned the .html extension. -
Click the Save button and the Export Wizard opens (see Figure 3). Figure 3. Microsoft Project 2003's Export Wizard allows you to create or select an Import/Export map on which to base an HTML document.  -
Click the Next button, and the second dialog box of the wizard asks you if you want to define a new map or use an existing map to export your data to an HTML file (see Figure 4). Select the New Map option, and click the Next button to continue. The Export Wizard Map Options dialog box appears (see Figure 5). Figure 4. The Export Wizard - Map dialog box allows you to specify whether you want to create a new map or use an existing map to export project data to an HTML document. 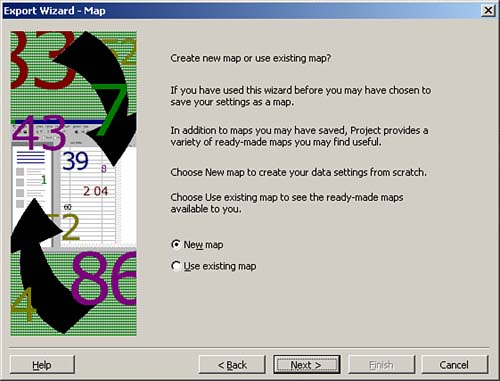 Figure 5. The Export Wizard - Map Options dialog box allows you to define the type of project data ( tasks , resources, and assignments) you want to export to an HTML document. 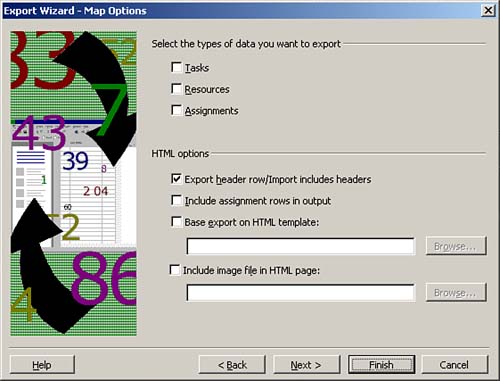 NOTE An Import/Export map allows you to define the type of information to be included in an HTML document. You can create an Import/Export map that exports task data, resource data, resource assignment data, or any combination of the three. After you select which type of data to export, you select the specific fields you want to export to the HTML document. -
In the Select the Types of Data You Want to Export section, select one or more check boxes for the type of data you want to include in the HTML document (refer to Figure 5). NOTE For each type of project data (tasks, resources, or assignments) you select in the Export Wizard - Map Options dialog box, the wizard includes a separate step to select the specific fields for each type of project data you want to export. -
Click the Next button, and an Export Wizard mapping dialog box displays for the first project data type you selected in step 5. For example, if you selected Tasks as a project data type in step 5, the Export Wizard Task Mapping dialog box appears (see Figure 6). Figure 6. The Export Wizard Task Mapping dialog box allows you to define the specific task fields you want to export to an HTML document. 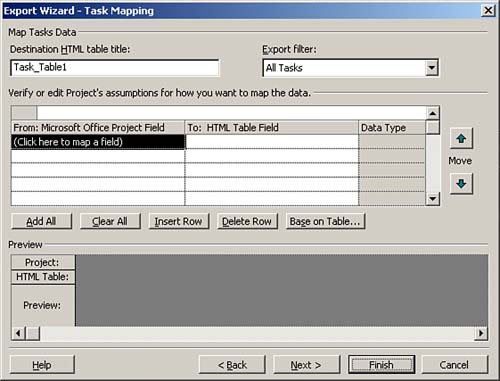 NOTE Each type of data you export (tasks, resources, and assignments) is displayed in a separate table in the HTML document. -
In the Destination HTML Table Title field, type a descriptive name for the table, which will be generated in the HTML file for this data type. For example, if you are defining task fields to be exported for an office relocation project, you could type the name Relocation Project Tasks . This descriptive name is displayed above the corresponding table in the HTML file (see Figure 7). Figure 7. The Destination HTML Table Title text box shows the title Relocation Project Tasks, which displays above the task table in an HTML document. 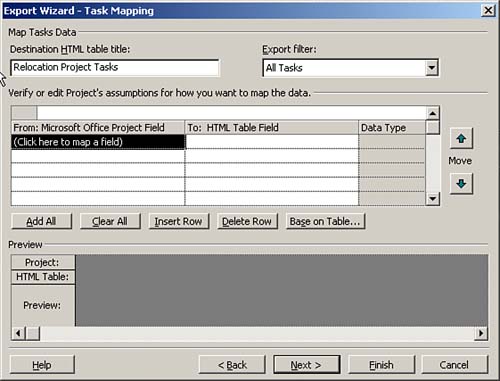 -
From the Export Filter drop-down list, select the filter to be used for the tasks or resources you are exporting to an HTML file. If you want to export all the tasks or resources from a project, select the corresponding filter (All Tasks or All Resources). NOTE The Export filter applies only to Task Mapping and Resource Mapping because filters do not exist for assignments in Microsoft Project. TIP If you have not yet created the task or resource filter to be used with the Export Wizard, you can click the Next button to advance to the next step in the wizard, save your Export map as prompted, create the filter, and select Save As Web Page once again to continue where you left off. -
The next step is to define which fields you want to export to the HTML document. For example, to create a task schedule table, you would most likely select the ID, Name, Start, Finish, and Duration fields to be exported to the HTML document. TIP If you have an existing Microsoft Project table that contains the same fields that you want to export to the HTML document, click the Base on Table button and select the existing table on which you want to base the HTML table (see Figure 8). Figure 8. The Select Base Table for Field Mapping dialog box allows you to select an existing Microsoft Project table on which to base an HTML table. 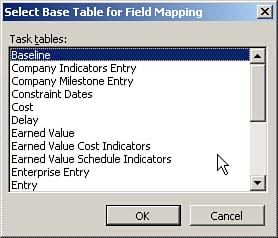 -
In the From: Microsoft Project Field column, click the (Click Here to Map a Field) cell . From the drop-down list, select the first field you want to include in the table. TIP A quick way to select the field you want from the drop-down list is to type the first letter of the field name after you have clicked the list. This takes you directly to the fields that start with that letter, so you don't have to scroll down the entire list. This technique works on any drop-down list in a Windows application. -
You can display a header for this field that differs from the Microsoft Project field name in the HTML document. To do so, click the To: HTML Table Field column and type the new name you would like to use. For example, if the field name in the HTML document is ID, but you want to display Task ID as the column header, you would type Task ID . -
Repeat steps 10 and 11 for each field you want to export to the HTML document (see Figure 9). You can also change the order of the fields in the table by clicking the Move Up and Move Down arrows on the right side of the dialog box. Figure 9. In the Export Wizard Task Mapping dialog box, you can select task- related fields.  NOTE As you build a table, you can use the Insert Row and Delete Row buttons to add fields to and delete fields from the table. Or, you can use the Add All button to add to the table every field for the corresponding data type. Although this sounds intriguing, it is unlikely that you will want to create a huge table in an HTML document that contains every field available in Microsoft Project for that data type. If you did, a considerable amount of scrolling across the Web page would be needed to view all the data. -
After you have selected the fields you want to export for this data type, click the Next button. For each of the project data types (tasks, resources, and assignments) you selected previously, you are presented with a mapping step. Repeat steps 7 through 12 for each of the other data types you are exporting. -
After you have completed each of the mapping steps in the wizard, click the Next button, and the Export Wizard End of Map Definition dialog box appears (see Figure 10). Figure 10. In the Export Wizard End of Map Definition dialog box, you can click Finish to save project data to an HTML document. 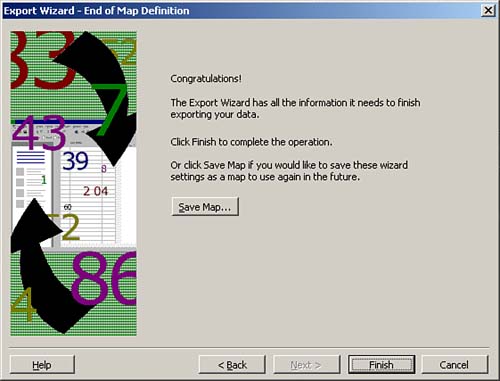 -
If you want to save all the information entered in the wizard as an Export map that can be used again, click the Save Map button. The Save Map dialog box appears (see Figure 11). In the Map Name text box, type a descriptive name for the Export map. For example, if this map will contain task schedule information, type Task Schedule Map in this field and click Save. Figure 11. The Save Map dialog box allows you to save all the information you entered in the wizard to a map that can be reused. 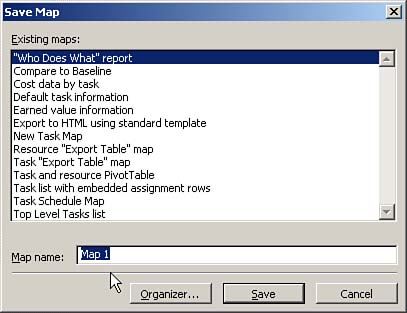 -
Click Finish, and the project data is exported to an HTML document. NOTE The Import/Export map is automatically saved in your GLOBAL.MPT file, and it is available for all your future projects.
Viewing a Project as an HTML Document To view the HTML file you created in a Web browser, follow these steps: -
Start up your Web browser. This example uses Internet Explorer, but Netscape and other browsers work similarly. -
Select File, Open, and the Open dialog box opens. Click the Browse button to navigate to the HTML file, and then click Open. -
From the Open dialog box, click the OK button (see Figure 12), and the Web browser displays the HTML document you created in Microsoft Project (see Figure 13). Figure 12. The Microsoft Internet Explorer Open dialog box allows you to open a Web document by referring to the document's Internet address or filename. 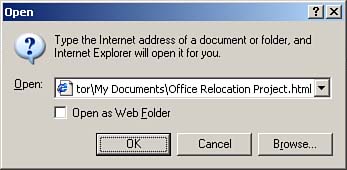 Figure 13. Microsoft Internet Explorer can display HTML documents created in Microsoft Project. 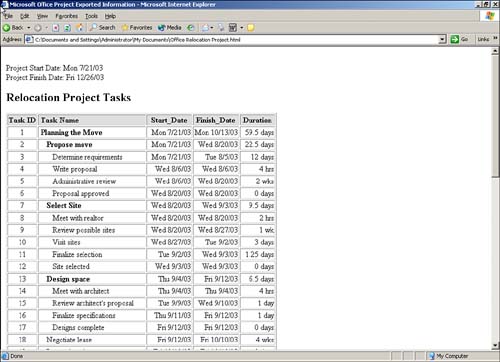 NOTE You can double-click the HTML file from Windows Explorer to view the file in your browser.
|