Creating Groups
| When it comes to creating groups, understanding the characteristics and limitations of each different type and scope is only half the battle. Other points to consider for group creation are how the group will be used and who will need to be a member of the group. A group is commonly used for three separate functions, including delegating administrative rights, distributing email, and securing network resources such as file shares and printer devices. To help clarify group usage, the following examples show how the different groups can be used in different administrative scenarios. User Administration in a Single DomainIf a group is needed to simplify the process of granting rights to reset user passwords in a single domain, either a domain local or global security group would suffice. The actual domain user rights should have local groups applied only to their access control lists or settings, but these local groups should have global groups as members. For a single-domain model, if the specific user rights need to be granted only at the domain level, a domain local group with users as members would be fine. However, if you need to add the same group of users to an access control list on a member server resource or you need to create a completely new domain, the domain local group cannot be used. This is the main reason it is recommended to place users only into global groups and assign permissions to resources using local groups that have global groups as members. After you use this strategy and use global groups over and over, saving administration time, the reasoning will be validated. User Administration Across a Forest of DomainsWhen multiple domains need to be supported by the same IT staff, even if the domain levels are set to Windows 2000 Mixed mode, each domain's Domain Admins group should be added to each domain's Administrators group. For example, domain A's Administrators group would have Domain A Domain Admins, Domain B Domain Admins, and Domain C Domain Admins groups as members. You would need to add these domains whenever a resource or administrative task needs to grant or deny groups from each domain access to a resource in the forest. If all the domains in the forest run in Windows 2000 Native or Windows Server 2003 Native Domain functional level, you could create a Universal security group named Forest Admins with each of the domain's Domain Admin groups as members. Then you would need to configure only a single entry to allow all the administrators access forest-wide for a particular resource or user right. Universal security groups are useful because they can have members from each domain, but if a proper group strategy has been developed, domain local and domain global groups could still handle most situations. Domain Functionality Level and GroupsThere are many different domain functionality levels, with each level adding more functionality. The reason for all the different levels is to provide backward compatibility to support domain controllers running on different platforms. This allows a phased migration of the domain controllers. The four main domain functionality levels are
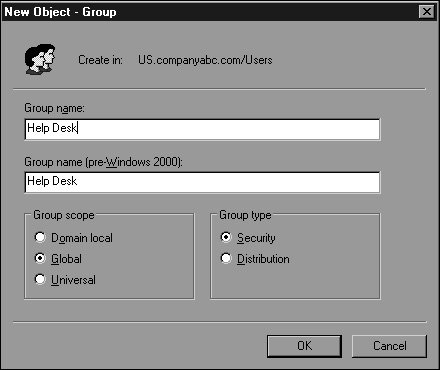
Creating AD GroupsNow that you understand what kinds of groups you can create and what they can be used for, you are ready to create a group. To do so, follow these steps:
Populating GroupsAfter you create a group, you can add members to it. The domain level that the domain is running in will determine whether this group can have other groups as members. To add members to an existing group, follow these steps:
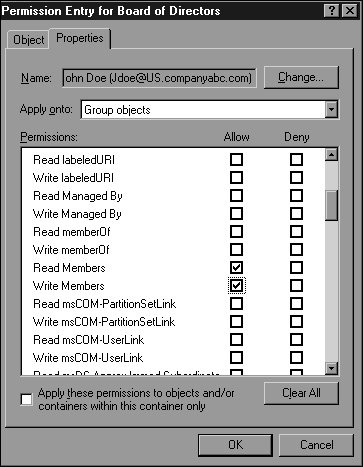
Group ManagementAfter a group is created, it needs to be managed by an administrator, users, or a combination of both, depending on the dynamics of the group. For example, when Exchange Server 2003 is being leveraged in an Active Directory environment, administrative assistants commonly need to modify certain mailing group memberships. For this particular example, if the proper permissions on the group are defined, an administrative assistant would be able to manage group membership using her Outlook client. If group membership needed to be managed outside Outlook, the administrative assistant would need the Windows Server 2003 Administration Pack installed on the workstation. To delegate control of a group to a particular user, follow these steps:
|
EAN: 2147483647
Pages: 499
- Chapter II Information Search on the Internet: A Causal Model
- Chapter V Consumer Complaint Behavior in the Online Environment
- Chapter XIII Shopping Agent Web Sites: A Comparative Shopping Environment
- Chapter XIV Product Catalog and Shopping Cart Effective Design
- Chapter XVI Turning Web Surfers into Loyal Customers: Cognitive Lock-In Through Interface Design and Web Site Usability