Initial install
|
| < Day Day Up > |
|
This is fairly straightforward: just run the setup executable and follow the "typical" install path. You will need to import the license key, either at the beginning of the install, or once the install has completed, using the Rational License Key Administrator, which should appear automatically.
At the end of the install, you will be prompted to set up the working environment for projects.
Decide on the location of your project. Before proceeding, open Windows Explorer and create the top-level directory of the project. Make sure the directory is empty. An example is shown in Figure B-3.
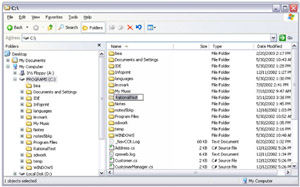
Figure B-3: Rational Robot Project Directory
To create a Rational project, perform the following steps:
-
Start the Rational Administrator by selecting Start → Programs → Rational Robot → Rational Administrator.
-
Start the New Project Wizard by selecting File → New Project on the Administrator menu. A window similar to Figure B-4 on page 444 should appear.
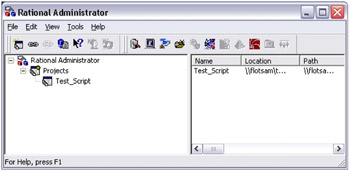
Figure B-4: Rational Robot Project -
On the wizard's first page (Figure B-5 on page 445):
-
Supply a name for your project, for example, testscripts. The dialog box prevents you from typing illegal characters.
-
In the Project Location field, specify a UNC path to the root of the project, referring to the directory name you created in above. It does not really have to be a shared network directory with a UNC path.
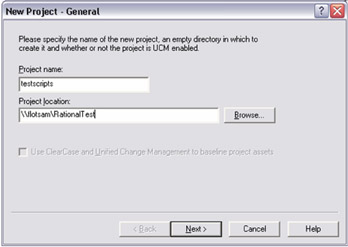
Figure B-5: Rational Robot Project -
-
Click Next. If you do create a password for the Rational project, supply the password on the Security page (Figure B-6 on page 446). If you do not create a password, then leave the fields blank on this page.
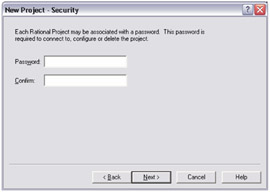
Figure B-6: Configuring project password -
Click Next on the Summary page, and select Configure Project Now (Figure B-7 on page 447). The Configure Project dialog box appears (Figure B-8 on page 448).
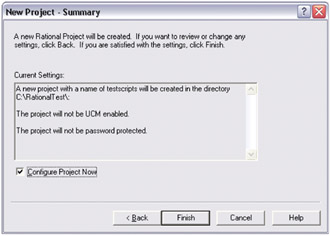
Figure B-7: Finalize project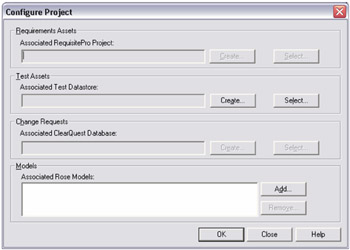
Figure B-8: Configuring Rational Project
A Rational Test datastore is a collection of related test assets, including test scripts, suites, datapools, logs, reports, test plans, and build information.
You can create a new Test datastore or associate an existing Test datastore.
For testing of Rational Robot, the user must set up the Test datastore.
To create a new test datastore:
-
On the Configure Project dialog box, click Create in the Test Assets area. The Create Test Datastore tool appears (Figure B-9 on page 449).
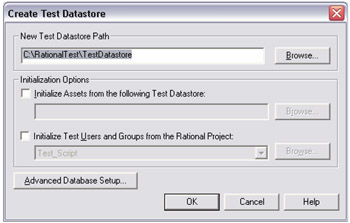
Figure B-9: Specifying project datastore -
In the Create Test Datastore dialog box:
-
In the New Test Datastore Path field, use a UNC path name to specify an area where you would like the tests to reside.
-
Select initialization options as appropriate.
-
Click Advanced Database Setup and select the type of database engine for the Test datastore.
-
Click OK.
-
|
| < Day Day Up > |
|
EAN: 2147483647
Pages: 105