Adding a Motion Background from the Library
|
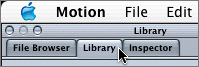
| There's a big difference between the project you built in Lesson 1, which was a still composite, and the one you're about to create here. However, the finished motion graphics project uses many of the same graphics building blocks that you used in the previous lesson, including a background, shapes, images, and text. They're just a lot more active. Let's start with a background movie. Motion comes with more than 4 GB of content, including some great-looking backgrounds that you can use for your projects. What makes a great-looking background? Good question. Of course, anything you do in the creative world of graphic design is subjective. However, for me, a great-looking background helps set the tone of a piece. It can enhance the mood and bring a project to life without distracting you from the main subject. Think of a background movie as moving wallpaper for your project. You'll notice if it isn't there or if it's really loud and tacky, but if it fits the project, it can add class and production value to the overall composite. Graphic design is all about catching someone's attention, getting their eyes to focus on the right elements, and hoping they'll remember the important parts long after the experience. Imagine walking into an empty room with blank walls and nothing but an Exit signyou're likely to feel the stark barrenness of the room and want to head for that exit. On the other hand, a tastefully decorated room with an Exit sign will likely feel more inviting, and you may choose to stay awhile before exiting. Either way, you'll feel differently about the experiences, and chances are good that the second one will be more memorable. Now that you understand the importance of a great background, let's go get one. Fortunately, all of the Motion content is conveniently organized in the Library. To view the Library content, you simply click the Library tab in the File Browser.
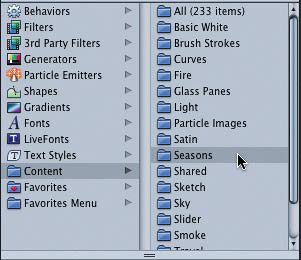
Then you click the Content folder to view the Motion content. The column on the right shows all of the categories of content available. If you're using the trial version, use the File Browser to find the files for this exercise in the Additional Motion Content folder in the Motion Book Files folder. Let's narrow the content to the Seasons category.
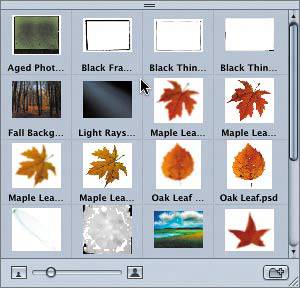
Icons for the Seasons content appear in the lower pane of the Library.
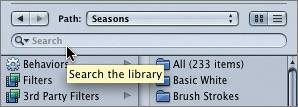
Narrowing the Content SearchTo narrow the search for a specific filename or subject, you can use the refine search field located below the Preview area in the Library.
For this project, you are going to use a summer background, so let's narrow the search to backgrounds that use the word summer.
TIP It's a good idea to clear the refine search field whenever you are finished using it. That way, the next time you go to find something in the Library, you won't be confused or limited by the narrowed selections from a previous search. Saving Your ProjectNow that you've added the first object to your project, it's a good time to start saving your project in the My Motion Projects folder on your Desktop.
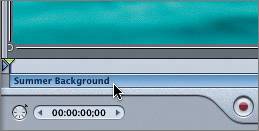
Viewing a File in the Mini-TimelineTwo things just happened when you added the background movie to your project. First, the Summer Background movie appeared in the Canvas. Second, a Summer Background region appeared in the mini-Timeline. What's the mini-Timeline? It's a condensed (miniature) Timeline that shows selected elements from your project. Your project elements appear in the mini-Timeline as long, barlike regions. The mini-Timeline is located at the bottom of the Canvas window.
In this case, since the background file is selected in the Canvas, the Summer Background region appears as a blue bar in the mini-Timeline. Objects and media files appear as blue regions in the mini-Timeline.
|
|
EAN: 2147483647
Pages: 283