| Nothing brings a static object to life faster than a little particle enhancement. Let's browse the Library to find a particle emitter that will give the A object a healthy, flaming glow to match the animated globe. 1. | Press Cmd-2 to open the Library tab in the Utility window; then select the Particle Emitters icon in the Library.
| 2. | Select the Pyro category of particle emitters; then select the Corona emitter from the list in the lower pane of the Library.
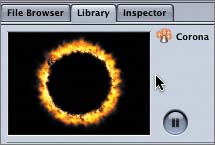
It's a little extreme, but with some minor particle modification this will look great behind the static A object.
|
Changing the Project Preferences Before you add the particle emitter to the project, do you know where it will appear in the Timeline? Because this project requires precision timing, it's a good idea to set the Project preferences to create new objects at the playhead position. 1. | Choose Motion > Preferences to open the Preferences window.
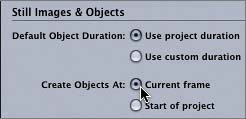
| 2. | In the Project pane of the Preferences window, change the Still Images & Objects setting to Create Objects At: Current frame, if that's not already the current setting.
| 3. | Press Cmd-7 to open the Timeline tab.
| 4. | Move the playhead to the beginning of the 22A layer (5;00).
|
Applying and Modifying the Particle Emitter With the playhead in position, it's time to apply the Corona particle emitter. The easiest way to do that is simply to click the Apply button in the Preview area of the Library. 1. | Select the A object if it's not already selected; then in the Preview area of the Library tab, click the Apply button.
The Corona emitter appears on the 22A logo layer in the Timeline.
| 2. | Scrub the playhead forward in the Timeline to 6;00 to view the Corona emitter over the A object.
Okay, it's a little small, but that's easy to fix. Let's modify the scale of the emitter to make it almost the same size as the circle in the A object. You'll be placing the emitter behind the A object shortly, so you should keep it slightly smaller than the object that will be above it.
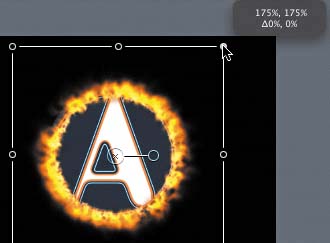
| 3. | In the Timeline Layer list, click the Corona emitter to select it in the Canvas.
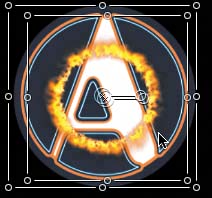
| 4. | In the Canvas, Option-Shift-drag any corner of the Corona bounding box to resize it to approximately 175 percent.
Now let's change the position of the emitter and the A object on the layer so that the A is above the Corona emitter.
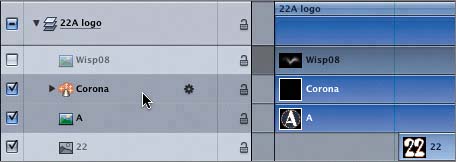
| 5. | In the Timeline Layer list, drag the A object upward until the position indicator appears above the Wisp08 object (the original object for the Corona emitter).
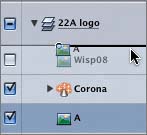
The Corona emitter now appears behind the A object in the Canvas.

The flaming particles on the animated globe were mostly white. Let's change the particle colors of the Corona emitter so that they are also mostly white, to match.
| 6. | In the Timeline Layer list, click the Corona emitter to select it; then press Cmd-3 to view the Corona emitter in the Inspector.
| 7. | On the Emitter tab of the Inspector, scroll downward to the Color controls.
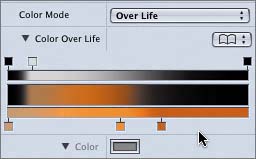
| 8. | Change the color tags in the Gradient Editor to light orange and white; then close the Colors window.

While you're in the Inspector, let's lower the particle birthrate to 30 to limit the flames to match the globe image.
| 9. | Change the Birth Rate value to 30.

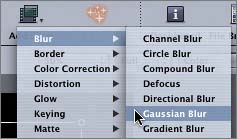
The project is looking good. Let's add a blur filter to the Corona emitter to blur the particles.
| 10. | Click the Add Filter icon in the toolbar and choose Blur > Gaussian Blur from the pop-up menu.
| 11. | Play the project in the Canvas to see how it looks so far.
The transition between the globe image and the A object looks great. Now all you need to do is animate the 22A objects to finish the project.
| 12. | Press Cmd-S to save your progress.
|
|