Resizing Clips in the Timeline


Let's start with the first step. We'll resize the different objects in the Timeline. To save time, I have already set markers that you can use as guides for choreographing the elements in the scene.

1.

Press Cmd-7 to open the Timeline tab in the Timing pane; then click the Zoom to Fit button to see the entire play range in the Timeline.

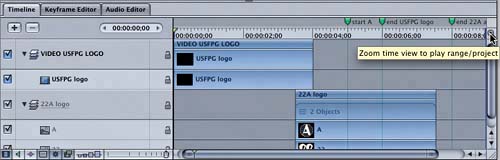
The Timeline contains three markers: start A, end USFPG logo, and end 22A animation. Let's resize each of the elements to the various markers, starting with the USFPG logo.

2.

Move the playhead to the end USFPG logo marker in the Timeline.

3.

Select the USFPG logo clip in the Timeline.

4.

Press O to extend the Out point (end) of the USFPG logo clip to the playhead position.

5.

Drag the A clip in the Timeline toward the right until it begins at the start A marker.

6.

Drag the 22 clip to the end USFPG logo marker.

7.

Press Shift-O to move the playhead to the play range Out point (8;29).

8.

Select the objects on the 22A layer; then press O to change the Out points of the layer and its objects to the playhead position.

9.

Press Cmd-S to save your progress.


    Apple Pro Training Series Getting Started with Motion
    Apple Pro Training Series: Getting Started With Motion
    ISBN: 0321305337
    EAN: 2147483647
    Year: 2005
    Pages: 283
    Authors: Mary Plummer

    flylib.com © 2008-2017.
    If you may any questions please contact us: flylib@qtcs.net