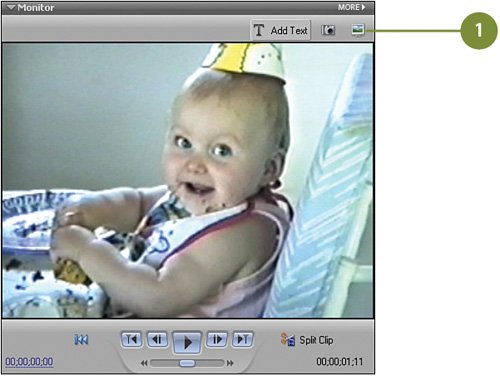
Creating a "Hider" Object to Hide the Face Now that your two clips are set in place, we'll create the initial object that will be used to blur, or hide, the identity of the baby. Once you've mastered this technique, you can use it to hide anyone or any object. We'll be using the Titler to create this object, as the Titler enables you to create not just text, but geometric objects as well. Since a circle (actually, an ellipse) naturally matches the shape of a face, we'll be using that. In future projects, use a shape that matches the object you're looking to disguise. In other words, if the object more closely resembles a square or rectangle, then use one of those shapes instead. Hide the Face  Click the Add Text button (shown below) at the top of the Monitor panel to begin to add a title for the news background. Click the Add Text button (shown below) at the top of the Monitor panel to begin to add a title for the news background.

 Tip Safe margins should automatically appear. If they don't, you can turn them on yourself by clicking on the MORE button in the upper right corner of the Monitor panel. Then, click Safe Title Margin.  On the Monitor panel, click the Selection Tool. On the Monitor panel, click the Selection Tool.
 Click on the Add Text text box to select it. Click on the Add Text text box to select it.
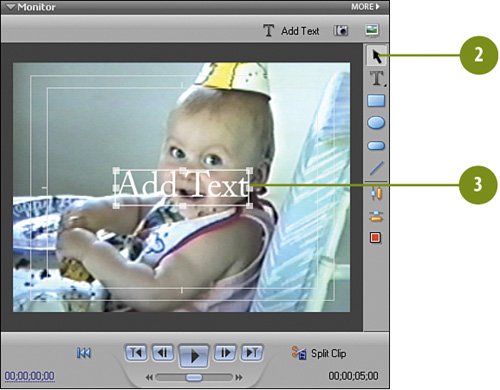  Press the DELETE key on your keyboard to delete this text. We won't be using the Titler to add text, but rather to add an object to the screen (next). Press the DELETE key on your keyboard to delete this text. We won't be using the Titler to add text, but rather to add an object to the screen (next).
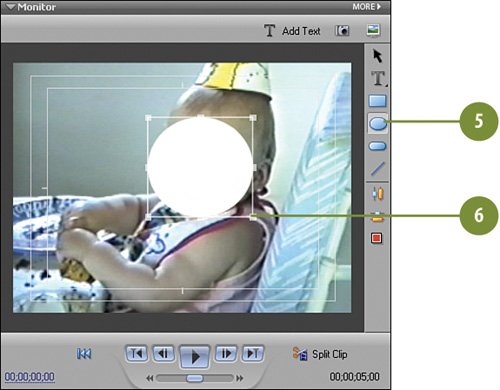
 Select the Ellipse Tool from the toolbar. Select the Ellipse Tool from the toolbar.
 Drag an ellipse in the general area of the baby's face, so we can keep her identity secret. Drag an ellipse in the general area of the baby's face, so we can keep her identity secret.
 Tip You want to err on the side of making this ellipse a little too big, rather than too small. We'll be applying a blur to the object a bit later. The blurred edges will cause the overall size of the object to shrink a bit.  With the ellipse selected, click the Color Properties button. With the ellipse selected, click the Color Properties button.
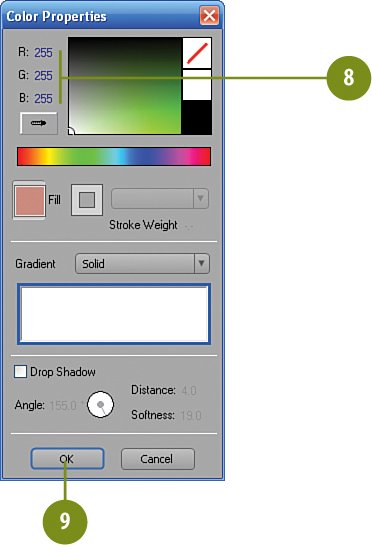
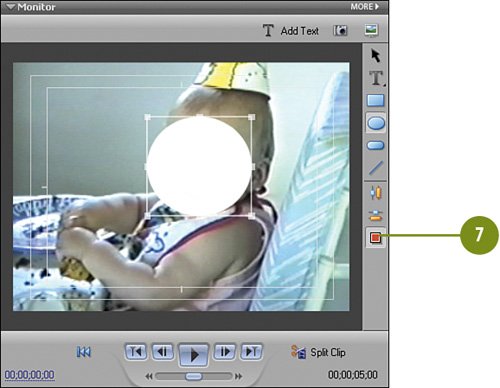  Make sure that the ellipse is perfectly white. To ensure that it is, each of the Red, Green, and Blue (RGB) settings must be at 255. Adjust as necessary: Make sure that the ellipse is perfectly white. To ensure that it is, each of the Red, Green, and Blue (RGB) settings must be at 255. Adjust as necessary:
 Click OK. Click OK.
 Click anywhere on the Timeline to return to Edit mode and the Edit workspace. Click anywhere on the Timeline to return to Edit mode and the Edit workspace.
 If necessary, press the BACKSLASH (\) key on your keyboard to view the full project. If necessary, press the BACKSLASH (\) key on your keyboard to view the full project.
 Resize the Title 01 clip by grabbing the tail end of the clip and pulling it back so that it lines up with the two undercoverbaby.avi clips. Resize the Title 01 clip by grabbing the tail end of the clip and pulling it back so that it lines up with the two undercoverbaby.avi clips.
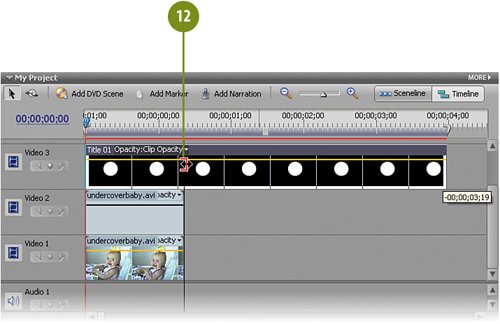
Did You Know? Let the arrows be your guide. If you have Snap turned on (Timeline, Snap), when you stretch the Hider clip to match the other two clips in the Timeline, Premiere Elements will show you that you've reached the right spot by using black arrows as indicators (as shown in the illustration). It's a useful visual clue to let you know that your clip is exactly the right length.
|
|