Adding a Matte Border to the Still Image


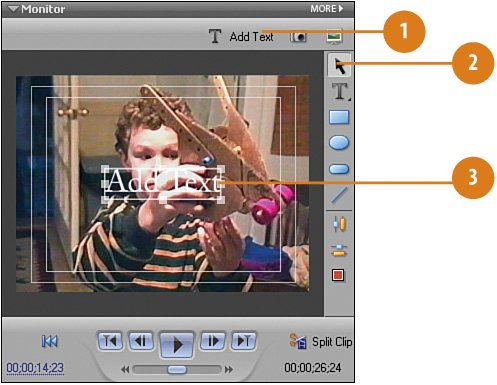
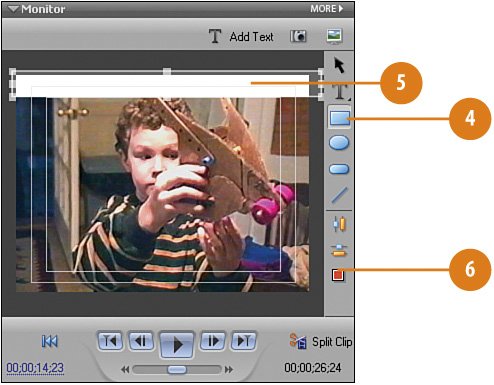
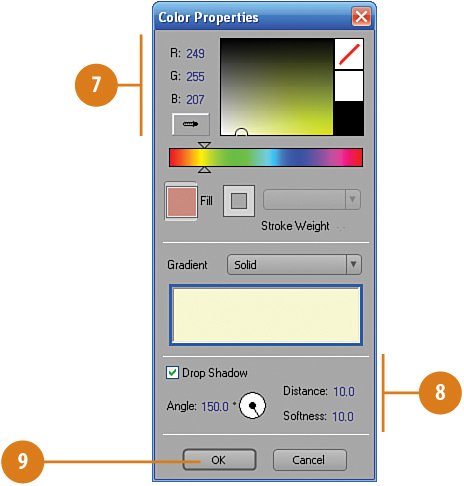
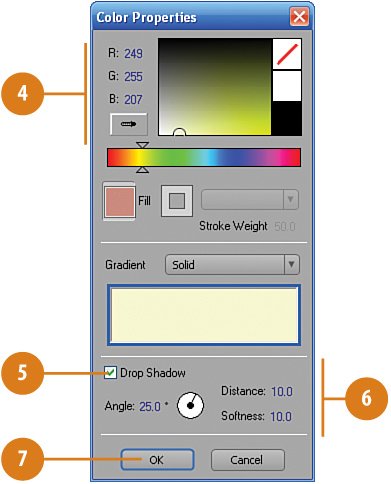
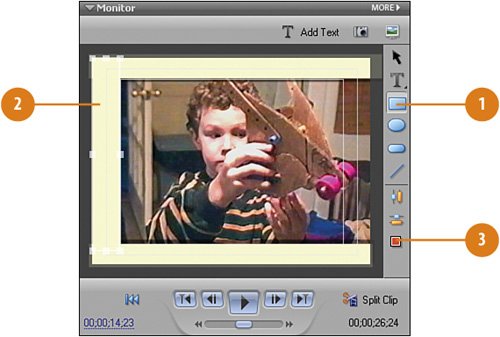
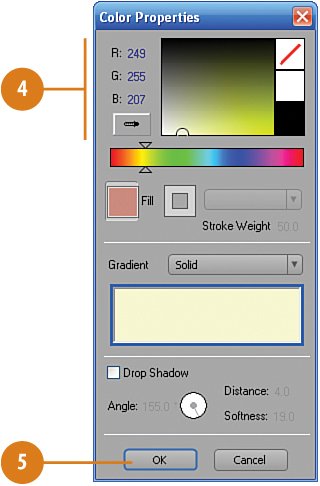
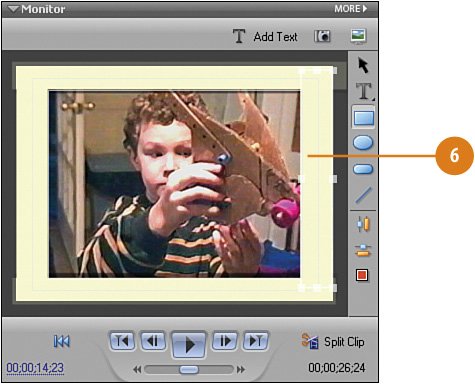
In this stage, we'll use the Premiere Elements Titler to add the kind of border you often see in framed paintings, referred to as a matte. This will help increase the illusion that what your audience is looking at is a watercolor painting and no longer a video. To create this matte, we'll use the safe margins already supplied by the Titler as our guides to create even borders on all four sides. We'll also add a slight drop shadow to give the matte border some depth.

Create the Top Border

Click the Add Text button on the Monitor panel.

Click the Selection Tool (the arrow button).

Right-click the Add Text text box and select Cut from the contextual menu.

Click the Rectangle Tool.

To create the top border, draw a box at the top of the screen, so that the screen is covered from left to right, stopping just at the Safe Title Margin (the inner-most margin).

Timesaver

To turn on margins, if they're off click the MORE button at the top right corner of the Monitor panel and select Safe Title Margin and Safe Action Margin.

Click on the Color Properties button.

Set the following RGB values for the matte color on the Color Properties dialog box:

  • R: 249

  • G: 255

  • B: 207

Click the Drop Shadow check box and then set the Drop Shadow options as follows:

  • Angle: 150.0 degrees

  • Distance: 10.0

  • Softness: 10.0

Click OK.

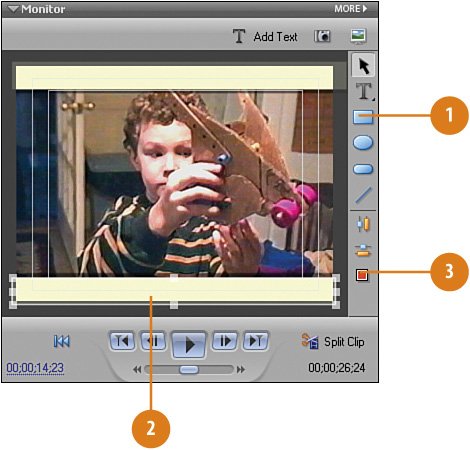
Create the Bottom Border

To create the bottom border, select the Rectangle Tool again (if necessary).

Draw a rectangle at the bottom of the screen so that the screen is covered from left to right. Again, stop just at the Safe Title Margin, as shown in the illustration.

Click on the Color Properties button.

Set the following RGB values for the matte color on the Color Properties dialog box:

  • R: 249

  • G: 255

  • B: 207

Click the Drop Shadow check box.

Set the Drop Shadow for the bottom border slightly differently, as follows:

  • Angle: 25.0 degrees

  • Distance: 10.0

  • Softness: 10.0

Click OK.

Create the Side Borders

To create the left side border border, select the Rectangle Tool again (if necessary).

Draw a rectangle at the left of the screen, again so that the screen is covered from left to right, stopping just at the Safe Title Margin.

Click on the Color Properties button.

Set the same RGB values for the matte color on the Color Properties dialog box as for the top and bottom borders

  • R: 249

  • G: 255

  • B: 207

Important

The side borders do not use the Drop Shadow function.

Click OK.

Tip

Make sure that when you create each side border, they overlap both the top and the bottom border

Create the right side border in the same way.

To be sure that the two side borders are on top, right-click on the left border and the right border one at a time and select Arrange, Bring to Front from the contextual menu.

Finally, on the Timeline grab the tail end of the Title 01 clip and stretch it out so that it matches the two snapshots in length.

Important

If necessary, adjust this matte border clip so that the head of the clip also lines up with the head of the two watercolor_FF.bmp clips on the Video 1 and Video 2 tracks.


Hollywood Special Effects with Adobe Premiere Elements 3
ISBN: 0789736128
EAN: 2147483647
Year: 2006
Pages: 274
Authors: Carl Plumer

flylib.com © 2008-2017.
If you may any questions please contact us: flylib@qtcs.net