Drawing AutoShape Objects
| When you look at Figure 27.8, you probably see a Manhattan cocktail with a cherry. But really, the figure consists of two trapezoids, a rectangle, an oval, a circle, and a curved line. Each of these objects has also been formatted to create a particular effect. Figure 27.8. You can use PowerPoint's drawing objects to make a simple picture.
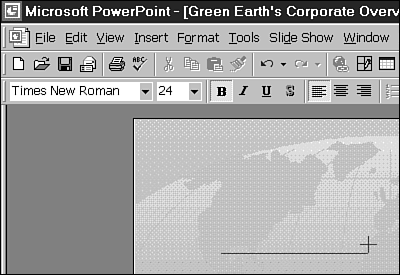
Vector graphics are a type of graphic image composed of grouped shapes. The shapes are stacked in an order that creates a picture in the mind's eye. Think back to when you were in kindergarten. Remember cutting out a bunch of circles, squares, and triangles ? After gluing the shapes together, you had formed a picture of a house underneath clouds. Vector graphics work by the same principles. LinesPowerPoint has six line styles to choose from: three straight and three curved. Each line style can also be formatted with many options. PowerPoint always has the type of line you need for a project. The line, arrow, and double-arrow options all draw straight lines. To draw a line, use the following steps:
ConnectorsA connector is a valuable , time-saving drawing object used to visually connect two points. Using connector lines instead of normal lines is helpful when you move an object, because the lines stay connected (hence the name connectors ). To connect any object, use one of PowerPoint's three types of connector lines: straight, angled, or curved. Follow these steps:
After you have connected two objects, the connection lines show locked connectors as red squares. If a connector isn't locked to an object (unlocked), the connector is shown as a green square. You can also use the yellow adjustment controls to "snake" the connector the way you want. The rest of the AutoShape options behave in basically the same manner. The main difference between the objects is the specific shape. There are many closed shapes that can be easily drawn and grouped to create almost any kind of picture. Remember the sample cocktail shown at the beginning of this chapter? Your drawing can be very simple or extremely complexenough to create an intricate work of art. Follow these steps to draw an AutoShape:
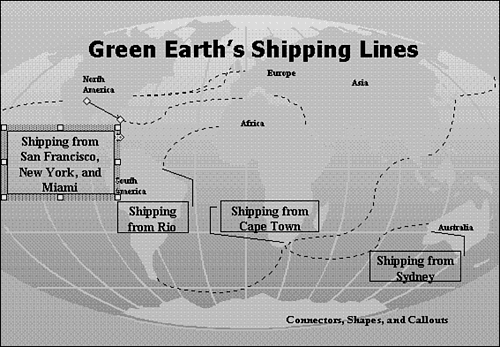
CalloutsA callout is a text description for part of a graphical image. Callout objects are useful AutoShapes when you need to use text with a connecting line back to an object. For example, you might need to describe a particular object, as shown in Figure 27.10. To create a callout, use the following steps:
Figure 27.10. Use callouts to attach text to the object you are referencing (like comics in the newspaper). Action ButtonsAction buttons , the last available option on the AutoShapes menu, enable you to create navigation buttons like the ones you see displayed on World Wide Web pages. You draw these buttons just as you do any other AutoShape. When you release the mouse button, PowerPoint displays the Actions Settings dialog box, where you can set the specific action you want the button to perform. |
EAN: 2147483647
Pages: 474


