Changing Text Object Attributes
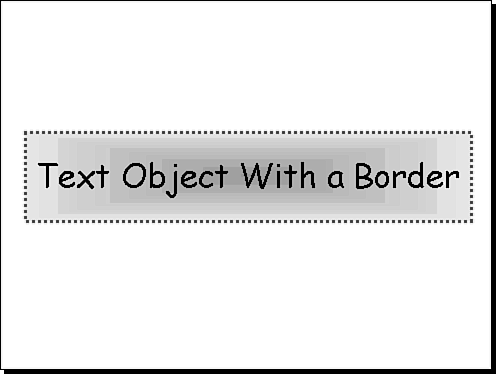
| This next section covers how the text object affects the text contained in it and how to control the text object itself. Each of the following sections explains a different option or feature, and the title object is used as the sample object. Adding a Border or FillThe first feature is adding a border or fill (shading) to your text object, which is a great way to make text stand out from the crowd . Figure 24.7 shows how a text object can be formatted with borders and shading. Figure 24.7. A text object shown with a border and a gradient fill. Gradient fill is a very cool special effect that you can use with almost every PowerPoint object. With a gradient fill effect, one color gradually fades into black, white, or another color. PowerPoint also has several preset color schemes from which you can choose. To add a border or fill to a text object, follow these steps:
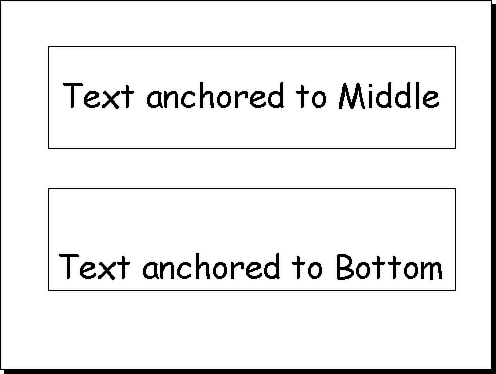
Setting the Text Anchor PointWhen you're trying to get the best look for your presentation, you can control how the text is anchored within a text object, especially when you have used a border or fill option. The text anchor point is the point where the text sits in the object. Text can be anchored to an object position at the top, middle, bottom, top center, middle center, or bottom center. Figure 24.8 shows two text objects, each with a different anchor point. If you need to change the anchor point, follow these steps:
Figure 24.8. Message text is anchored to the middle and bottom of the text box. |
EAN: 2147483647
Pages: 474

