Section 81. Crop and Straighten Photos in Photoshop
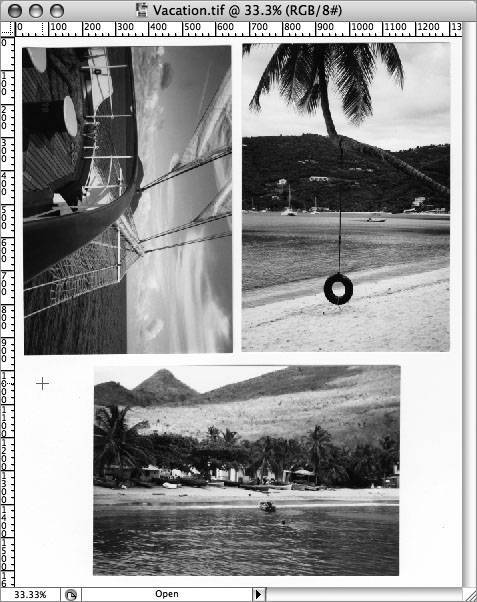
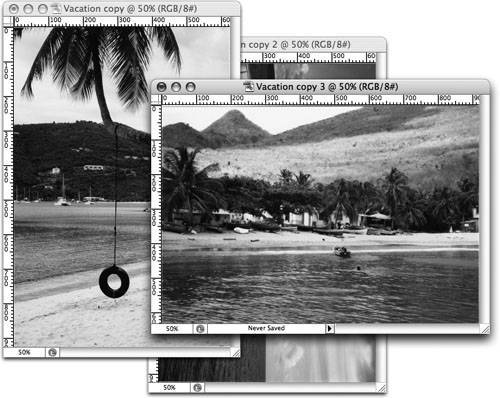
#81. Crop and Straighten Photos in PhotoshopAlthough digital photography has become increasingly popular these days, you may still find yourself scanning in some old photo prints on your flatbed scanner. But having to crop and straighten each print afterwards has always been a pain. Well, we can put all this tedium behind us now and let Photoshop's amazing Crop and Straighten Photos command do the work for us. This remarkable command not only automates the process of cropping and straightening your photos for you, it can do so to multiple images within a single scan.
Follow the steps below to use the Crop and Straighten Photos command:
|
EAN: 2147483647
Pages: 143