| You're already familiar with HTML elements: input text boxes, select lists, buttons, images, tables, and so on. These are all elements that represent some visual aspect of a Web page. For example, you can create a text box using the following HTML tag: <input type="text" value="blah" /> HTML elements are completely client-based; the server has no knowledge of any of these controls. A browser knows what <input type="text"> is supposed to look like and renders it accordingly. As mentioned earlier today in "Introduction to Web Forms," HTML server controls are server-side elements. They're objects that are created on the server, with properties, methods, and events that you can handle. They generate HTML for the browser to display. HTML server controls are very easy to create simply add the runat="server" attribute to any HTML element. Every HTML element has a corresponding HTML server control. In fact, you've already used one control many times: the HtmlForm control, which looks like <form runat="server">. The following is an HtmlInputText control: <input type="text" runat="server" /> Note Don't forget that you write server controls completely using regular HTML, so it doesn't matter what programming language your page is in; HTML server controls will always have the same form.
In this case, the server creates an HtmlInputText control. When the client requests the page, ASP.NET generates the appropriate HTML code to display the control as a text input box. The code to create HTML server controls is exactly the same as the HTML elements they represent, with the addition of the runat="server" attribute. Once you turn an HTML element into an HTML server control, every attribute of the element can be modified through code. For example, you could change the text inside the preceding HtmlInputText control with the following line: MyTextBox.Value = "Text changed" Let's take a look at an example. Listing 5.6 shows how you can manipulate the attributes of HTML server controls. Listing 5.6 Manipulating HTML Server Controls 1: <%@ Page Language="VB" %> 2: 3: <script runat="server"> 4: Sub Click(Sender as Object, e as EventArgs) 5: select case Sender.Value 6: case "Left" 7: word_image.align = "left" 8: case "Right" 9: word_image.align = "right" 10: case "Center" 11: word_image.align = "center" 12: end select 13: 14: Left.Style("Border-Style") = "notset" 15: Right.Style("Border-Style") = "notset" 16: Center.Style("Border-Style") = "notset" 17: 18: Sender.Style("Border-Style") = "inset" 19: end Sub 20: </script> 21: 22: <html><body> 23: <font size="5">Sam's Teach Yourself ASP.NET in 24: 21 Days: Day 5 </font><hr><p> 25: 26: <form runat="server"> 27: <input type="Button" runat="server" 28: Value="Left" OnServerClick="Click" /> 29: <input type="Button" runat="server" 30: Value="Center" OnServerClick="Click" /> 31: <input type="Button" runat="server" 32: Value="Right" OnServerClick="Click" /> 33: </form> 34: 35: <img src="/books/4/226/1/html/2/word.gif" runat="server"> 36: <div runat="server">This is an example 37: of text. When the buttons above are clicked, the image 38: will move around the text accordingly.<p> This example 39: demonstrates the HtmlImage and HtmlInputButton controls. 40: </div> 41: 42: </body></html>  | Let's examine the HTML portion of the page first, beginning on line 22. You have six HTML elements here: a form, three input buttons, an image, and a <div> section. Notice that all of these elements have the runat="server" attribute, which makes them all HTML server controls. |
The HtmlInputButton controls (which represent input buttons) all have an event called ServerClick, which occurs whenever they're clicked. When this event occurs, you execute the Click method on the server, as shown on lines 28, 30, and 32. Note If you're familiar with client-side scripting, you know that HTML buttons also have a Click event, which occurs on the client side. Make sure you use the correct event for your code: ServerClick for a server-side event, and Click for the client side (that is, for dynamic HTML functionality).
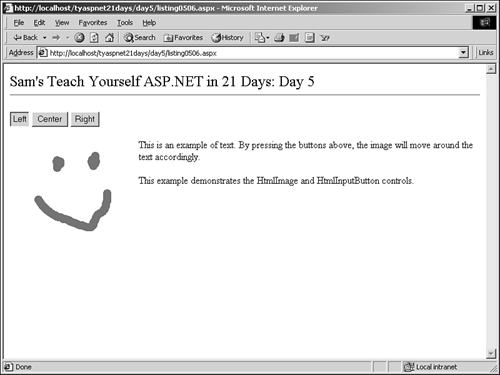
Let's go back and examine the code declaration block. The only method here is the Click event handler. This method uses a case statement to determine which button invoked it. You know that Sender represents a button server control (don't forget to cast it as such in C#), so you check its value to determine which button was clicked. Then you set the align property of the image accordingly. On lines 14 16, you set the style of the button elements. (Note that these are all styles that you could specify on normal HTML elements.) Specifically, you want to make the button that was clicked appear to be pushed in. Therefore, you first have to "unpress" each button control by setting its style to notset. Then, on line 18, you set the style of the button represented by obj to inset. Figures 5.7 and 5.8 show two different buttons being clicked. Figure 5.7. The left HTML server button when it's being clicked.
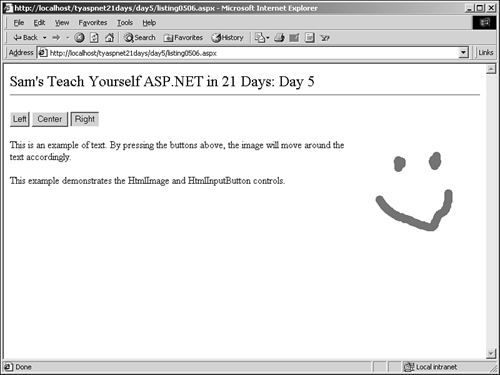
Figure 5.8. The right HTML server button when it's being clicked.
Note Don't forget to change the image source to an actual image you have on your server.
Any attribute of an HTML element is easy to manipulate when it's transformed into an HTML server control. Table 5.1 summarizes the predefined HTML server controls. You can also convert any HTML element not included in this list to an HTML server control simply by adding the "runat="server" attribute. Note that all of these controls belong to the System.Web.UI.HtmlControls namespace. Table 5.1. HTML Server Controls | HTML Control | Description | | HtmlAnchor | Creates a Web navigation link. Note that the HtmlAnchor control generates a post operation. HTML element: <a> | | HtmlButton | Performs a task. This control can contain any arbitrary HTML, and therefore it's very flexible in look and feel. However, it isn't compatible with all browsers. HTML element: <input type="button"> | | HtmlForm | Defines an HTML form. The values of controls within the form are posted to the server when the form is submitted. HTML element: <form> | | HtmlGenericControl | Creates a basic object model (properties, methods, events) for any HTML element converted to a control. | | HtmlImage | Displays an image. HTML element: <img> | | HtmlInputButton | Performs a task. This button is supported on all browsers. HTML element: <input type="button"> | | HtmlInputCheckBox | Creates a box that users can click to turn it on and off. The CheckBox control includes a label. HTML element: <input type="checkbox"> | | HtmlInputFile | Allows users to specify files to be uploaded to a server. (The server must allow uploads.) HTML element: <input type="file"> | | HtmlInputHidden | Stores state information for a form (information that needs to be available with each round trip to the server). HTML element: <input type="hidden"> | | HtmlInputImage | Like a button, but displays a graphic. HTML element: <input type="image"> | | HtmlInputRadioButton | Displays a button that can be turned on or off. Radio buttons are typically used to allow the user to select one item from a short list of fixed options. HTML element: <input type="radio"> | | HtmlInputText | Displays text entered at design time that can be edited by users at runtime or changed programmatically. This control can also be used to create password boxes that display their values as asterisks. HTML element: <input type="text"> | | HtmlSelect | Displays a list of text and graphical icons. HTML element: <select> | | HtmlTable | Creates a table. HTML element: <table> | | HtmlTableCell | Creates an individual cell within a table row. HTML element: <td> | | HtmlTableRow | Creates an individual row within a table. HTML element: <tr> | | HtmlTextArea | Displays large quantities of text. Used for multi-line text entry and display. HTML element: <textarea> | |