The Shake Interface
| The time has come. You've just installed the Shake software; now you get to see it in action. Before you start working with the various Shake processes, you should become familiar with the Shake interface.
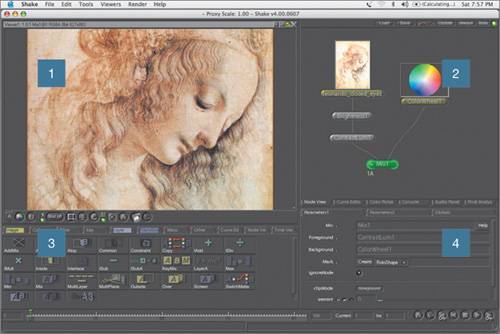
By default, Shake has four main workspaces:
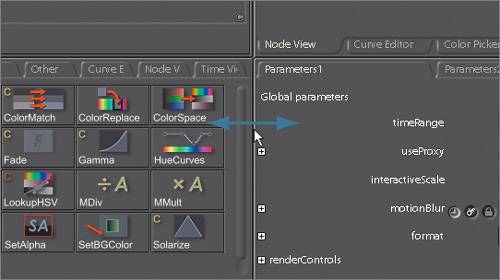
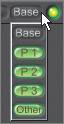
The Viewer WorkspaceThe Viewer workspace is where you create flipbooks to play back your images. This is also where your images and composites are interactively updated as you add nodes and change parameters. Here, you can look at the red, green, blue, or alpha components of an image. You can zoom in or out as well as create split screens to look at before-and-after views. 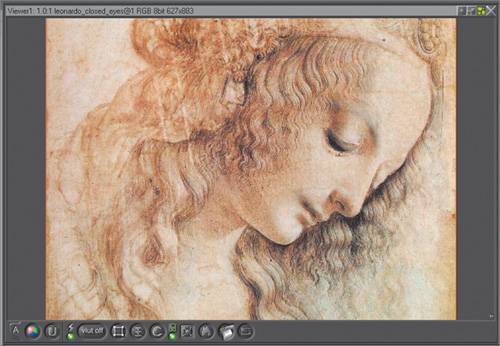 The Tool TabsThe tool tabs allow you to choose what node you want to add to your process tree. Each node serves a particular function, such as color correcting, image filtering, or layering. The nodes are logically grouped into different tabs according to their functions. 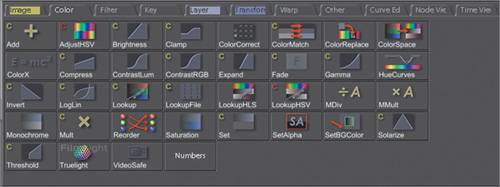 The tool tabs include the following categories:
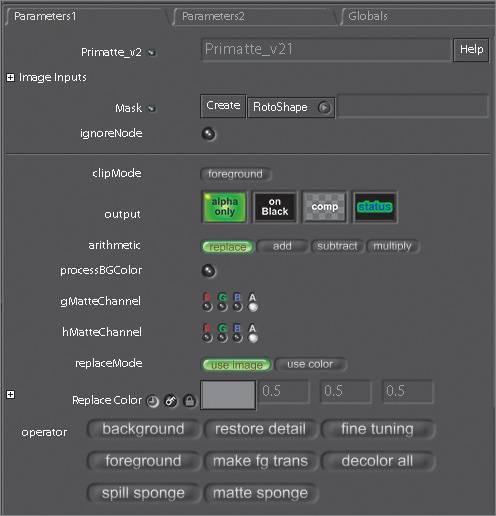
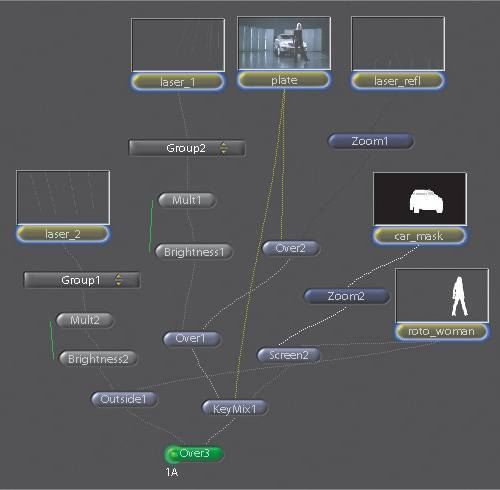
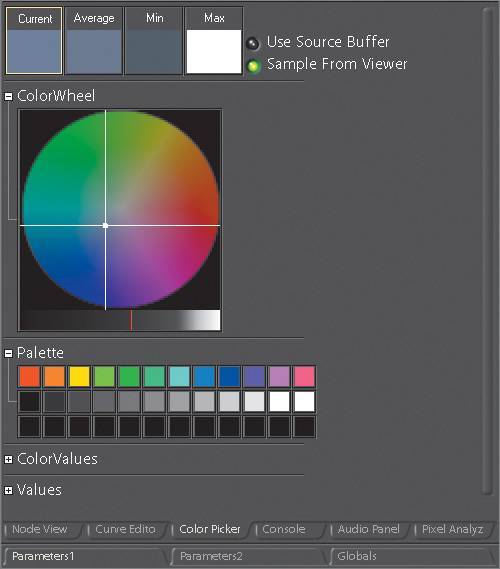
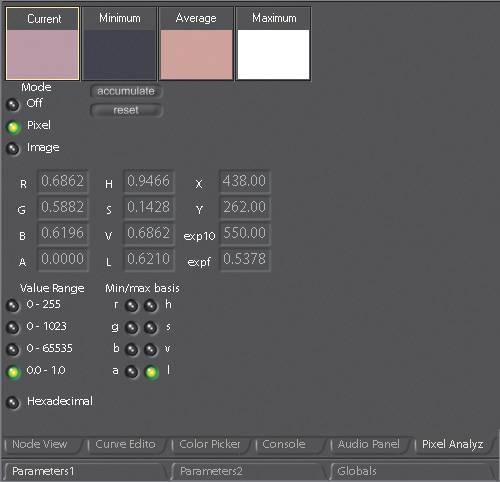
The Parameters WorkspaceAdjustments made to a node's parameters take place inside the Parameters workspace. Clicking the right side of a node will place that node's particular set of controls into the Parameters workspace. You can adjust parameters by moving sliders, typing values, or entering expressions. Global parameters are adjusted from within the Parameters workspace by clicking the Globals tab. These parameters affect the behavior of your entire effects setup, or what Shake refers to as a script, setting things like the time range and global motion blur controls. You can set many of these parameters in the command line, so you don't necessarily have to reset them each time you write out a script. Primatte node loaded into Parameters workspace The Node WorkspaceIn the Node workspace, you work with the many and varied process nodes. This is where the magic happens. Clips and processes are combined, and together they form a Shake script. The script, also known as a process tree, can be saved, loaded, and reused later. Color PickerThe Color Picker allows you to sample colors from the Viewer and transfer the color settings to applicable parameters. It can be found on the Color Picker tab in the Node workspace. Pixel AnalyzerThe Pixel Analyzer is an analysis tool used to find and compare different color values of an image. You can examine the minimum, average, current, and maximum pixel values on a selection or across an entire image. It's found on the Pixel Analyzer tab in the Node workspace. Time ViewThe Time View tab shows a timeline of all clips and processes within a script. You can drag a clip to the left and right to change its start and end points in time, or drag its in and out points to change its duration. 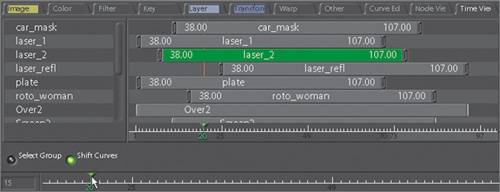 Curve EditorThe Curve Editor allows you to create, see, and modify keyframes as well as animation curves and audio waveforms. You can change the curve type as well as its cycling mode. You can access the Curve Editor through the tool tabs as well as in the Node workspace. 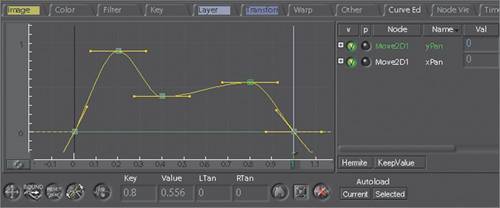 Audio PanelThe Audio Panel is used to read in AIFF or WAV files, mix them together, extract animation curves based on the audio frequency, manipulate the timing of the sound, and save the files again. Click the Audio Panel tab in the Node workspace to access it. 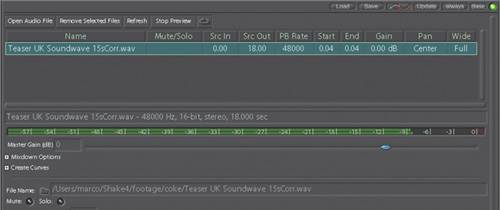 Other Interface Elements
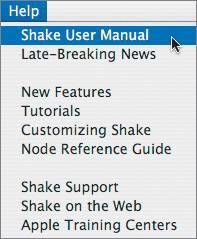
Contextual HelpBecause most people will never read the Shake documentation, the Shake programmers have provided a contextual help window. As you pass the cursor over a button, the help window gives you a brief description of the button's function, as well as its hot key. The help information is located in a text window at the bottom center of the interface. 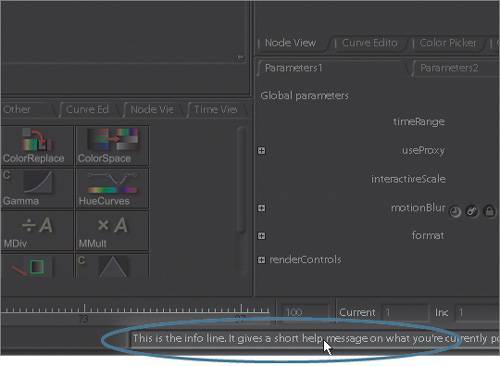 Node HelpEach Shake node has a Help button across from the node's namethe very first parameter listed on the Parameters tab. Click the Help button to open your current default browser and read an explanation of that particular node. Online DocumentationFor those rare souls who are actually interested in referring to the Shake documentation, you can access it by choosing Help > Shake User Manual. An Adobe PDF reader will open showing the Shake documentation. |


EAN: N/A
Pages: 156