Section 13.2. Customizing How PowerPoint Behaves
13.2. Customizing How PowerPoint BehavesPowerPoint makes a lot of basic assumptions about the way you work: how often you want to save a back-up copy of your presentation (in case your computer crashes), which security measures you want to put in place with regard to the macros and add-ins it runs, how picky you want it to be on a spell-check, and so on. You can live with PowerPoint's assumptions (most folks do). But you can work more efficiently by telling PowerPoint how you want it to do things. 13.2.1. Open All Documents in a Certain ViewNormally, when you open a file in PowerPoint 2007, the document appears in Normal view with thumbnails showing in the Slides pane at left, the selected slide in the slide editing area, and the notes pane below that. If that's not how you prefer to work with your presentations, though, you can tell PowerPoint to open all of your documents automatically in another view. For example, if you never use PowerPoint's speaker notes feature, you can tell PowerPoint not to show the Notes pane (and so buy yourself a little extra screen real estate). Or, if you know you always want to work with your presentations first as a collection of sortable thumbnails, you can tell PowerPoint to open all of your documents in Slide Sorter view. To tell PowerPoint which view you want to open your documents in:
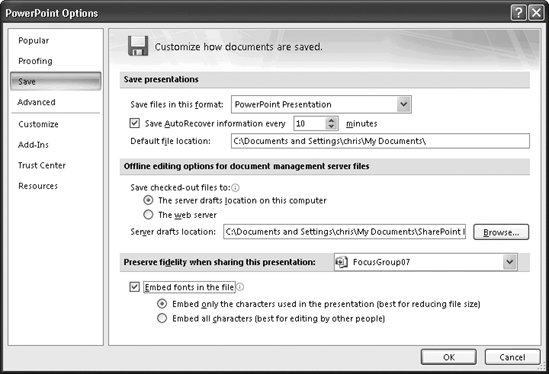
13.2.2. Saving Files: How, Where, and How OftenYou can tell PowerPoint which file format and folder location you want it to assume you save your documents in. For example, you can tell it to assume you want to save all of your files as presentation files that can play macros (.ppmx) in a folder named C:\Acme\Marketing\2006_regional_presentations . When you save a presentation, PowerPoint fills in this basic information for you in the Save As dialog box. When you save, you can always override either of these settings and choose a different file type or location. To tell PowerPoint which file type and location you want it to fill in for you:
You can also tell PowerPoint how often to save a fallback or autorecover copy of the file you're working on. Doing so can save your hide if, for example, the power in your building tends to go out a lot. On the other hand, don't be tempted to tell PowerPoint to save an autorecover copy of your file every two seconds, since saving slows down PowerPoint for those few seconds during the save. For most folks, saving every 5 or 10 minutes is a good balance between paranoia and recklessness. Warning: The autorecover copy PowerPoint creates for you isn't the same thing as a traditional backup file. If something happens to your computeran electricity spike or a kicked-out cord that turns off your computer unexpectedly, for examplePowerPoint uses the autorecover copy to try to reconstruct your file the next time you run the program. Autorecover copies are extremely useful, but they're not a substitute for diligently backing up your files. Here's how to set it up:
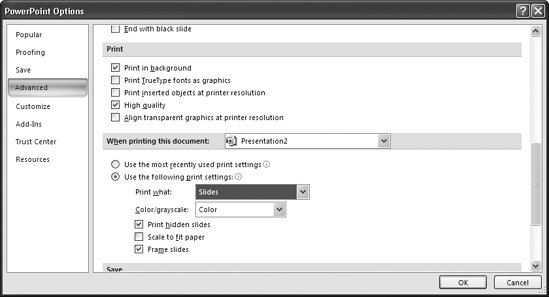
13.2.3. PrintingIf you often print your presentations, you can save a bundle of time by associating a laundry list of your favorite printing options with a handful of files. For example, you may prefer to print in color rather than black-and-white, print hidden slides (page 269) rather than leave them out, print little borders each slide, and so on. After you set PowerPoint print options, when it comes time to print your presentations, you find your favorite options pre-filled in the Print dialog box for you. Simply click Print and wait for your printer to fire up. You can always adjust these print options on a presentation-by-presentation basis in the Print dialog box. To set printing options, choose Office button
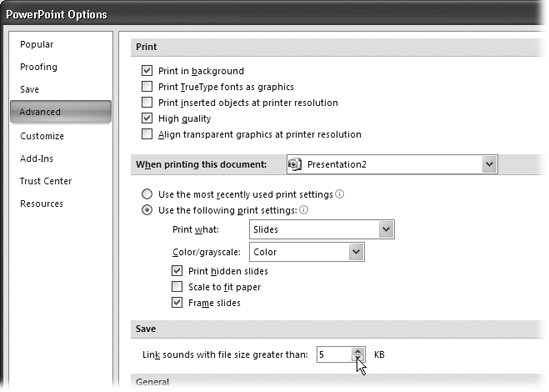
13.2.4. Optimizing PowerPoint FilesOptimization, or keeping PowerPoint file size as low as possible, is important if you intend to deliver your presentation over the Web. Two options that help you optimize PowerPoint files involve fonts and sounds. To keep file size down, you can link to them as external files, rather than storing them in the PowerPoint file itself. 13.2.4.1. Embedding as few fonts (and characters ) as possibleEmbedding fonts ensures that your presentation looks the same on the presenter's computer as it does on yoursregardless of the fonts that happen to be installed on the presenter's computer. Embedding all of the characters of any given font ensures that, no matter what computer you move your PowerPoint file to, you can edit presentation text. But if you're finished with your presentation, choosing to embed only those characters that actually appear in your presentation cuts down on file size. To embed only those characters used in the presentation, choose Office button Warning: Embedded fonts can be a problem for presentations running on Macs. 13.2.4.2. Linking to sounds (as opposed to embedding them)Because embedding sound files bloats presentation file size, consider linking to any sound files you've added to your slides. Just make sure to keep the sound files with your presentation file when you move the presentation to another computer or upload it to a Web server, the way you do with any linked files. Note: PowerPoint only embeds .wav sound files. It automatically links to all other sound file types. So unless you're working with .wav sound files (or aren't sure what type of sound files you added to your slides), you can safely skip this section. To tell PowerPoint to link to sound files, go to Office button
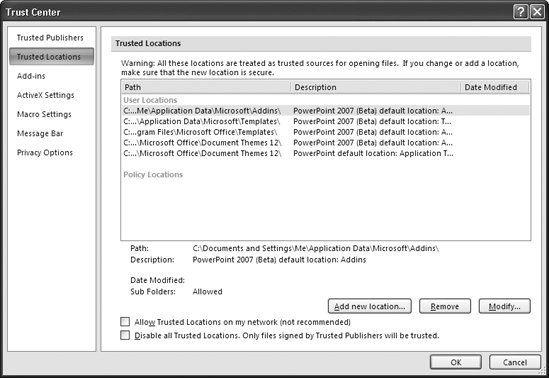
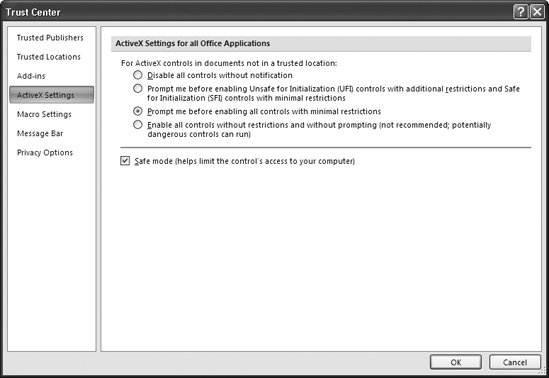
13.2.5. SecuritySome PowerPoint files contain non-Microsoft-created programs like add-ins, macros, and ActiveX components . Because some of these programs may contain viruses that could potentially wipe your hard drive (or otherwise cause grief ), all Microsoft Office programs, including PowerPoint, let you specify whether you want to run programs from trusted publishers or programs from trusted locations , among other options. In most cases, you tell PowerPoint which publishers and locations to trust by accepting or rejecting the digital certificate that appears when PowerPoint encounters a macro, add-in, or ActiveX component. Still, if you're more conservative than most, or if you want to fine-tune security regarding a certain type of program you expect to run into often (if you're one of those folks who always have the latest-and-greatest PowerPoint add-in) you'll want to fine-tune the security settings Office offers. Note: Judge trusted publishers and locations the same way you judge the stores you do business with. If the company (program publisher) doesn't have a good reputation, has no reputation, or if you've had bad luck with it in the past, you probably can't trust it. To set security options for all your Office programs, choose Office button
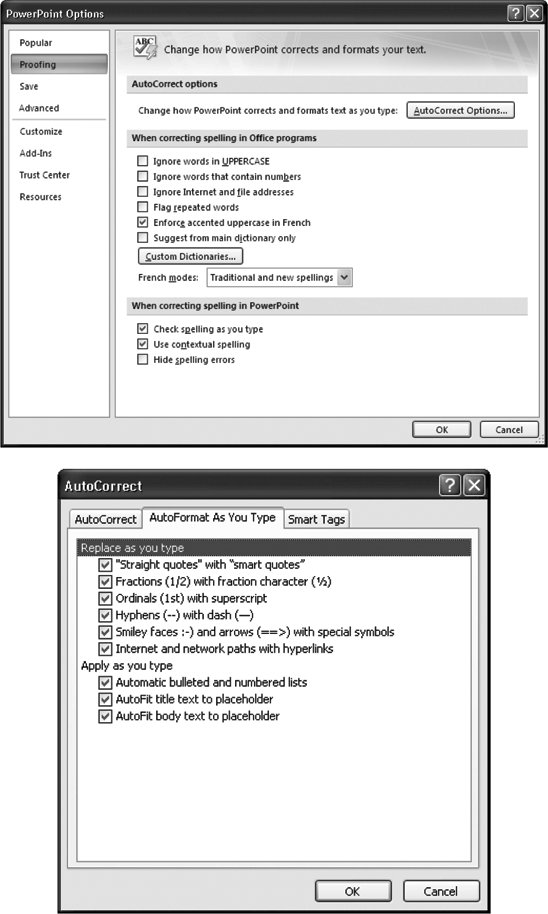
13.2.6. Editing and ProofingAs you saw back in Chapter 2, PowerPoint can help you edit, spell check, and proofread the text on your slides. But to get the most out of PowerPoint's editing and proofing help, you need to set a few options. See Figures 13-22 and 13-23 for details.
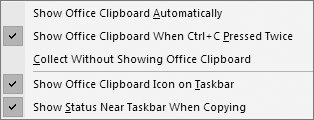
13.2.7. Displaying the Clipboard All Microsoft Office programs, including PowerPoint, use the Office Clipboard to store cut and copied information (for later pasting). You can tell PowerPoint when and if you want to see the Clipboard pane. Go to Home
13.2.8. Choosing a Standard Chart TypeIf you consistently create a certain type of charta pie chart, for exampleyou can save a couple of mouse clicks by setting it as your standard chart type. Doing so doesn't mean you can't create other types of charts , just that PowerPoint assumes you want a pie chart (page 174) until you tell it different. To set a standard chart type, choose Insert |
 PowerPoint Options
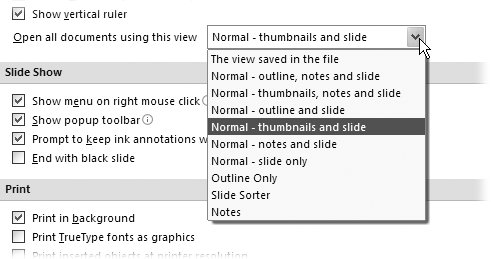

- Chapter V Consumer Complaint Behavior in the Online Environment
- Chapter VI Web Site Quality and Usability in E-Commerce
- Chapter VIII Personalization Systems and Their Deployment as Web Site Interface Design Decisions
- Chapter IX Extrinsic Plus Intrinsic Human Factors Influencing the Web Usage
- Chapter XI User Satisfaction with Web Portals: An Empirical Study