Creating and Editing Frames Content
| Remember that the content of a frame resides in a separate HTML pagenot in the frameset. You can create the individual frame pages separately or within the constraints of a frame. Using the frameset to help you design the pages to be contained in each frame is always a good idea. That way, you don't create a page that's too wide or too narrow for the frame. Your users will find the pages difficult to view if they have to scroll in multiple directions to see all the content. In this exercise, you will add content to each page in the frameset.
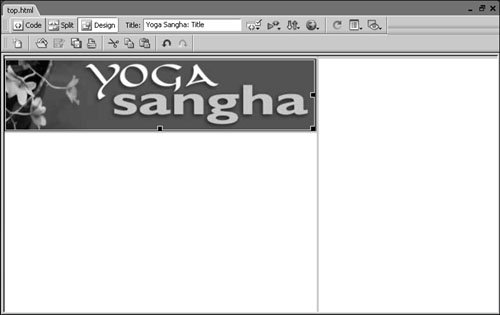
This is the content page that corresponds with the Community link that you will create in the navigation frame later in this lesson. Your content frame should now look like the example shown here. 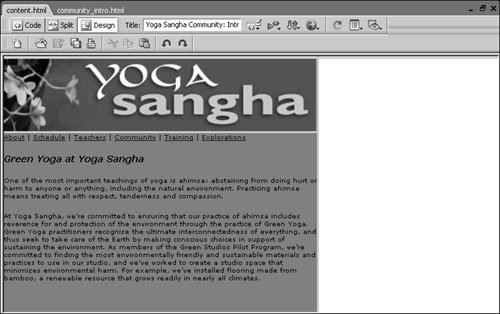 Note You can use an interactive element called a navigation bar in frame-based pages to create a way for visitors to get visual feedback while exploring pages. Although you can create a navigation bar yourself, Dreamweaver provides a tool that you can use to create one. A navigation bar is a set of images that are linked to a variety of pages. Navigation bars use JavaScript (covered in Lesson 8), allowing you to add up to four states based on user interaction for each image. The first state of an image occurs when the page loads; the second state of an image is displayed when the user rolls over the image. When the user clicks the image, the third state is shown. The fourth state of an image is used when the visitor rolls over an image after that image is clicked. The navigation bar is effective for giving visitors responses to their actions so that they understand what pages they are looking at based on the state displayed by the navigation images. |
 As you edit your pages, remember to save often. When you use the Save keyboard shortcut Cmd+S (Macintosh) or Ctrl+S (Windows), you save only the file that corresponds with the currently selected frame or the frameset if it is selected. The Save command does not save each document; you must save them individually or use the File > Save All option. If you want to save the file displayed in another frame, just click inside that frame in the Document window and then click Save. You can refer to the Frames panel to check which frame is selected when you are saving. The names of all frames displayed in the Frames panel are dimmed except for the name of the frame in which the insertion point is located.
EAN: 2147483647
Pages: 326
- ERP System Acquisition: A Process Model and Results From an Austrian Survey
- The Effects of an Enterprise Resource Planning System (ERP) Implementation on Job Characteristics – A Study using the Hackman and Oldham Job Characteristics Model
- Context Management of ERP Processes in Virtual Communities
- A Hybrid Clustering Technique to Improve Patient Data Quality
- Development of Interactive Web Sites to Enhance Police/Community Relations