| Flash Elements enable you to quickly add interactivity to your pages. The Image Viewer Flash Element creates a slide show interface that you can use to present a series of images. This interactive presentation format, which can be configured easily within Dreamweaver, gives you a variety of options including the ability to set captions and links for each image in the slide show. Note The Image Viewer is the only Flash Element that Dreamweaver 8 initially contains. Additional Flash Elements may be created in the future by Macromedia or third-party developers and made available through the Developers Exchange on the Macromedia Web site.
1. | Open yogastudio.html from the Lesson_07_Multimedia/about folder. Choose the Flash Elements category on the Insert bar, and click the Image Viewer button.
 The Save Flash Element dialog box opens. The Save Flash Element dialog box opens.
| 2. | Type yogastudio into the Save as text field and save the file into the Lesson_07_Multimedia/about folder.
The Image Viewer Flash Element file is saved, and Dreamweaver automatically adds the required SWF extension. If the new file yogastudio.swf does not immediately appear in the Files panel, click the Refresh button at the top of the panel to update the list of files.
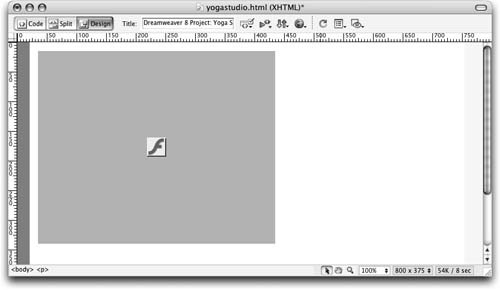
The Image Viewer appears in the Document window as a large gray placeholder with the Flash icon in the center.
 | | | 3. | Click the Play button on the Property inspector.
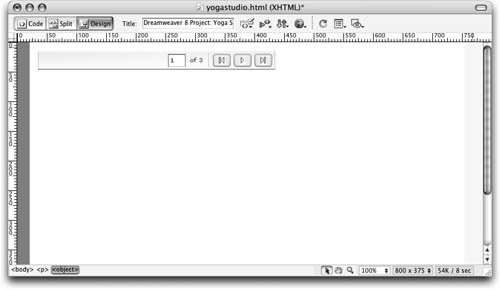
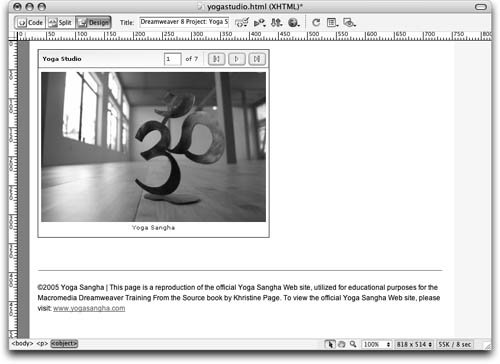
 The Image Viewer now appears in the Document window with default settings. A control bar is located at the top of the Image Viewer, which contains a blank area to the left for a title; a text field that displays the number of the current image and allows the user to type in a number and jump to a different image; and three buttons: Back, Play/Stop, and Forward. Below the control bar is the image area. The Image Viewer now appears in the Document window with default settings. A control bar is located at the top of the Image Viewer, which contains a blank area to the left for a title; a text field that displays the number of the current image and allows the user to type in a number and jump to a different image; and three buttons: Back, Play/Stop, and Forward. Below the control bar is the image area.
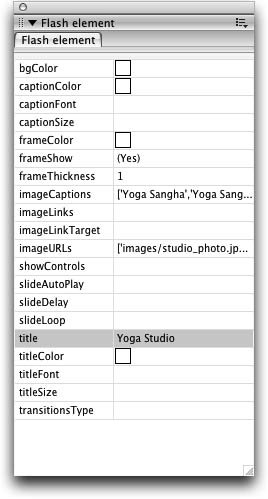
 | | | 4. | In the Tag inspector, whose title bar changed to read Flash Element when you selected the Image Viewer, click the Color picker for frameColor, and choose the #666666 gray.
You will do the majority of the configuration for the Image Viewer in the Tag inspector, which opens automatically when the Image Viewer is inserted and displays the initial default settings for this Flash Element.
Tip If the Tag inspector is collapsed, click the Expand/Collapse button to the left of the name to expand it. If you do not see the Tag inspector, choose Window > Tag Inspector. 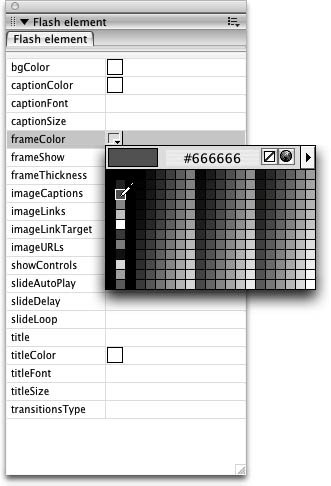 The frameColor option determines the color of the border that outlines the Image Viewer. The control bar uses several different shades of gray, and the #666666 gray color matches the darker shades. After you select a color, the Flash Element might automatically switch back to the placeholder image in the Document window. In the following steps, you'll continue to configure the Image Viewer before making it visible in the Document window again.
| 5. | In the Tag inspector, click the (No) value for the frameShow option to make menu buttons available. Choose (Yes) from the menu that appears.
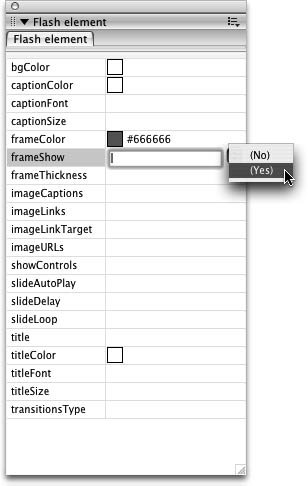 The frameShow option turns the border option on for the Image Viewer.
| | | 6. | In the Tag inspector, click the value field for frameThickness and change it to 1; then press Return (Macintosh) or Enter (Windows) to apply the change. Click the Play button on the Property inspector to see the Image Viewer again in the Document window.
The border is now set to a width of one pixel and you can see the gray outline around the Image Viewer.
The background color of the Image Viewer, defined by the bgColor option in the Tag inspector, is set to white by default. You should leave the background color set to white for this exercise.
| | | 7. | Click the value field for the imageURLs option in the Tag inspector; then click the Edit Array Values button that appears at the right of the text field.
The imageURLs option defines the images that the Image Viewer will contain. You need to use this option to specify the location of the images.
Note A series of values in Flash Elements is called an array. The Image Viewer uses arrays for the image, caption and URL options. 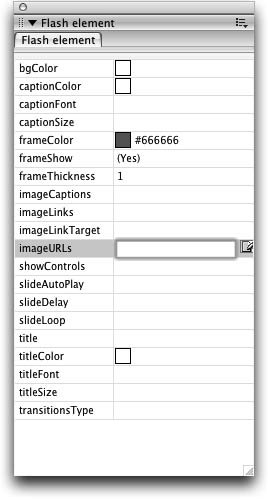 The Edit 'imageURLs' Array dialog box opens.
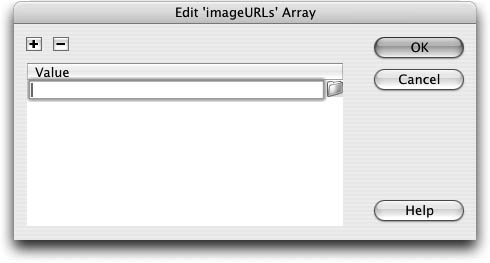 | 8. | With the cursor placed in the line for the first item, click the folder icon that appears to the right of it. Use the Select File dialog box to browse to the Lesson_07_Multimedia/about/Images folder and select studio_photo.jpg.
The values, which are the paths to the images, will be contained in single quotesthese quotes must be included for the Image Viewer to work properly.
Note If the Edit 'imageURLs' Array dialog box shows any images in the Value list when you first open it (perhaps in the form 'img1.jpg'), delete them all before adding the studio_photo images by selecting each one and clicking the minus (-) button. | 9. | Click the plus (+) button to another value field and select the studio_photo2.jpg image. Continue to add additional value fields and set their sources to studio_photo3.jpg, studio_photo4.jpg, studio_photo5.jpg, studio_photo6.jpg, and studio_photo7.jpg. Click OK to close the Edit 'imageURLs' Array dialog box.
Tip You can also press the Tab key to create add another item to the list when the insertion point is in the last value. 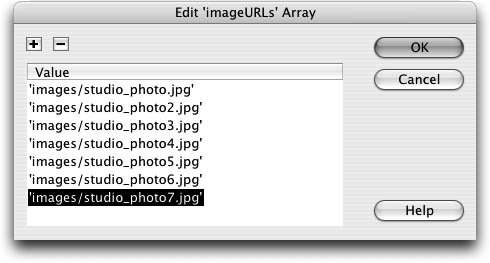 You now have seven images defined in the Image Viewer.
| | | 10. | Click the value field for the imageCaptions option in the Tag inspector; then click the Edit Array Values button that appears at the right of the text field. Type 'Yoga Sangha' (be sure to include the single quote marks) in the Value text field. Press Tab or use the plus (+) button to insert six additional value fields while adding the same caption to the remaining images. Click OK.
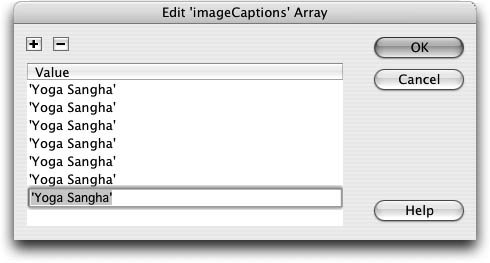 Similar to the image values, the captions must be contained in single quotes for the Image Viewer to work properly.
When creating captions you need to add captions text in the same order that the images were added. If your image and captions are not listed in the same order, your captions, if different from one another, might not match up correctly with their corresponding images.
Note You can control the font color as well as the font face and size of the captions using the captionColor, captionFont, and captionSize options on the Tag inspector, respectively. For this exercise, you should leave the caption-formatting options at their default settings. | | | 11. | Click the value field for the title option in the Tag inspector; then type Yoga Studio into the text field and press Return (Macintosh) or Enter (Windows). Click the Play button on the Property inspector to see the Image Viewer again in the Document window.
 The title is placed in the space on the left of the control bar.
Note You can control the font color as well as the font face and size of the title using the titleColor, titleFont, and titleSize options on the Tag inspector, respectively. For this exercise, you should leave the title formatting options at their default settings. By default, the transitions between images are set to Random. You can modify the transition effect and choose a single transition by clicking the transitionsType value text field and choosing an option from the menu. Leaving the transition value set to Random for this exercise will allow you to see the different transition effects when you preview the page in a browser or use the control bar buttons to view the images in Dreamweaver.
Your document should now look similar to the following example.
 Note You can add, change, or remove links associated with the images by clicking the imageLinks value text field and then clicking the Edit Array Values button. The Edit 'imageLinks' Array dialog box is similar to the ones you used to set the images and captions. Each URL must be contained by single quotes. Just as when you added captions, you need to take care to add links in the same order of the images so that the links correspond with the appropriate images. Targets define where the links will be opened and can be set through the imageLinkTarget option, the default is _blank, which causes the links to open in a new window. | 12. | Click off of the Image Viewer in the Document window to deselect it. Save the document, preview it in the browser, and test the Image Viewer.
|
You can close the yogastudio.html document when you are done viewing it in the browser. Note You can change the size of the Image Viewer through the Property inspector.
|