| In traditional video productions, a storyboard is a large chart or series of charts with images representing the various scenes of a project. It's a great tool for conceptualizing the content and flow of your movie, and it's even better in digital form, since it makes rearranging your assets easy. If you're at all unsure of the order of your scenes, Studio's Storyboard is a very convenient place for shuffling them around until you've decided. You can even add transitions and preview your project on the fly to view the rough cut. However, when it's time to trim your videos and perform other more sophisticated editing, you'll need to use the superior tools available only in Timeline view. Note that by default, Studio maintains audio and video synchronization in all Movie window views by automatically tying the Audio track to the Video track through all edits. Accordingly, if you move, delete, split, or combine scenes in the Video track, the audio automatically follows. (Later in this chapter, you'll learn how to adjust this default, so that you can delete the Audio track or perform advanced editing operations that let you edit the Audio and Video tracks separately.) To customize the Storyboard view 1. | From the Studio menu, choose Setup > Project Preferences (Figure 7.5).
Figure 7.5. Getting to the Pinnacle Studio Setup Options screen. 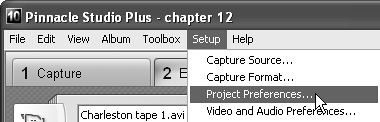
The Pinnacle Studio Setup Options screen appears, open to the Edit tab (Figure 7.6).
Figure 7.6. With the Project Preferences tab selected, check Show large storyboard thumbnails. 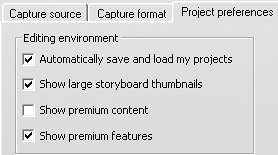
| 2. | In the Storyboard Thumbnails section, select the Large radio button to increase the size of the images on the Storyboard.
Studio increases the size of the individual images and decreases the number of images shown from 27 to 12 (Figure 7.7). Use the scroll bar on the right to scroll down to see the additional thumbnails, or use the Page Up and Page Down keys to move through the pages of the Storyboard.
Figure 7.7. Select Large Storyboard Thumbnails to see more detail in your thumbnails. Note the scroll bar on the right, which you'll use to access the rest of your assets. 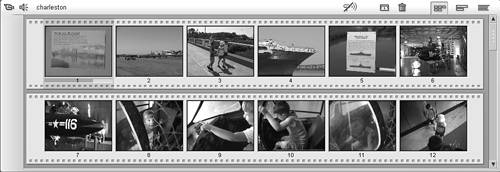
|
To drag video clips to the Storyboard 1. | On the Video Scenes tab, hold down the mouse button and select one or more contiguous or noncontiguous scenes.
The borders turn from white to blue, and a small hand appears over the scenes (Figure 7.8).
Figure 7.8. Getting videos into the Movie window is as simple as selecting and dragging. 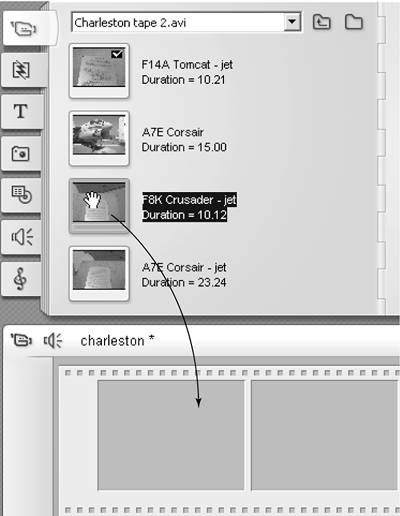
| 2. | Drag the scenes toward the empty frame at the upper left of the Storyboard.
A green box appears around the empty frame, and a small plus sign and box appears below the pointer (Figure 7.9). (You won't be able to see the green frame in Figure 7.9, but you will when you try this in Studio.)
Figure 7.9. The green border and plus sign are your clues that it's safe to drop the asset in the selected frame. 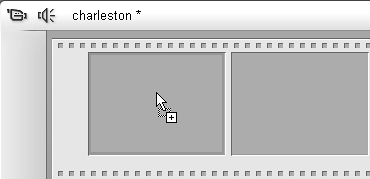
| 3. | Release the mouse button.
Studio inserts the scenes in the highlighted Storyboard frame (Figure 7.10).
Figure 7.10. Voilà. There's your clip. 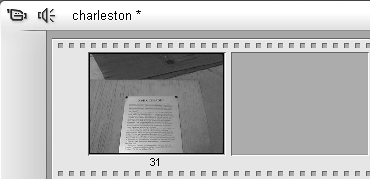
|
 Tips Tips
Studio provides visual cues regarding where you can drop all assets. As shown in Figure 7.11, if you attempt to drop a scene in a prohibited zone, such as another location on the Video Scenes tab, Studio displays the universal "prohibited" sign. Figure 7.11. Other placement cues include the universal "prohibited" sign, indicating that you can't arrange your clips on the Video Scenes tab. 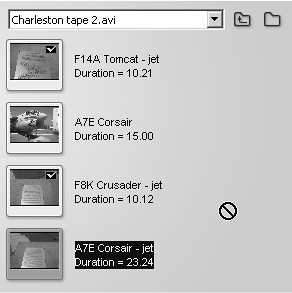
Studio drops video and still image assets in the first available space at the beginning of a project. Although you can reorder at will once the assets are on the Storyboard, Studio doesn't let you create gaps in your projects in any Movie window view. To create a black scene at the start of your video, create a full-screen blank title and drag it to the Video track (see "To create a single-color background" in Chapter 10). You can also use the Cut and Paste commands to move videos and still images to and around the Movie window, but dragging and dropping is much more intuitive.
To insert a video clip between two scenes in the Storyboard 1. | On the Video Scenes tab, hold down the mouse button and select one or more scenes.
The borders turn from white to blue, and a small hand appears over the scene.
| 2. | Drag the scenes to the desired location.
A green line appears between the video scenes, and a small plus sign appears below the pointer (Figure 7.12).
Figure 7.12. The green line and a small plus sign tell you that you can drop the assets in that location. 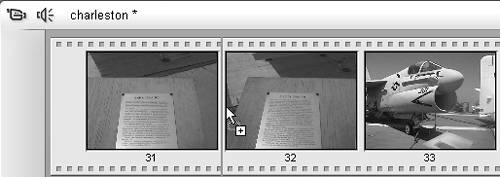
| 3. | Release the mouse button.
|
Tip
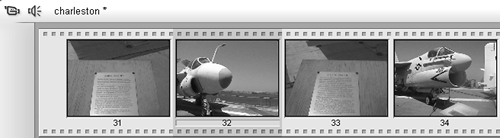
To arrange assets in Storyboard view 1. | On the Storyboard, hold down the mouse button and select one or more scenes.
Studio highlights the clip in blue, and a small hand appears over the scene (Figure 7.14).
Figure 7.14. Here I want to drag the scene containing the F-4 Phantom plaque in front of both video clips, rather than between them. To start, I click the clip. 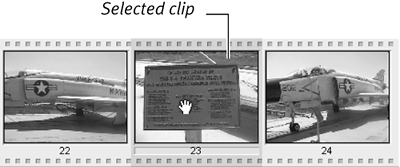
| 2. | Drag the scenes to the desired location.
A green line appears each time you cross an available space to drop the new scenes, and a small box appears below the pointer (Figure 7.15).
Figure 7.15. When you see that green line and the small box under the arrow, you can drag the clip to the desired location and drop it. 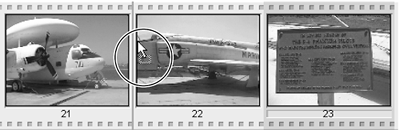
| 3. | Release the mouse button at the desired location.
Studio inserts the scene in the specified location (Figure 7.16).
Figure 7.16. Done. This ease of sequencing is why the Storyboard view is great for arranging your assets. 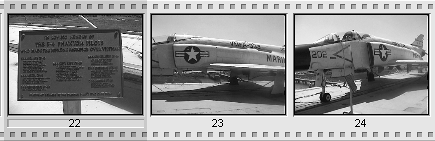
|
To see clip-related information on the Storyboard - On the Storyboard, hover the pointer over a clip for a moment.
The scene name and duration appear in a yellow box beneath the scene (Figure 7.17). The top duration is the total duration of the clip. The bottom one is the duration of the clip remaining in the sequence after trimming. (For more information, see "Trimming with the Clip Properties Tool," later in this chapter.)
Figure 7.17. Since the Storyboard view doesn't visually convey duration-related information, Studio provides it when you hover your mouse over the asset. Top duration is the total for the scene; bottom is the duration of video actually included in the project. 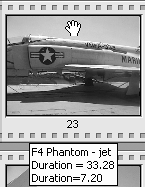
To preview your video clip on the Storyboard 1. | Select the scene you want to play back.
Studio highlights the clip in blue.
| 2. | Start playback by doing one of the following:
- In the Player, click Play (Figure 7.18). The Play key switches to Pause mode, which you can click to stop playback.
Figure 7.18. The Player is your preview window. 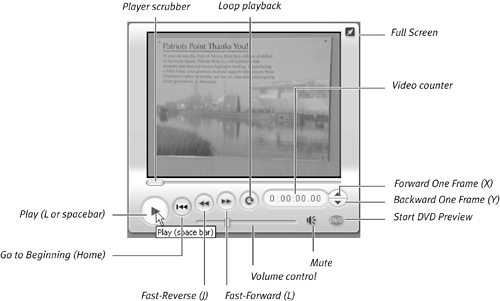
- Press the spacebar to start play back. Press the spacebar again to stop playback.
- Press the L key to start playback. Press K to stop playback.
Playback shifts automatically from scene to scene when multiple assets are present.
During playback, Studio displays a progress bar beneath the scene.
The progress bar represents the position of playback within each scene; the Player scrubber represents the position of playback within the entire video.
|
Tips Here are some keyboard shortcuts: Press L for fast-forward (press L multiple times to accelerate the effect). Press J for fast-reverse (press J multiple times to accelerate the effect). You can always use the Player scrubber to move around in the video file.
|