| Many Hollywood DVDs play audio while displaying the menu, an effect that Studio can duplicate with ease. You can use any audio track you create or import into Studio (see Chapter 11) as background for your menu tracks. For simplicity, the tasks here will use a WAV file already in my Music album, but you can rip tracks at will or use SmartSound to create audio for your menus. Few things are as irritating as music repeated over and over every 12 seconds. So if you're going to use audio menus, remember to extend the duration of your menus to at least one minute, preferably longer. To create an audio menu 1. | Double-click the target menu.
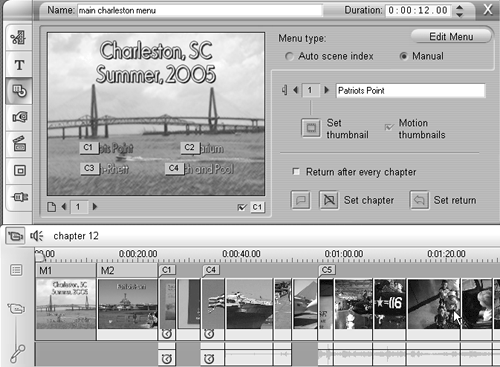
Studio opens the menu in the Menu Clip Properties tool (Figure 12.60).
Figure 12.60. To add audio to your menu, start by double-clicking the menu to load it in the Menu Clip Properties tool. 
| 2. | Extend the duration of the menu to at least one minute (Figure 12.61).
Figure 12.61. Extend the duration to at least one minute (for aesthetics, not due to a Studio limitation). 
(See "To change menu duration" earlier in this chapter for instructions.) The one-minute rule is for aesthetics, not any limitation in the Studio program. You can run a menu for the entire length of your chosen audio track, if you desire.
| 3. | At the upper left of the Movie window, click the Camcorder icon to close the Video toolbox (Figure 12.62), or click the X in the upper-right corner of the Menu Clip Properties tool.
Figure 12.62. Close the Video toolbox. 
| 4. | Do one of the following:
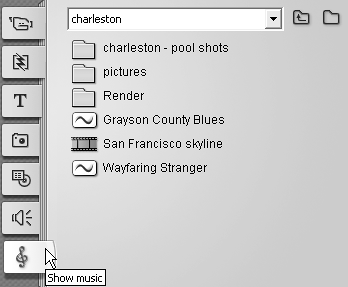
- To find an audio file to use as background music, click the Show Music icon to open the Music tab in the Album (Figure 12.63).
Figure 12.63. I'm using a killer song from No Speed Limit called "Wayfaring Stranger" as background for my menu. 
- To use the audio from a video file as background music for the menu, click the Show Videos icon.
| 5. | Drag the desired audio track to either the Sound Effect track or Music track and trim to the same duration as the DVD menu using techniques discussed in "To change the duration of an audio file on the Timeline" in Chapter 7.
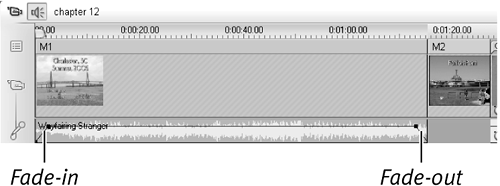
| 6. | If you like, fade the background audio in and out. See "Using the Volume Tool" in Chapter 11 for details (Figure 12.64).
Figure 12.64. Fade the audio in and out for a bit of extra polish. 
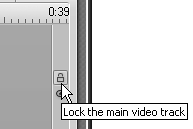
Note that to drag the audio track to the Original Audio track (where it is shown in Figure 12.64), you first have to lock the Video track (Figure 12.65).
Figure 12.65. To drag an audio file to the Original Audio track, you first have to lock the Video track. 
|
 Tips Tips
Audio backgrounds work automatically with templates; Studio inserts the audio into all sequential menus. However, the track starts over each time you move between menus, which may prove irritating. (This is a limitation of the DVD format, not Studio.)
|


 Tips
Tips