Entering and Viewing Text
Microsoft Office Specialist PowerPoint makes it easy to view the entire content of your presentation at a glance, using the Outline tab of the Outline/Slides pane in Normal view. You can collapse the display on this tab to view only the slide titles, and you can expand the display to view the content of one or more slides, so that you can focus on certain parts .
In Normal view, you can select and edit text, and create slides and bulleted items by increasing or decreasing their indent. When you increase the indent of a slide title, or demote it, the title becomes a bulleted item. Demoting a bulleted item makes it a sub-item. When you decrease the indent of a bulleted item, or promote it, the item becomes a slide title. Promoting a sub-item makes it a bulleted item. You can quickly perform these tasks using the Outlining toolbar.
With the formatting options available in PowerPoint, you can format the text in a variety of ways. However, if the text is hard to read on the Outline tab, you can hide the formatting in the outline. The formatting information isn t lost; it s just not shown on the Outline tab. When you print an outline, the text is printed with the formatting intact.
To see more or less of the text on the screen, you can expand or reduce the zoom percentage of the presentation by using the Zoom box on the Standard toolbar, or the Zoom command on the View menu. This affects only the view on your screen; it doesn t affect the size of the text on your presentation.
| Tip | The standard zoom percentages are 25%, 33%, 50%, 66%, 75%, and 100%. You can also use 150%, 200%, 300%, and 400%, which are helpful for working on graphics or other objects. If you need to set a nonstandard percentage, you can type it in the Zoom box on the Standard toolbar. To scale the view so that the presentation is sized to fit your monitor, click the Fit view. |
In this exercise, you will enter text on the Outline tab of the Outline/Slides pane. You will then change the indents of various paragraphs, change the zoom percentage, and collapse and expand the outline.
BE SURE TO start PowerPoint before beginning this exercise.
USE the TextOutline presentation in the practice file folder for this topic. This practice file is located in the My Documents\Microsoft Press\PowerPoint 2003 SBS\WorkingOutline\Entering folder and can also be accessed by clicking Start/All Programs/Microsoft Press/PowerPoint 2003 Step by Step .
OPEN the TextOutline presentation.
-
In the Outline/Slides pane, click the Outline tab.
-
On the View menu, point to Toolbars , and then click Outlining . If the Drawing toolbar is visible, turn it off.
-
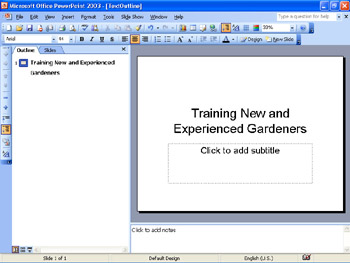
On the Outline tab, click to the right of the icon for Slide 1.
The Slide 1 icon is selected in the outline and the blinking insertion point indicates where the text you type will appear.
-
Type Training New and Experienced Gardeners .
The text appears both on the Outline tab and as the title of the slide in the Slide pane.
Tip If the Outline tab is not wide enough to display the outline text, you can drag the right border of the pane to the right to expand the Outline/Slides pane. This reduces the size of the Slide and Notes panes.
-
Press [Enter] to add a new slide, and then on the Outlining toolbar, click the Demote button.
The insertion point shifts to the right to start a new paragraph on the title slide, below the title. (You can also press the [TAB] key to demote a paragraph.)
-
Type The Garden Company , and press [Enter].
The new paragraph becomes this title slide s sub-title.
-
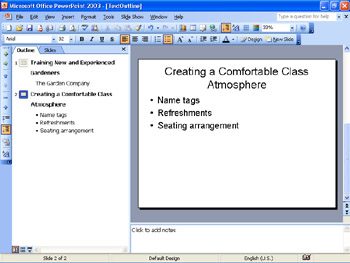
Type Creating a Comfortable Class Atmosphere (don t press [Enter]).
-
On the Outlining toolbar, click the Promote button.
The text shifts to the left to create a title for a new slide, and a slide icon appears next to the title.
-
Press [Enter], and type Name tags .
-
On the Outlining toolbar, click the Demote button.
The text shifts to the right to create a bulleted item under Slide 2 s title.
-
Press [Enter], and type Refreshments .
-
Press [Enter], and type Seating arrangement .
-
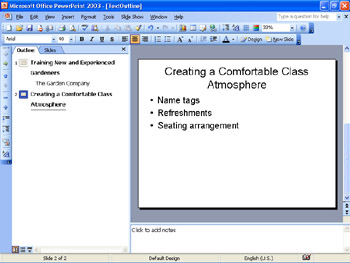
On the Standard toolbar, click the down arrow to the right of the Zoom box, and click 25% .
The zoom percentage for the Outline tab decreases from 33% to 25%.
-
On the Standard toolbar, click the Zoom box (not the down arrow) to select the current zoom percentage.
-
Type 33 , and press [Enter].
The percentage changes to 33%.
-
On the Outline tab, click the Slide 2 title.
-
On the Outlining toolbar, click the Collapse button.
The Slide 2 outline collapses to show only the title, while the Slide 1 outline remains expanded.
-
On the Outlining toolbar, click the Collapse All button.
Only the titles of both slides are visible.
-
Click the Slide 1 title.
-
On the Outlining toolbar, click the Expand button.
The Slide 1 outline expands to show its subtitle again.
-
On the Outlining toolbar, click the Expand All button.
Now all the text in the outline is visible.
-
On the Outlining toolbar, click the Show Formatting button a couple of times, pausing between clicks to note the change in the text on the Outline tab.
The Show Formatting button is a toggle command. Notice that when you click it and then click it again, the text in the Outline tab switches between plain and formatted text.
-
On the Standard toolbar, click the Save button to save the presentation.
CLOSE the TextOutline presentation.
EAN: N/A
Pages: 145