Basic iDVD Features
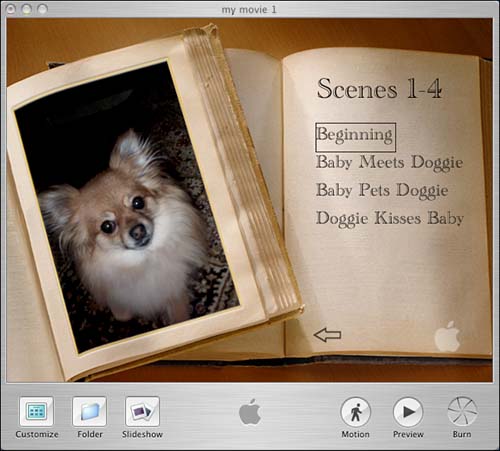
| It used to be that putting together a DVD project was a very complex process, requiring the DVD author to perform a great number of steps and have a significant amount of knowledge about the underlying technology. iDVD simplifies the process of DVD authoring ”it's as easy as dragging and dropping files into the iDVD window. The other great thing about iDVD is that it's not only a DVD-authoring program, but it also includes built-in DVD menu design, which basically means that you can make your DVD screens inside the program. This is another area in which DVD authors used to have to spend a lot of time outside the DVD-authoring program creating graphics and designing backgrounds. iDVD includes a number of customizable designs, called themes, that are ready to go. ThemesThe defining characteristic of a DVD is that it gives you the ability to watch digital video interactively on your television. It's possible to make a DVD disc that goes directly to the video when you put it into a DVD player, but most DVDs have some kind of menu. A DVD menu is simply a screen that gives you several choices, with selectable buttons of some kind that lead directly to video or to other menus (see Figure 18.9). Figure 18.9. A simple DVD menu with a number of choices with the currently selected choice highlighted. Apple, with its consistently good taste, has put together a number of built-in, customizable themes and styles in iDVD, which give you the ability to make DVDs professional-looking menus. Themes are like costumes for a DVD screen. They include different background and button designs that enable you to express yourself and create a unique space to drop your iMovies into.
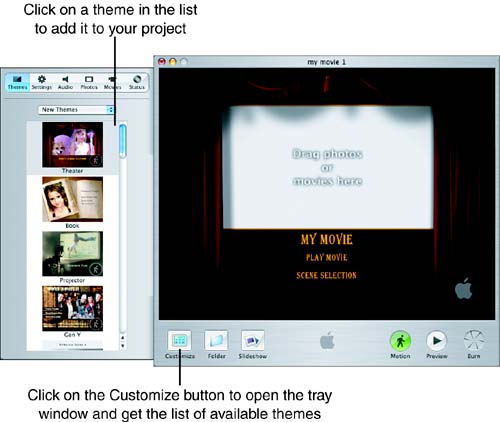
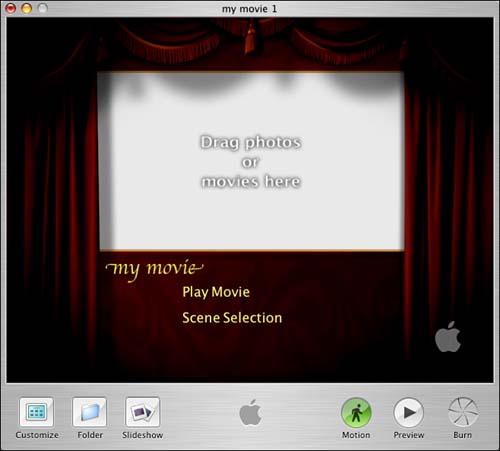
iDVD includes a central window, as shown in Figure 18.10, where you can easily try out different themes, some of which allow you to add your own photos as background. Figure 18.10. Choosing a theme in iDVD. Some of the available themes actually have video clips as backgrounds, and some also include sound. These themes enable you to include what's known as a motion menu on your DVD. You can even set your own motion backgrounds in some themes by dragging a movie into the drop zone. You might discover (if you haven't already) that sometimes when you're working on a DVD project, you want to turn off the motion. This is accomplished simply by clicking the Motion button, as shown in Figure 18.11. Figure 18.11. The Motion button to turn on or off motion menus.
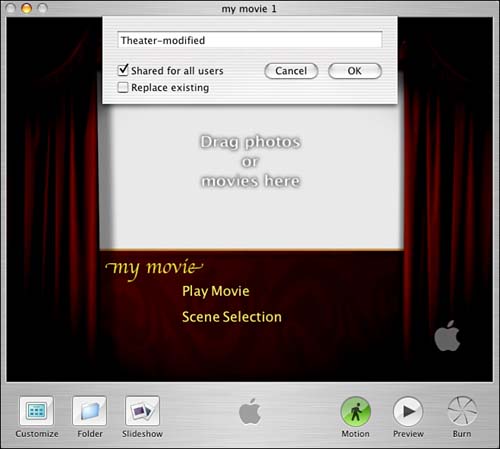
When you want to go beyond the automatic colors that are chosen for text, you can open the Settings panel to select custom colors for text (see Figure 18.12). Figure 18.12. iDVD gives you the ability to choose your own color and font for text. Another great feature of iDVD is that it enables you to choose different styles of button shapes for your DVD screens. (These options are also available from the Settings panel shown in Figure 18.12.) In essence, you don't have to be a graphic designer to have good-looking DVD screens, but iDVD makes it easy to experiment and play with different options if you want to. When you choose to customize your DVD, and if you like what you've done, you can save the settings for later use in a Favorites list. A customized theme can be saved so that you can access it later for other projects, as shown in Figure 18.13. Figure 18.13. Saving a customized theme in the Favorites list. (Notice how the text on this screen differs from the original theme shown in Figure 18.10.)
Audio, Photos, and MoviesYou can insert a variety of DVD content, including music, still photos, and movies. The Audio palette, shown in Figure 18.14, integrates with your iTunes library to allow you to add background music to your chosen DVD theme. Figure 18.14. Select songs from your iTunes library. Besides integrating with your iTunes library, iDVD connects directly to your iPhoto library. From the Photos palette, shown in 18.15, you can drag-and-drop photos to create Slideshows, which we'll look at shortly, or to customize themes that contain drop zones. (Refer to Figure 18.9 for an example of a theme containing a drop zone.)
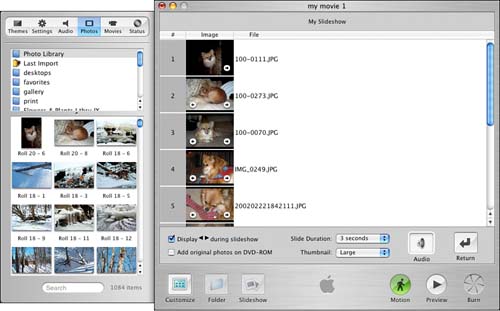
Figure 18.15. Drag and drop photos from your iPhoto library. The Movies palette lists all the movies stored in the current user 's Movies folder, which is the default location for iMovie to store your projects. SlideshowsDVD slideshows can be a nice way to share digital pictures, so that people who watch your DVD can see the pictures on their televisions . Just as when you're working with video clips in iDVD, a slideshow is as easy as dragging and dropping digital pictures into the iDVD window (see Figure 18.16). Figure 18.16. Slideshow editing window with individual images. When you drag digital pictures into the editing window, you can easily rearrange them and preview the show, just as you might have done with a traditional slide projector and the infamous slide sorter.
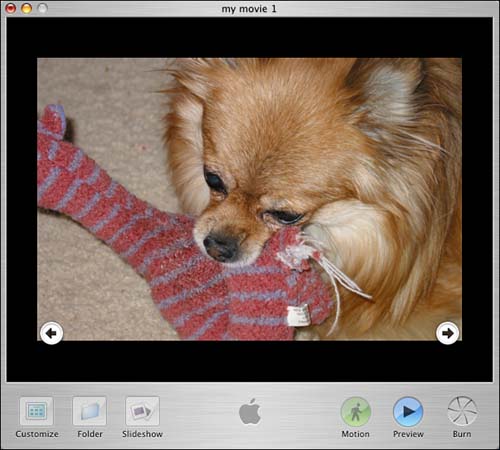
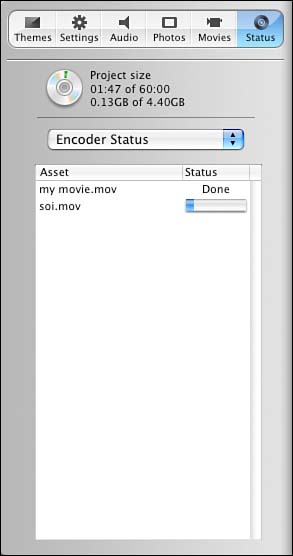
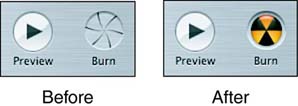
There's also an option for iDVD to draw arrows on the screen so when a person views your DVD, there's a visual reminder to press the arrow keys on the remote to select which slide he wants to see. See Figure 18.17 for an example. Figure 18.17. Slideshow preview showing arrows that indicate there are additional slides to view. StatusWhen you make your own DVDs, at some point in the process the computer system has to encode the video into a special format (MPEG-2) so that a DVD player can play it properly. It used to be that you had to use a separate program and adjust a variety of advanced settings to prepare video for DVD. In iDVD, you simply drag your iMovie into the program, and ”if iMovie hasn't already encoded it ”iDVD automatically encodes the video for you as you work on your project. And if you want to check in on how things are going, iDVD can give you an update on how the encoding is coming along, when you open the Customize tray window and click on the Status tab, as shown in Figure 18.18. Figure 18.18. Taking a look at how encoding is going. You can also use the Status palette to add DVD-ROM content to your DVD and to organize that "bonus" material into folders. Disc BurningWhen you've finished your DVD project, you probably want to preview it first by clicking the Preview button, and then you're ready to burn a DVD disc. You simply click the Burn button to activate it (see Figure 18.19), and then click it again. Figure 18.19. Clicking the Burn button. When you click the Burn button a second time, the SuperDrive opens. You can insert your DVD disc (see Figure 18.20), and you're off! Figure 18.20. Clicking Burn causes the SuperDrive to open, and you can insert a blank DVD. |


EAN: 2147483647
Pages: 349