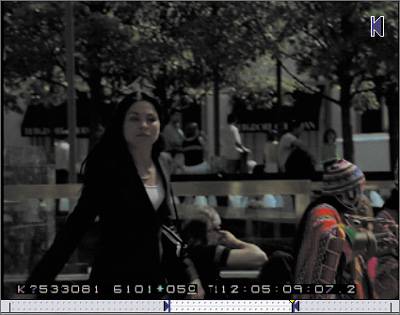
| You have used the Viewer to screen and mark your clips before editing them into the Timeline, and you have opened a sequence clip in earlier lessons to change the audio level. You can also use the Viewer to trim sequence clips in the Timeline. One advantage of trimming a sequence clip in the Viewer is that you can easily see the media outside your edit points and not just the media in-between. To trim a clip in the Viewer, you can drag edit points in the scrubber bar, or you can apply the Ripple tool to an edit point. Let's begin by trimming a clip in the Viewer using the Selection tool to drag an edit point. 1. | In the Timeline, play the first clip in the sequence, the 97A-out of bldg clip.
You trimmed the head of this clip in a previous exercise. When you look at the end of this clip, you may consider extending or trimming the Out point to include additional material. But the material is not available to view in the Timeline.
| 2. | With the default Selection tool, double-click the 97A-out of bldg clip in the Timeline. You can also select the clip and press Return to open it.
The clip opens in the Viewer, and the In and Out points used for this clip in the sequence appear in the scrubber bar. The scrubber bar displays two lines of dots, as it did when you opened clips to change audio levels in previous lessons. These dots are the visual indication that you are working with a sequence clip, that is, a clip that has already been edited into a sequence.
| 3. | In the Viewer, click the Play In To Out button, or press Shift-\ (backslash), to play from the current In to Out. To see what material is beyond the current Out point, just continue playing beyond the Out point.
| 4. | Move the pointer over the Out point in the scrubber bar, and look for the pointer to change to the resize arrow you saw when you dragged the edit point in the Timeline.
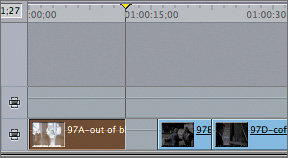
| 5. | Drag the Out point to the left to shorten the clip.
In the Timeline, the clip is shorter, but there is a gap. This gives you the same result as earlier in this lesson when you dragged edit points.
| 6. | In the Viewer scrubber bar, drag the Out point of this clip back to its original location, until you see the Media Limit On V1 message appear.

If you can't drag a clip any farther using the current tool, a note will appear letting you know you're bumping up against another clip on the same track. Notice that the change you made in the Viewer also updates the Out point in the Timeline.
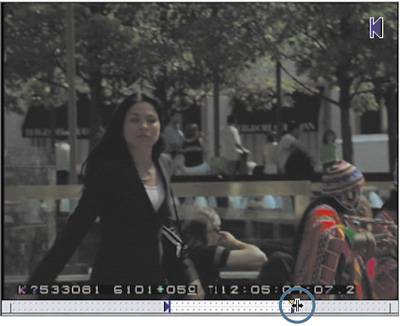
| 7. | Now position the playhead in the Viewer past the current Out point, just after Amanda leaves the frame.
| 8. | In the Tool palette, select the Ripple tool, or press RR.
| 9. | Move the pointer into the Viewer scrubber bar and then over the Out point.

The cursor changes to the Ripple tool when it's over an edit point.
| 10. | Drag the Out point to the right to snap to the playhead location.
As you drag, all the remaining clips in the Timeline are pushed back to allow for the length of the trim, just as they were when you used the Ripple tool in previous exercises.
| 11. | Press Cmd-S to save your project.
|
Project Practice For practice, you can trim each clip in the Ripple Trimming sequence by using the Ripple tool. You can match the edits you made in the Dragging sequence, or try cutting a different version of this sequence. As a reference, open and view the Amanda Finished sequence from the Browser as a reference. You can also open and work with the Intro w_sfx sequence. In the previous lesson, you linked the video clips to the sound effects so they could be trimmed together. |