| You can make different types of edits in Final Cut Pro, and each type places a clip in a sequence a little differently. In this lesson, you will work with two types of edits: Overwrites and Inserts. An Overwrite edit places a clip over whatever is on a Timeline track. The Timeline may be empty at that point, or another clip may be present. Either way, the new clip simply overwrites whatever is there. An Insert edit positions a clip between other clips currently on a track. However, the method of making edits is similar for all edit types. 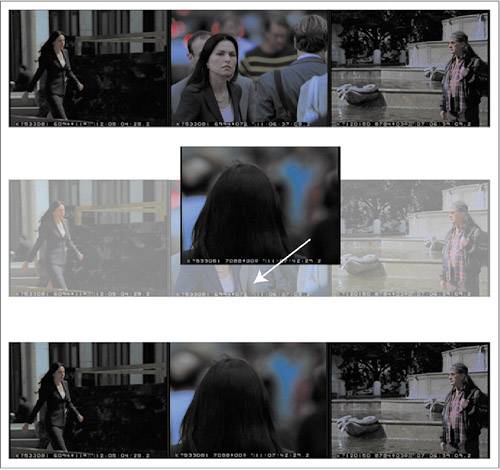
Dragging to the Edit Overlay As with most functions in Final Cut Pro, you can use different methods to make an edit. In this exercise, you will use the Edit Overlay in the Canvas to place the edits into the Amanda Starting sequence in the Timeline. NOTE You will begin by editing the dialogue between Amanda and the man on the street in Scene 98. Later in this lesson, you will go back and add clips from Scene 97.
1. | In the Viewer, click and hold your pointer in the image area of the 98A-amanda clip.
A thumbnail of your edit attaches to the pointer.
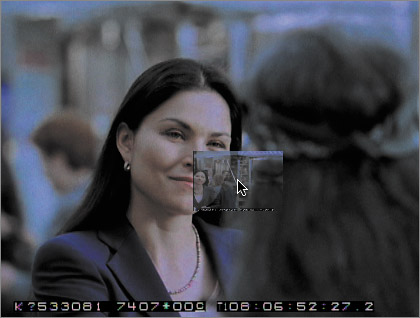
| 2. | Drag the thumbnail image into the Canvas window, but don't release the mouse.
The Edit Overlay appears in the Canvas window with a palette of seven sections. These sections represent seven different types of edits. The red Overwrite section has a brighter border around it, indicating that it is the default edit option.
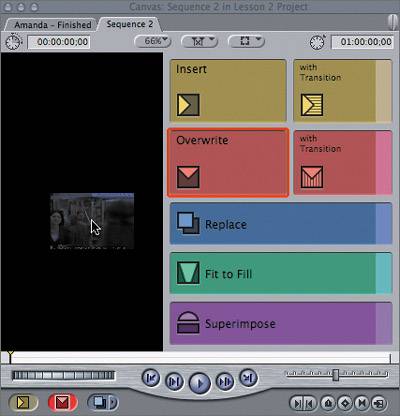
Notice that the icon on the Overwrite section has a downward-facing triangle or arrow. This is a visual clue that you will be covering, or overwriting, anything in its place in the Timeline.
| 3. | Drag the 98A-amanda thumbnail image onto the Overwrite section in the Edit Overlay, and release the mouse.
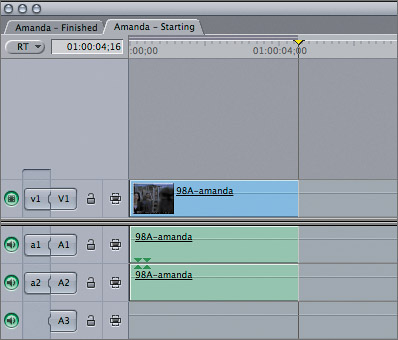
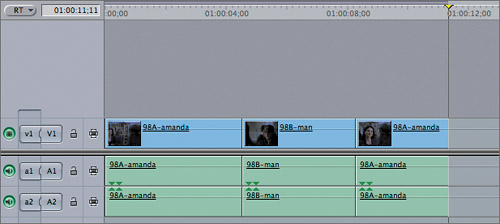
The marked clip is placed in the Timeline at the playhead position. Because the audio has stereo tracks, the clip occupies two audio tracks in the Timeline. The playhead jumps to the end of the clip, or more specifically, the first frame of the space following the clip, awaiting the next edit.
| 4. | Open the 98B-man clip, and play from the In to the Out. The marks should include the man saying, "Nice suit. Armani?"
In the Timeline, the playhead is positioned where you want this edit to be placed, after the first clip in the sequence. The source controls should be patched to the appropriate destination tracks. You are ready to make another Overwrite edit.
| 5. | Drag this marked clip to the Overwrite section in the Canvas Edit Overlay.
NOTE If the Overwrite section is highlighted in the overlay, you can drop the clip anywhere in the Canvas image area to make an Overwrite edit. | 6. | Open the 98A-amanda clip again. Play from the previous Out mark, and set a new In and Out point around her saying, "My traditional outfit." You can include his head nod and reaction. Drag this clip to the Overwrite option in the Edit Overlay.
 | 7. | Play this group of clips from the beginning of the Timeline.
Remember, this is a first cut, or rough cut. You will learn to trim and adjust these clips in a later lesson.
| 8. | Press Cmd-S to save your work.
|
Using the Edit Button and Keyboard Shortcut To make an Overwrite edit, you can also click the Overwrite button in the Canvas, or press a keyboard shortcut. These methods will produce the same result as dragging to the Edit Overlay. You will continue editing clips in this dialogue scene. As always, be aware of playhead placement as well as the source to destination track controls. 1. | Press End to position the playhead at the end of the current clips in the Timeline. This is where you will edit the next video clip. You can also drag the playhead to this location and let it snap to the end of the second 98A-amanda clip.
| 2. | Open the 98B-man clip in the Viewer. Play from the current Out point, and set a new In and Out to include the man saying, "Mine, too. Where are you from?"
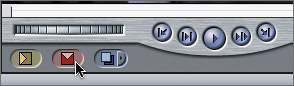
| 3. | To edit this clip, click the red Overwrite button in the Canvas.
The clip is automatically placed at the end of the video clips, at the playhead position, just as the other video edits were.
| 4. | Open the 98A-amanda clip, and set an In and Out to include Amanda saying where she is from and the man's first response that sounds like, "Way-nah-zee." Click the Overwrite button.
NOTE The actual Mohawk term is "We' ne tsi." | 5. | In the Timeline, drag the playhead to the beginning of this clip, and play it.
After you've edited a clip to the Timeline, you may find that it's too long. You can easily overwrite the tail end of a clip, or an entire clip, as you make your next Overwrite edit.
| 6. | In the Timeline, move the playhead back to before the man says "We' ne tsi."
TIP If Audio Scrubbing is not on in the View menu, turn it on so you can hear the audio even in reverse when you're dragging the playhead. The next edit will begin at the playhead location and overwrite the remainder of this clip, erasing it from the sequence.
| 7. | Open the 98B-man clip and mark the portion beginning with "We' ne tsi" and ending before Amanda speaks again. Click the Overwrite button again.
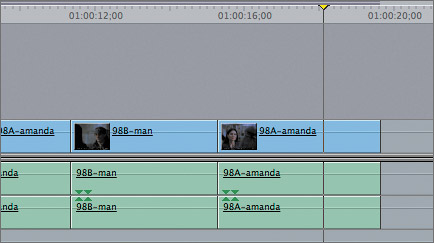
The previous 98A-amanda clip is shorter in the Timeline than it was before.
| 8. | Hold the pointer over the red Overwrite button in the Canvas.
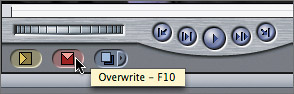
When you move the pointer over the Overwrite button, a tooltip appears displaying its shortcut, F10.
| 9. | Open the 98A-amanda clip, and set an In point when she begins to speak. Set an Out when she has finished speaking in her native tongue. This time press F10 to edit this clip into the sequence.
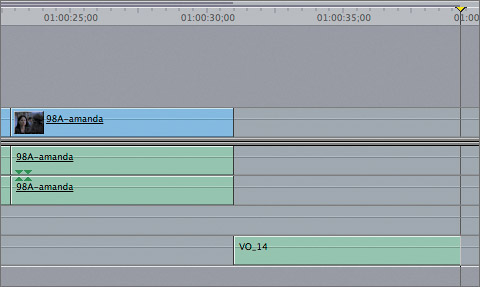
NOTE OS X assigns functions to F9, F10, F11, and F12 that will override the FCP functions unless you change them in System Preferences. If you need help setting Preferences, go to the "Getting Started" chapter. TIP As you edit more clips to the Timeline, some of the earlier clips may move out of sight. You can always press Shift-Z to bring all the clips back into view. | 10. | From the Audio bin, open the VO_14 clip. Drag the playhead toward the end of this clip, and set an Out point when the narration stops.
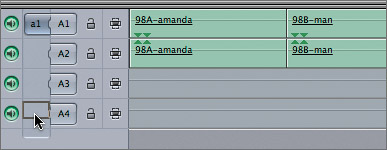
You want this clip to be placed on the A4 track in the Timeline, so you need to patch the source control to that track.
| 11. | In the Timeline, drag the a1 source control down to the A4 destination track.
| 12. | Make sure the playhead in the Timeline is at the end of the last clip, and press F10 to edit this voice-over clip.
| 13. | Press Home, and play the sequence. Then press Cmd-S to save your work.
|
Project Practice Continue to practice making Overwrite edits by adding the following clips to the end of the current Amanda Starting sequence. You can follow the marking and setup directions that follow for each clip, or you can simply refer back to the end of the Amanda Finished sequence as a guide. TIP To make the clips smaller in the Timeline and allow more editing space at the end of your sequence, press Option- (minus), drag the zoom control, or drag the zoom slider tabs.
98B-man Set an In point at 11:00:38:09 and an Out point at 11:0046:12. Lower the sound level for this clip to 14dB so the voice-over clip can be heard above it. Make sure the source controls are patched to the A1 and A2 audio tracks. Move the playhead back to the end of the last video clip. 98B-man Set an In point at 11:01:15:20 and an Out point at 11:01:31:06. These two edits of the man will jump slightly when you play them, but later you will cover this with a shot of Amanda. 98A-amanda Set an In point at 8:08:38:16 and an Out point at 8:08:44:10. 98C-wide Set an In point at 13:02:10:26 and an Out point at 13:02:22:04. VO_16 Edit this clip onto the A4 track after the man sings a verse of the song. VO_17 Edit this clip in line with the first frame of the last clip in the sequence. |