Lab 2D: More Animation Practice
In this lab session, you complete the animations for the rest of the presentation. This project is more challenging, not because of the animations per se, but because less detailed instructions are provided here. You will need to determine how to accomplish each animation on your own.
Level of difficulty: Challenging
Time to complete: 15 to 30 minutes
-
Open the presentation file if it is not already open, and save it as
 MyLab2D.pptx.
Start in your completed file from the previous project (MyLab2C.pptx), or open
 Lab2D.pptx from the Labs folder if you did not do the previous lab.
 -
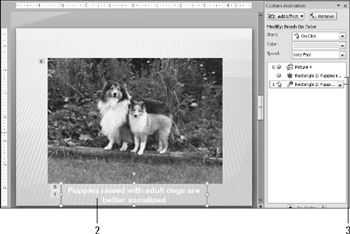
Add a text box to slide #4, near the bottom of the picture, with the following text: Puppies raised with adult dogs are better socialized.
Make the text center-aligned, Arial Rounded Bold MT font, 24 point, and white.
-
Animate the text box you just added so that it appears after the picture's Grow effect has taken place, and two seconds later it changes color to bright yellow with a Brush-On Color effect.
(Hint: Apply two separate animations to the text: an entrance with an Appear effect, and an emphasis with a Brush-On Color effect.)
-
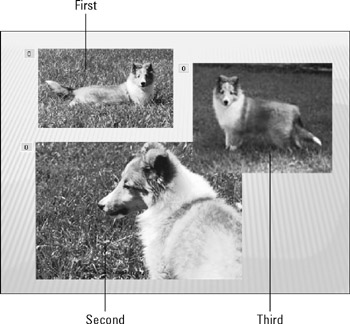
On slide #5, animate each of the pictures to appear using the Dissolve In animation, one after the other, with a two-second delay between them. Set the animation speed for each of them to Fast.


-
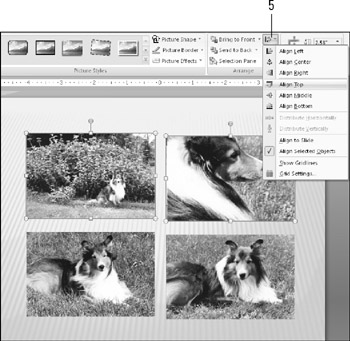
On slide #6, use the Align commands to more precisely align all four pictures.
To do this, first align the top two pictures at their tops, and then align the two bottom pictures at their tops.
Next align the two left pictures at the left side, and then the two right pictures at the right side, if they are not already aligned.

-
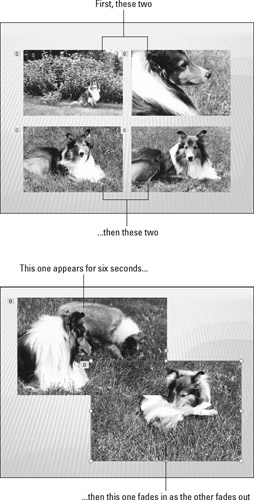
Animate the pictures on slide #6 so that the top-left and bottom-right pictures appear (simultaneously) first using the Diamond entrance effect, and then a three-second delay. The other two pictures then appear simultaneously using the same effect.
-
On slide #7, make the top-left picture fade out after six seconds, and at the same time as it is fading out, make the bottom-right picture fade in.
-
View the entire presentation in Slide Show view to check your work.
-
Return to PowerPoint and save your work.

EAN: 2147483647
Pages: 268