File Server Resource Manager
| No matter how much storage you have on your file servers, users always manage to fill it up. Even if you restrict Internet access so that they can't download their favorite games and pictures, they still pack your servers with various documents and other assorted business-related and "other" files that they just can't live without. Is it really necessary to retain WordPerfect 5.0formatted documents from 1993? In most environments, the administrator must have a mechanism to monitor and control the amount of space that users are allocated. Although there have always been third-party utilities available to control disk usage, Microsoft finally included the Disk Quota feature in its operating systems starting with Windows 2000. Previous to the R2 release of Windows Server 2003, the Disk Quota feature in Windows Server 2003 was largely unchanged since the initial version. The File Server Resource Manager (FSRM) is a new MMC snap-in available in Windows Server 2003, starting with the R2 release. FSRM provides a variety of tools that can be used to monitor and control the amount of space used and control what files are stored on your servers. In addition, it also provides storage reports, so that you have a record of who's storing what and where. Exam Alert: R2 Only Although the domain can still be Windows 2000 or Windows Server 2003 without R2, the server the FSRM is installed on and all the servers that will be managed via the FSRM must be at R2 or later. To install the File Server Resource Manager on a Windows Server 2003 R2 server, follow the procedure in Step by Step 13.6.
After the FSRM is installed, it can be opened by selecting the File Server Resource Manager icon in the Administrative Tools folder. The FSRM MMC, as shown in Figure 13.11, takes advantage of the new functionality in MMC version 3.0 by displaying the additional Actions pane on the far right. Figure 13.11. The File Server Resource Manager MMC. As you can see in Figure 13.11, there are three major nodes in the FSRM MMC:
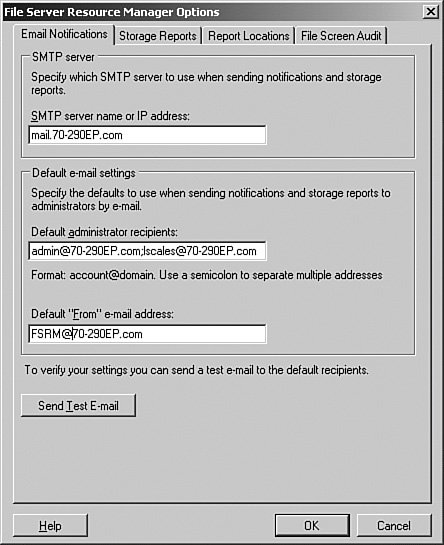
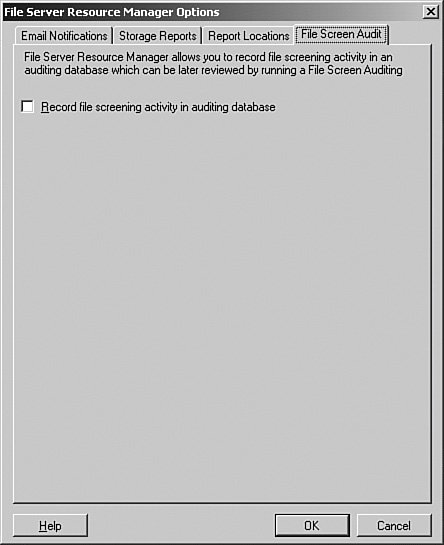
Before we can use the FSRM MMC, we need to set up a few configuration options. To access the configuration, right-click the File Resource Manager entry in the left pane, and select Configure Options from the pop-up menu. This opens up the options dialog box, shown in Figure 13.12. Figure 13.12. You can set the FSRM notification configuration from the Email Notifications tab. On the Email Notifications tab, enter the SMTP server, the email address of the administrators that you want notifications sent to, and the From e-mail address. Click the Test E-mail button to test your configuration. On the File Screen Audit tab, shown in Figure 13.13, you have the option to record all file screening activity in an auditing database. This database is used to create the File Screen Audit Report. Figure 13.13. File Screen auditing is enabled by selecting the check box. Note: Performance Hit Enabling file screen auditing adds a certain amount of overhead to the file screening process. Make sure that you actually need this functionality before turning it on. Now that we have the initial configuration of the File Server Resource Manager completed, let's take an in-depth look at what we can accomplish with it. |

EAN: 2147483647
Pages: 219