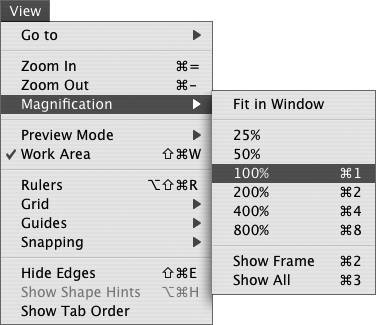
Viewing at Various Magnifications
| Flash offers several ways to adjust the magnification of elements on the Stage. To view elements at actual size
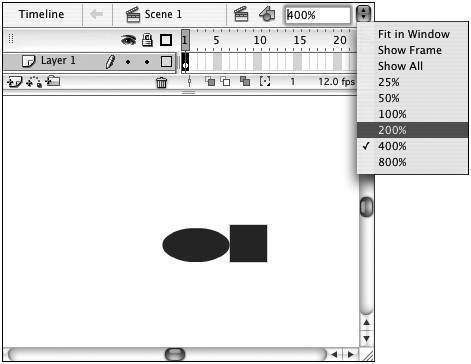
To zoom in or out on the Stage
To reduce or enlarge specific areas
To zoom in or out
|
 Tip
Tip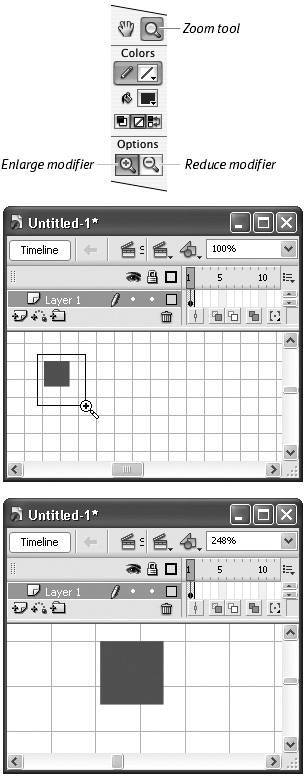
EAN: 2147483647
Pages: 204
- ERP System Acquisition: A Process Model and Results From an Austrian Survey
- Context Management of ERP Processes in Virtual Communities
- Distributed Data Warehouse for Geo-spatial Services
- Data Mining for Business Process Reengineering
- Relevance and Micro-Relevance for the Professional as Determinants of IT-Diffusion and IT-Use in Healthcare