| According to the manual, the best way to install MySQL on Linux is to use an RPM (a package formatted for the Red Hat Package Manager, an installer which is not limited to just Red Hat Linux). MySQL provides RPMs for many different versions of Linux, so if one is available for the platform you're using, that's the best and easiest way to go. There are both server and client RPMs available; you'll probably want to install both. Installing an RPM is just a matter of typing rpm -i MySQL-server-VERSION.i386.rpm
in a Terminal (you may need to precede this with sudo, per the instructions in the sidebar). The RPMs, by default, will install the applications within the /usr directory with the data stored in /var/lib/mysql. Further, the RPM will add the requisite data to the /etc/rc.d/ directory so that the MySQL server daemon will be automatically started when the computer is booted. The RPM also creates a user called mysql, if necessary. Installing an RPM is straightforward enough that I will not say more about it, but see the MySQL manual if you have problems. Another option, which I will cover here, is to compile the source code yourself. This isn't just a Linux thing, you can compile MySQL yourself on nearly any operating system. All you need is a compiler like gcc, utilities like gunzip and tar, plus make. Any number of problems can occur using this method, so it's not for the faint of heart, but if you know what you're doing, this is a great way to get a version of MySQL that's customized to how you want it to behave. With this installation method, the resulting layout will be a little different (Table 1.3), with /usr/local/mysql as the base directory. Table 1.3. After installing MySQL, you'll have these folders (all found within the main MySQL folder, /usr/local/mysql).MySQL Layout on Linux |
|---|
Subfolder | Contains |
|---|
bin | All applications | info | Documentation | include/mysql | Header files | lib/mysql | Code libraries | libexec | The mysqld server | man | Unix man pages | share/mysql | Error message files | sql-bench | Benchmark utilities | var | Databases and logs |
Being the Root User Unix-based operating systems, including Max OS X and Linux, rely on the concept of users for security purposes. The ultimate user, root, can do anything within the operating system, including destroy it. For this reason the root user should be handled gingerly, but it is also a necessary evil when installing new software. If a root user account has already been established (with a password), you can become root by typing su root within the Terminal application. You will then be prompted for the root user's password. Alternatively, you can do everything as your normal user, but request root power as needed. To do so, preface every command with sudo, like sudo make install
The first time you do this, and after a period of inactivity, you will be prompted for the root password. While repeatedly using sudo may seem tedious, this is less heavy-handed than to temporarily act as the root user. |
To compile MySQL on Linux: 1. | Download the tarball (tar.gz) source distribution of MySQL.
The easiest way to do so is to use your Web browser, saving the file to your home directory. At the time of this writing, the latest Generally Available version is 5.0.18, making the downloaded file mysql-5.0.18.tar.gz.
| 2. | Access the server via a command-line interface (Figure 1.13).
Figure 1.13. On Linux, use the Terminal application to install MySQL. 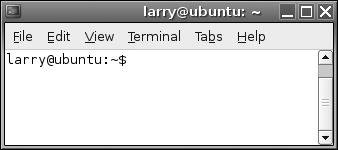
In my example here, I will be installing MySQL on Ubuntu 5.10 (Ubuntu is based on the Debian line of Linux). Everything will take place within the Terminal application.
You will need to have permission to manipulate files and create new directories within the /usr/local directory, so you may need to switch to the root user or use sudo, as I'll do in these steps. See the sidebar "Being the Root User" for more information.
| 3. | Move into the same directory where the downloaded MySQL files are located.
cd /path/to/directory
Use the preceding command to move into the directory where the source files were saved, changing the path accordingly. In my case, I entered
cd ~/Desktop
as I saved the download to my desktop.
| 4. | Create a new MySQL user and group (Figure 1.14).
Figure 1.14. Create a new user and group who will own and run MySQL. 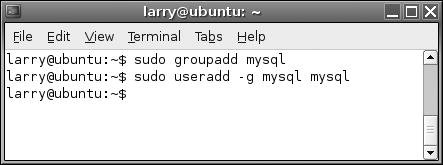
sudo groupadd mysql sudo useradd g mysql mysql
This step will allow you to run and manage MySQL as the mysql user, rather than root. This step adds extra security to your system (it's best not to use root unless you absolutely have to).
| | | 5. | Unpack the files.
tar xzvf mysql-5.0.18.tar.gz
The tar command will unpack the downloaded folder. The source versions use a naming convention like mysql-VERSION.tar.gz. In this step, and in those following, be sure to change your commands appropriately if you are using a different version than I am here.
| 6. | Move into the new directory.
cd mysql-5.0.18
The next couple of steps will take place within the unpacked folder of source code files.
| 7. | Configure gcc's behavior (Figure 1.15).
Figure 1.15. To create a more optimized MySQL binary, adjust your compiler's behavior to match your processor. 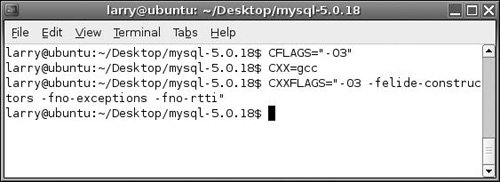
CFLAGS="-O3" CXX=gcc CXXFLAGS="-O3 -felide-constructors -fno-exceptions -fno-rtti "
This is an optional step but may result in a faster, more stable binary. These are also generic settings; ones specific to your processor may be better. Note that those are capital versions of the vowel "o" before each 3. See the MySQL manual or search the Web for more information on what gcc flags to use.
| 8. | Configure the MySQL source files (Figure 1.16).
Figure 1.16. If you are using the source files of MySQL, you'll need to configure it yourself. At the very least, be sure to specify the prefix in your configuration statement. 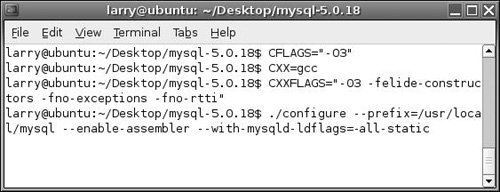
./configure --prefix=/usr/local/mysql --enable-assembler --with-mysqld- ldflags=-all-static
For more information on configuring MySQL, see "Basic Configuration Options" later in this chapter or the pertinent sections of the MySQL manual. The prefix option is very important, as it specifies where MySQL, and therefore the actual binary files to be executed, should be placed. The other two options should improve MySQL's performance.
| | | 9. | After the configuration has successfully run (Figure 1.17), make and install the files.
Figure 1.17. If the configuration step (Figure 1.16) worked, you should see a message like this, meaning you are ready to make and install the files. 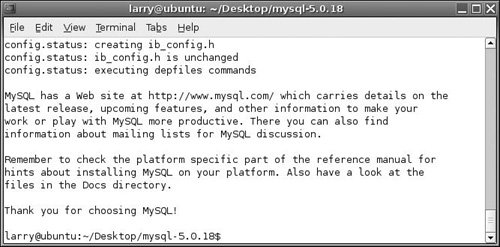
make sudo make install
These two steps will take some time, depending upon the operating system and processor speed of your server. If you encounter problems with make (you would see error messages and the make would terminate), do not proceed to the sudo make install step. If you continue to have difficulties with this part of the installation, check the MySQL manual or Appendix A, "Troubleshooting," for more information or consider using a binary version instead of the source.
Note that you must run make install as the root user, in my case by invoking sudo.
| 10. | Move to the installation directory.
cd /usr/local/mysql
The next couple of steps will take place from within the installed MySQL folder.
| 11. | Install the default databases.
sudo bin/mysql_install_db --user=mysql
This step will create the database MySQL needs to function properly (called mysql) along with an appropriately named test database (called test). Once the script has run, you will see a number of messages regarding the software (Figure 1.18).
Figure 1.18. After installing the databases, you will see these lines, telling you what steps to take to run the server. 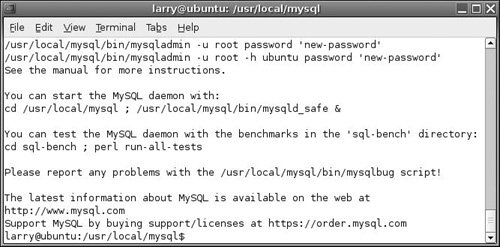
| | | 12. | Change the permissions on the new files (Figure 1.19).
Figure 1.19. By giving the mysql user permissions over your files, you can avoid the security risk of running MySQL as root. 
sudo chown -R root . sudo chown -R mysql var sudo chgrp -R mysql .
This final step allows the MySQL server to run under the guise of the newly created mysql user. All of the files will be marked as owned by the root user except for the data directory, var, which will be owned by the same user MySQL will run as.
| 13. | Start MySQL and assign a password to MySQL's root user.
You'll learn how to do these two steps in Chapter 2.
|
 Tips Tips
Depending upon your operating system, you may have to add the mysql user and group using different terminology (like adduser and addgroup) than the example here. You can also use wget or curl to download MySQL. But since you have to find the full, correct URL of the source files, taking into account which mirror you'll use, I find the browser to be easiest. During my configuration, I saw a No curses/termcap library found error. To adjust for this, I had to add the --with-named-curses-libs=/lib/libncurses.so.5 argument to the configuration command. If you've already configured MySQL once and need to reconfigure it, first wipe out the previous configuration by running make distclean within the MySQL source code directory, prior to reconfiguration.
|