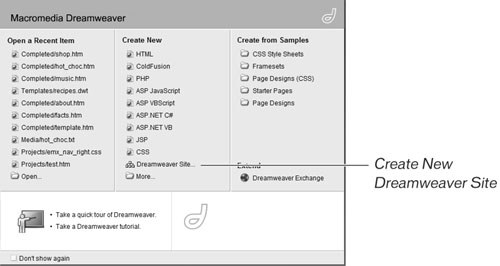
| Once all of the HTML files are exported, you are ready to open Dreamweaver, create a site, and begin modifying your pages. In Dreamweaver, you will notice a familiar Start page and user interface. The panels dock and open just as they do in Fireworks. The Property inspector also works like it does in Fireworks, displaying information based on the currently selected object. 1. | In Dreamweaver, click Dreamweaver Site from the Create New column in the Start page. If your Start page is not visible, you can choose Site > Manage Sites > New Site.
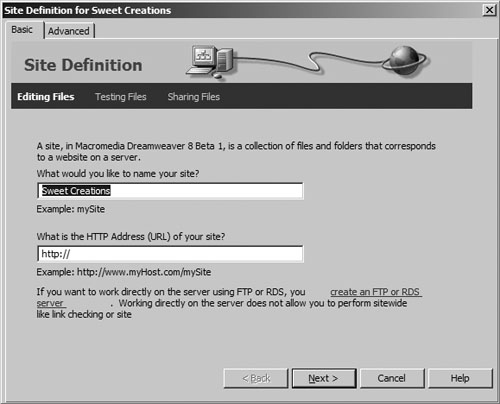
In the Site Definition dialog box, you can click either Basic or Advanced to define the site. The Basic tab (the Site wizard) steps you through the process of setting up the site. For this exercise, you'll use the wizard.
 | 2. | Click the Basic tab and then type a name for the site when the wizard asks what you want to name your site. For example, type Sweet Creations as the site name. Then click Next.
The name you enter is for your reference only. Make the name meaningful based on the content of the site. You may have multiple sites residing on your hard drive for example, you may be creating Web pages for your company, school, church, or other organization and each needs a unique name.
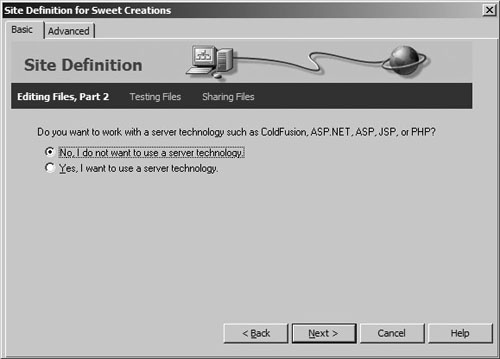
 | 3. | Select No, and then click Next.
In Dreamweaver, you can create a dynamic or a static site. A dynamic site uses a database to generate the content of a Web page. That concept is beyond the scope of this book. For this exercise, you will create a static site.
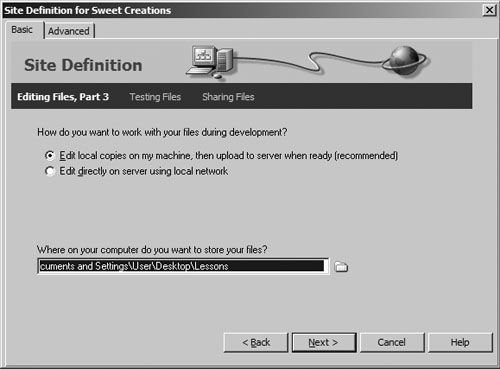
 | 4. | Select Edit Local Copies, and then click the folder icon and browse to the location of your Lessons folder. Click Next.
- For PC: Open the local folder (the Lessons folder in this exercise) and click Select.
- For Mac: Select the local folder and click Choose.
After you define the main folder, it becomes the root folder for your site. All of your files and subfolders are contained within that root folder. Dreamweaver uses the local root folder to locate all links specified as site-root-relative URLs. When you create your pages, the graphics and links are relative to that folder. When you are ready to publish your site, all you have to do is copy the root folder and all of its files to the remote server. The images and links should all work on the Web server (assuming that they work locally).
 | 5. | Choose None when asked the method for connecting to the remote server. Click Next.
For this exercise, you will not copy your files to a remote server. If you choose another option, you then are asked the method to use to connect to a remote server.
 | 6. | Click Done.
A summary of your settings is displayed. If you need to make a change, click the Back button and make the change.
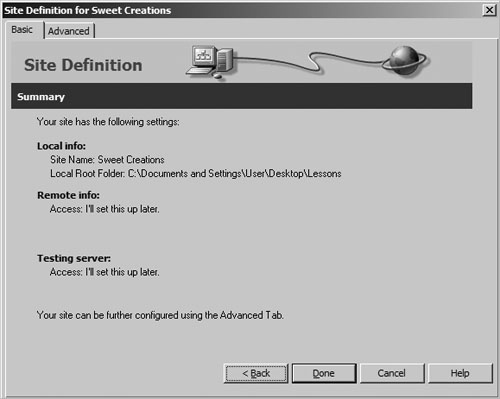 Note You may see a message telling you that the site cache will be created. If you select Don't Show This Message Again, the message is skipped the next time you create a site. Click OK to close the message box and create the cache. You can also use the Advanced tab to define your site. When you click each item in the Category list, you are presented with the options for that category.
 Local Info is where you define the site name as you did on the first screen of the Site wizard. Local Info is where you define the site name as you did on the first screen of the Site wizard.
Remote Info is where you define the method for copying your files to the Web server.
Testing Server is where you define the server model for your site and the method of accessing the server.
Cloaking is where you can exclude folders or files from site operations. Simply enable cloaking and list the file types you want excluded. For example, the Fireworks PNG files you created don't need to be sent to the server. If you enable cloaking and then add the .png extension to the list, your Fireworks files will not be sent to the server. List all of the extensions you want excluded, separated by spaces.
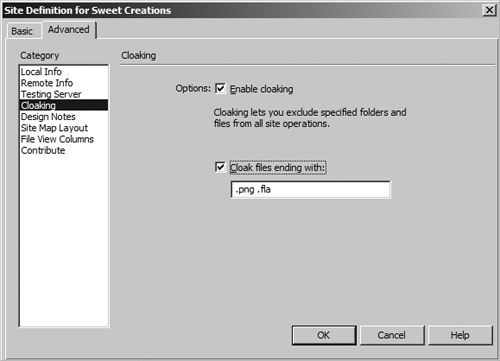 Note If you are using a Macintosh, make sure that you add the filename extension when you save your files. Many programs have an option you can select to add the extension automatically. If you are using Macromedia Flash, the extension is .fla; for Adobe Photoshop, the extension is .psd; and for Microsoft Word, the extension is .doc. Although the extension is not needed when you use the files on the Macintosh, it is necessary when you exchange your files with PC users. In addition, the extension is needed for the cloaking option in Dreamweaver. Design Notes are used for communication between Dreamweaver and Fireworks. Design Notes contain information about the graphic files when you export your files from Fireworks. When you export your files, Fireworks creates a folder called _notes and stores information about the files in that folder. When you edit a file from Dreamweaver, Dreamweaver uses that information to locate the source PNG file. If you are working with a team, you can select Upload Design Notes for Sharing. That option is not needed for this exercise.
Site Map Layout controls the look of a site map.
File View Columns controls the look of the Files panel.
Contribute enables you to administer your site for Macromedia Contribute users.
|
|