| After downloading the iDisk Utility for Windows XP, your first step before using it, obviously, is to install it. The following steps will walk you through the installation process: -
Locate the file iDisk Utility for Windows v1.0.2.zip , and double-click on the icon to unpack the Zip file. -
Double-click on the installer to launch the iDisk Utility for Windows Setup Wizard, shown in Figure C-1. After reading the Warning note, click on the Next button to proceed with the installation process. Figure C-1. The iDisk Utility for Windows Setup Wizard. 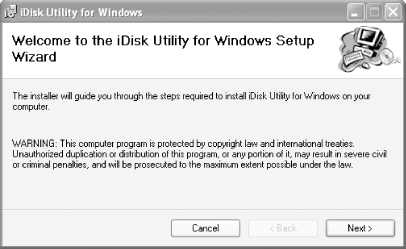
-
Next comes Apple's License Agreement for the iDisk Utility, shown in Figure C-2. As with all software license agreements, you should read through this carefully . Once you've done so, click on the radio button next to "I Agree", and then click on the Next button to proceed. If you click on the radio button next to "I Do Not Agree," the iDisk Utility will not be installed. Figure C-2. More legal mumbo-jumbo, but you should still read the License Agreement. 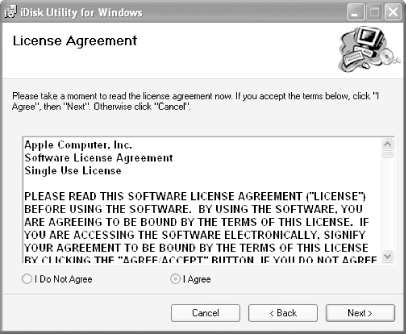
-
Next, you need to select the folder where the iDisk Utility will be installed on your system. By default, the Utility will be stored in C:\Program Files\Mac Utilities\iDisk Utility for Windows\ , as noted in Figure C-3. If you would like to choose another location, click on the Browse button. The lower portion of this window also lets you decide whether the iDisk Utility for Windows will be available to all users on the system, or to just you. After selecting the appropriate options, click on the Next button to proceed. Figure C-3. Select where the iDisk Utility for Windows will be installed, and whether other users on the system will be able to use it. 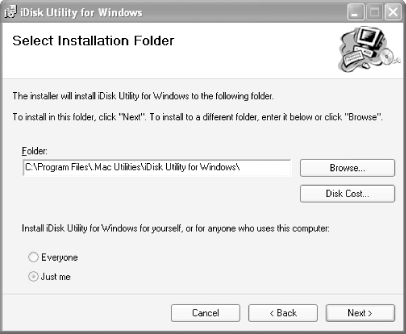
-
Before the iDisk Utility for Windows is installed, you'll have to pass through the Confirm Installation window, shown in Figure C-4. This is your last chance to make sure you're installing the application on your system. If you are unsure of anything you've set or selected in the previous four steps, you can click on the Back button to go backwards in the installer. Otherwise, if everything's copacetic, click on the Next button to start installing the iDisk Utility, as shown in Figure C-5. Figure C-4. If you're sure you want to install the iDisk Utility, click on the Next button to start the installation process. 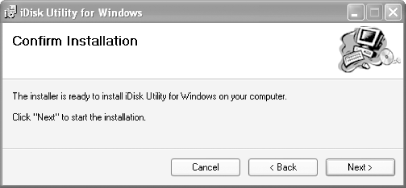
Figure C-5. As the iDisk Utility is installing, a progress meter will keep you informed of how the installation is going. 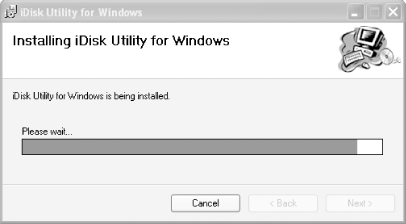
-
After the iDisk Utility has been installed, you will see the Installation Complete window, shown in Figure C-6. To quit the installer and start using the iDisk Utility, click on the Close button. Figure C-6. With the iDisk Utility installed on your Windows XP system, click the Close button to quit the installer. 
Once the iDisk Utility has been installed, you can delete the Zip file and start using the program, as detailed in the following section. |