| Anyone can send iCards to friends and family, even without a .Mac membership. But to send an iCard using your own photo, you do need a .Mac membership. An iCard is simply an electronic postcard you can send to anyone on any computer. iCard is far better than most Internet postcards for two reasons: The quality of the graphics is superior, and iCards are sent straight to the recipient instead of requiring a visit to a web page to "pick up" a card. This sidebar appears on the .Mac page. 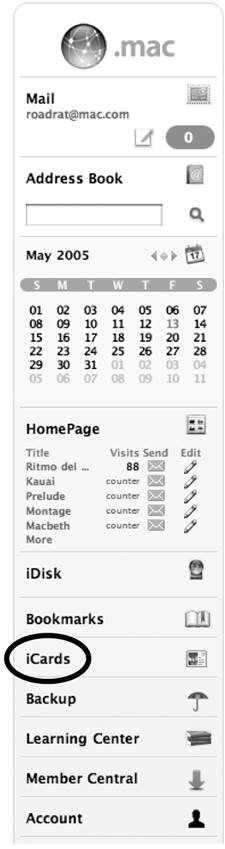
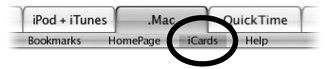
To send an iCard from the iCard Image Library 1. | Go to www.mac.com and click "iCards" in the sidebar (shown on the left). Or click "iCards" in the page's navigation bar (shown below).
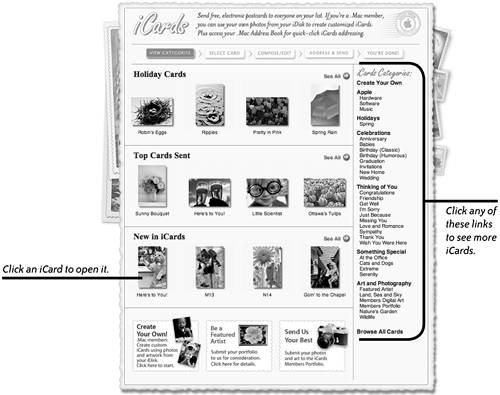
| 2. | On the iCards welcome page, shown below, click on a specific iCard thumbnail or one of the many iCard categories to display more card options. Once you click a card thumbnail, it opens a full-sized, editable version of the card (next page).
 | 3. | On the editable iCard page that opens (shown to the right), select a type style and write a message. Click "Continue."
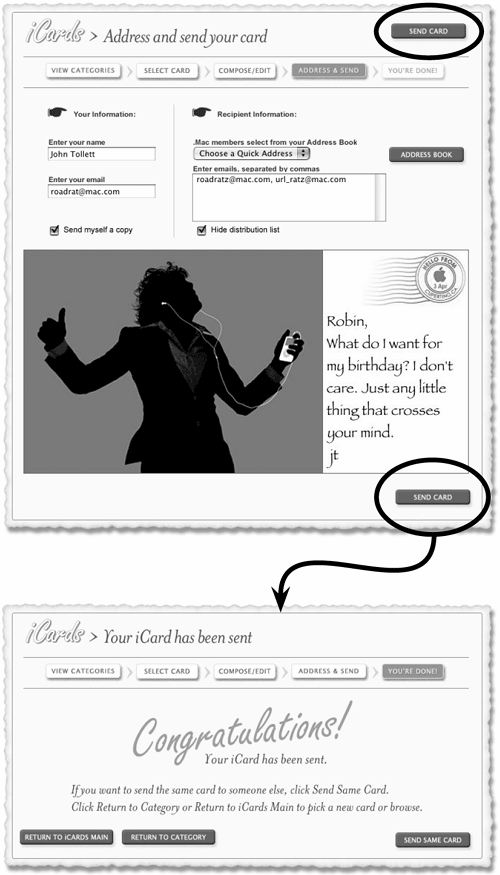
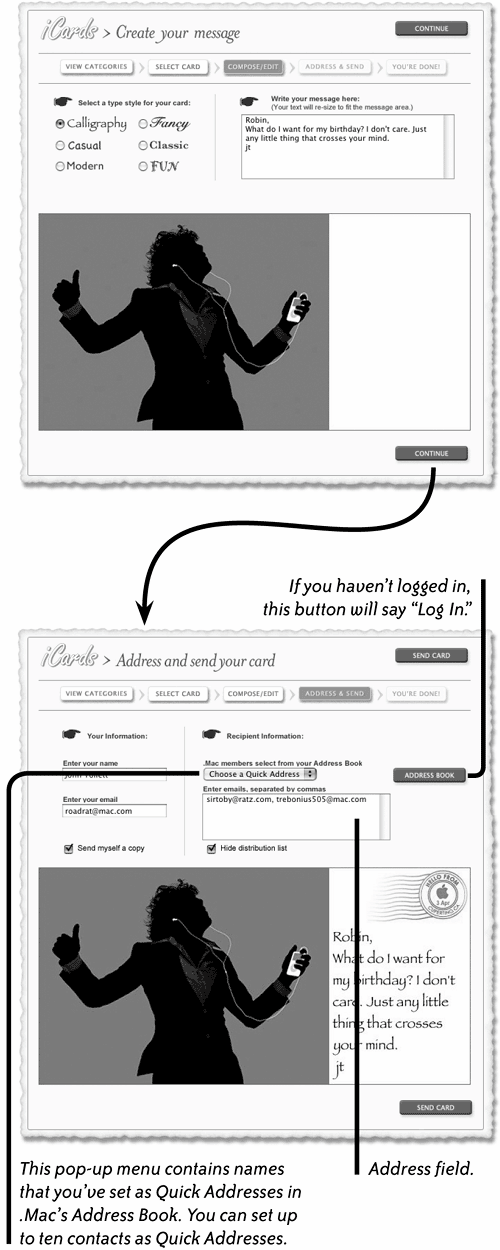 | 4. | The next page previews your card and lets you address the card to as many recipients as you like.
If you're logged into your .Mac account already, your name and email address are automatically placed in the name and email fields. You can override these and type in a different name and return address.
If you want to receive a copy of the iCard, check the box to "Send myself a copy."
To protect the privacy of multiple recipients, hide their email addresses: Check the box to "Hide distribution list."
Enter a recipient's email address in the address field. To add multiple addresses, separate each address with a comma.
Or choose a recipient from the "Choose a Quick Address" pop-up menu.
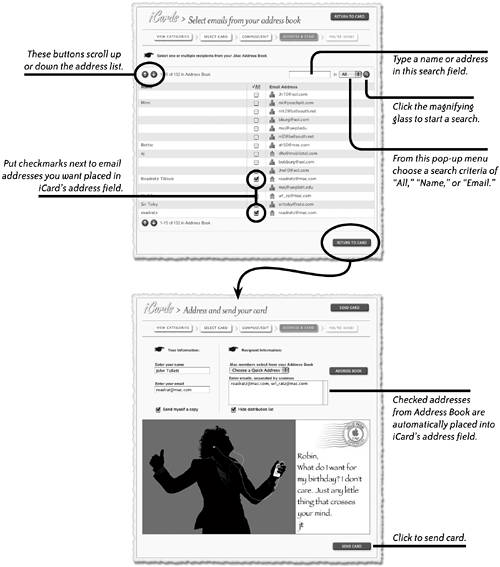
Or click the "Address Book" button (circled on the right) to access your .Mac Address Book list, shown on the next page. Put a checkmark next to the addresses you want placed in iCard's address field. See Chapter 9 to learn more about the .Mac Address Book and Quick Addresses.
To select recipients from your Address Book, click the "Address Book" button. Check the box next to the name of the recipient(s) you want to add. Use the scroll buttons to scroll up or down the list, or type a name in the search field to find a specific name or address. Click "Return to Card" when you have selected all the recipients you want.
 | 5. | Click one of the "Send Card" buttons (in the top-right or bottom-right corner of the page).
| 6. | A "Congratulations" web page opens (shown below), with the options to "Send Same Card" to someone else, "Return to Category" to choose another photo or "Return to iCards Main" to go to the main iCards menu. Once you see the "Congratulations" page, it means your iCard has been successfully sent.
|
 |