| You already know how to insert page number and date fields. Word lets you insert many other types of fields as well. For example, you can insert the FileName field in the footer so that the document's filename prints at the bottom of every page, or you can add the UserAddress field to the top of a letter to quickly insert your return address. You may not need to use any of these other fields, but it's worth poking around a bit to see if some of them might make your life easier. As you work with fields, these tips may come in handy: -
To force a field to update, select it and press F9. If you want to update all of the fields in your document, select the entire document and press F9. -
To see the underlying field code instead of the result of the code, select the field and press Shift+F9. To switch back to seeing the result of the code, press Shift+F9 again. If you want to display the underlying field codes for all of the fields in your document at once, press Alt+F9 (this shortcut is also a toggle). -
To control whether fields appear gray in your documents, choose Tools, Options; click the View tab; and display the Field Shading list. If you only want them to turn gray when they're selected, choose When Selected. If you want them to always be gray, choose Always. If you don't want them to ever appear gray, choose Never. Then click OK. The gray shading just makes it easier for you to differentiate between fields and regular text onscreenit doesn't print. -
To convert a field to regular text so that it won't update automatically, select the field and press Shift+Ctrl+F9. If you do this, you can't convert it back to a field again. -
To delete any field, select it and then press Delete or Backspace. Follow these steps to insert a field in your document: -
Move the insertion point to the location where you want to insert the field. In many cases, you will want to insert the field in the header or footer. (See "Creating Headers and Footers" in Hour 8, "Formatting Pages," if you need help.) -
Choose Insert, Field to display the Field dialog box (see Figure 12.15). Figure 12.15. The Field dialog box enables you to insert all kinds of fields in your document. 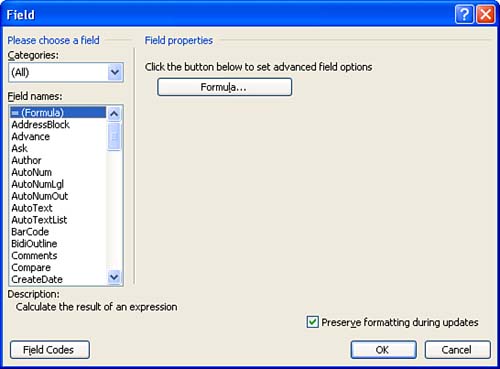 -
Click various categories in the Categories drop-down list in the upper-left corner of the dialog box. The fields in the selected category appear in the Field Names list.  | Some of the categories containing fields that are useful to the average Word user are Date and Time, Document Information, and User Information. |
-
When you find the field that you want to insert, click it in the Field Names list. The right side of the Field dialog box updates to give you options for customizing the field (see Figure 12.16). Figure 12.16. When you select a field name on the left, the right side of the dialog box displays options for customizing it. 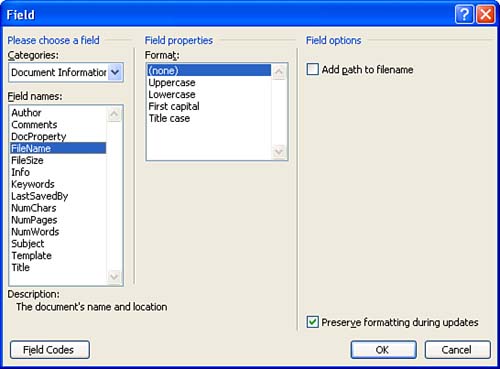 -
Customize the field by making selections under Field Properties and Field Options if you like. In the example shown here, the FileName field allows you to set the case in which the filename will appear in your document. It also has an option for including the path in the filename. If you mark this check box, the field not only displays the name of the document itself, such as resume.doc, but also displays the location of the file, as in C:\Documents and Settings\Sean Boulding\My Documents\Job Search\resume.doc. -
When you've made your selections, click OK to insert the field in your document.  | If you liked the method of inserting fields used in versions of Word prior to Word XP (also called Word 2002), you can continue to use it. To do so, click the Field Codes button in the lower-left corner of the Field dialog box and then click the Options button to display the Field Options dialog box. If you want to return to the "new" interface for inserting fields, click the Hide Codes button. |
 |