Adding Another Service
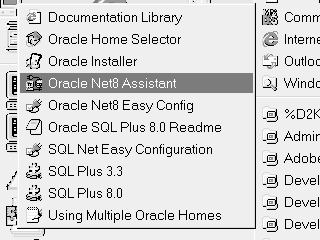
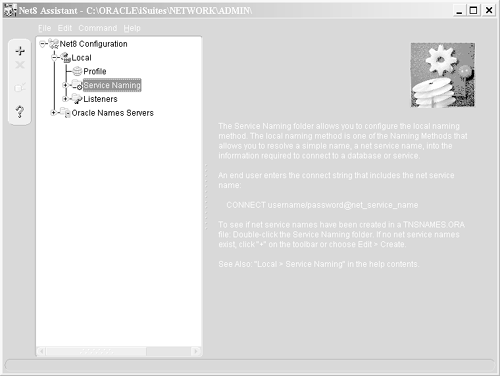
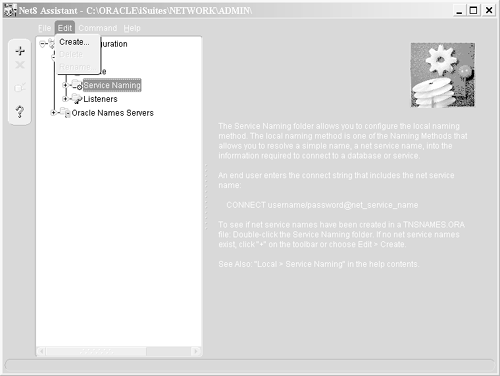
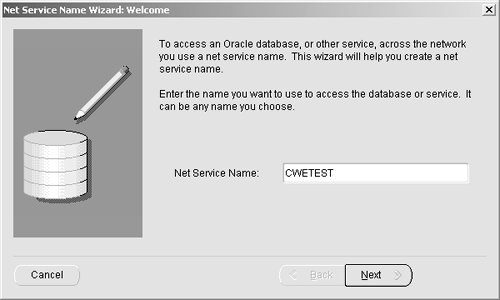
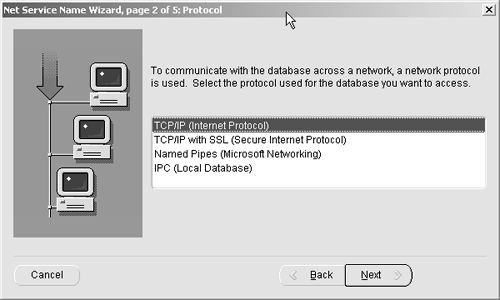
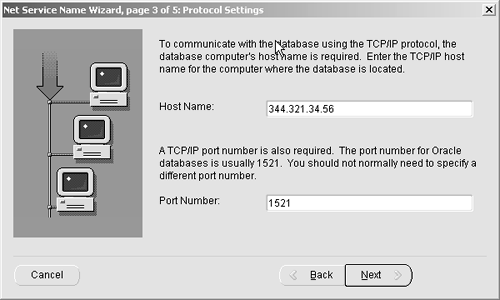
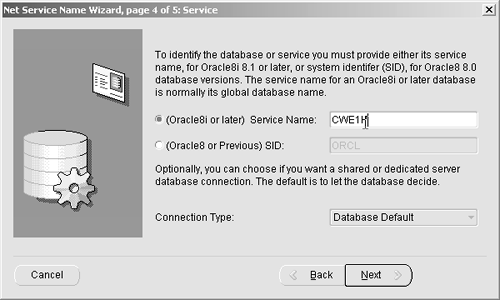
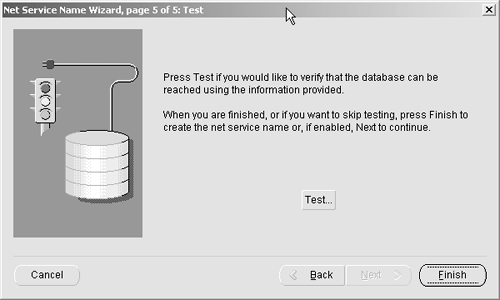
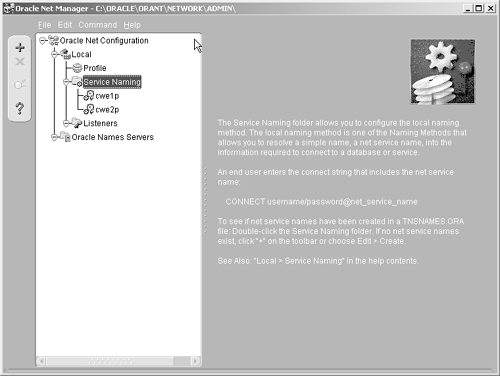
| Suppose that you have just been given the OK to work from home on your database project. You need access to the database from your beach house, your cabin , and of course your office at home, and the only way is to dial in. To do this, you have to use the Net8 Configuration Assistant and add the new service. (Note: These steps are the same for 8 i and 9 i . The 8 i and 9 i Net8 Configuration Assistant screens are also virtually the same.) First go to Start Programs and look for Oracle Net8 Assistant . You'll find it under something like "Oracle for NT": Clicking on Oracle Net8 Assistant will bring up the following screen. Click on Local and then Service Naming , and you will see all the current databases with which you can communicate. In our example you will see the two entries created in the preceding steps. These are really the entries in your TNSNAMES.ORA file. Make sure that Service Naming is highlighted: To add another service, click on the green plus sign in the upper left corner, or select Edit Create : From here on, you will be using the exact same screens that you used when you first installed the Oracle 8 i client. The important thing to remember is that you must use the IP address for the host name because you will be using an external network to reach it, not your internal network where server names are constantly available to all network devices. Enter any name you want for this new service, using something that you can remember and that is meaningful, and then click Next . Select the communications protocol: Again, enter the IP address in the Host Name field, and take the port default: Note Some networks use other ports for their various servers, so be careful when you add servers that you have not configured. In such cases, check with your network administrator. You will get an error when you test if the port number is not correct. Type in the real database name: Now test: When the test is done, click Finish , and your Service Naming directory should now look like this: Note that before the new service can be used, it must be saved. (In other words, if you now go to your SQL*Plus screen and try to reach the new database, for example, you will get an error message saying that the name was not found.) This is a little tricky because the normal thing is just to exit and think you're all done. So I advise you to select File Save , and if when you exit you get a message telling you that the network configuration has been modified and asking if you want to save or discard the changes, choose Save . |
EAN: 2147483647
Pages: 84