The Installation
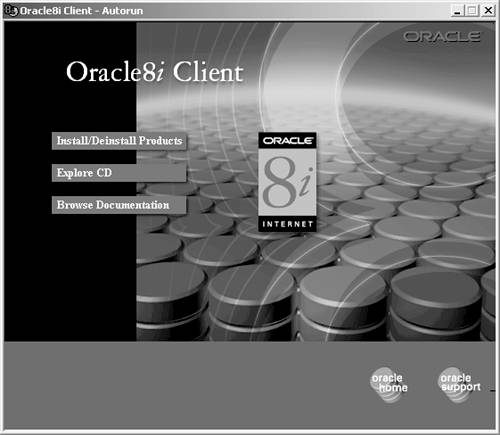
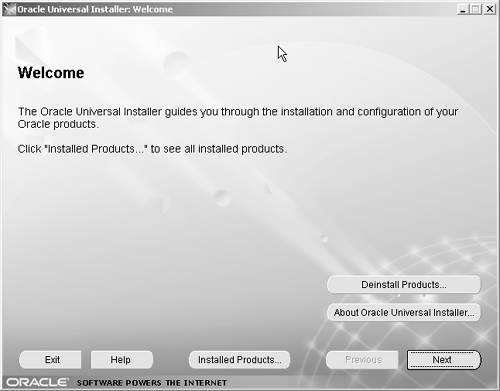
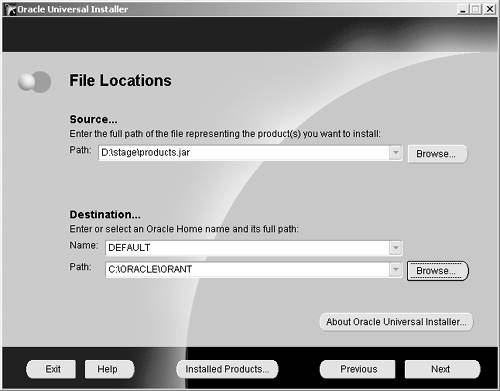
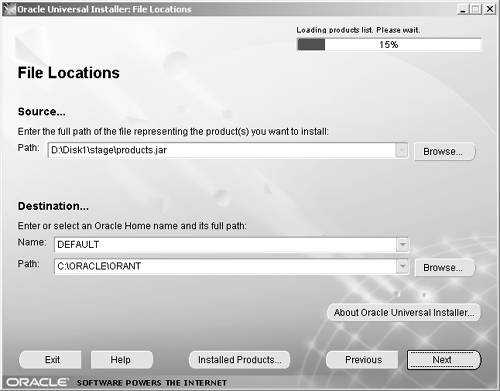
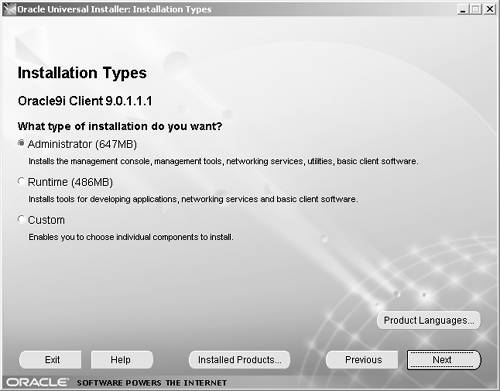
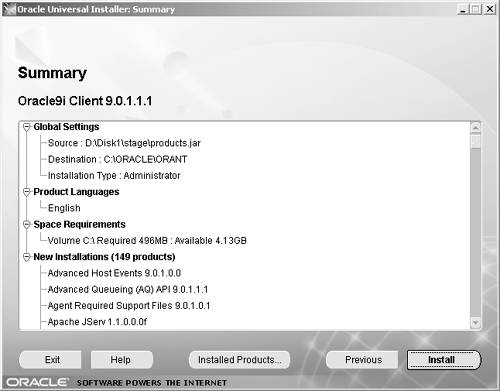
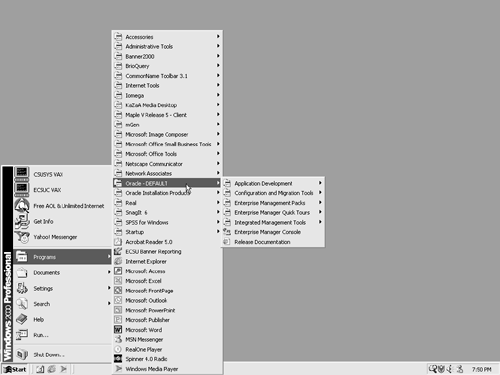
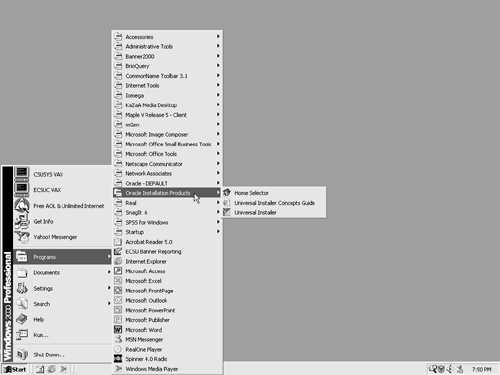
| To install Oracle 8 i or 9 i , follow these instructions: First check for space on the hard drive. You do not want to get an "out of space" message at the end of the installation! Oracle 8 i needs about 300MB, and 9 i needs 1GB. Note that it is customary, for performance reasons, to put the Oracle folder on a drive other than C:\\. Note In the following instructions, the Oracle folder will be installed on D:. Oracle Universal Installer Screen Load the Oracle 8 i or 9 i client CD. For 8 i , you will immediately see the Oracle Universal Installer screen, followed by the Oracle8 i Client “ Autorun screen: Oracle 8 i Client-Autorun Screen For 9 i , you'll see the new, blue Welcome screen, where you can (1) deinstall if necessary, (2) look at the help files, and (3) review what has already been installed. Click Next : Oracle Universal Installer Welcome Screen If you do not already have a version of Oracle installed on this PC, take the defaults for the source and destination locations: Oracle 8 i File Locations Screen Note Here's an important note: If you do have another version of Oracle on this PC, Oracle Installer will tell you, "Oracle 9 i (or 8 i if you're installing 8 i ) Client cannot be installed into an existing 7. x , 8. x , 9. x Oracle_Home." What this means is that you have to specify another destination (or Oracle home). Enter something like "Oracle 8 i " in the Name field under Destination... . Click Next , and you will see the loading status bar: Loading Status Bar For 9 i , it's pretty much the same, except the screen format is slightly different, with the status bar in the upper right-hand corner: Oracle 9 i File Locations Screen Now you will be given a choice of installation types: Oracle 8 i Installation Types Screen Oracle 9 i Installation Types Screen For 8 i , if this is a client PC, select Application User ; if it's a programmer's PC, select Programmer . And if this is your PC, I suggest that you select Administrator . For 9 i , the selections are somewhat different, and I suggest that you select Administrator for all cases. Once you have an "Admin" PC configured, you can install the end-user PCs with the runtime version. Client Installations There are various types of client installations. With 8 i , you have four selections:
Oracle 9 i offers three selections:
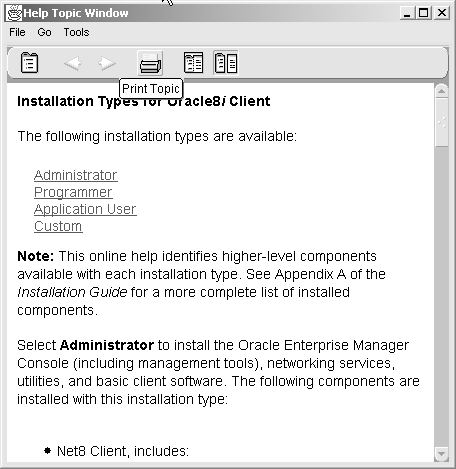
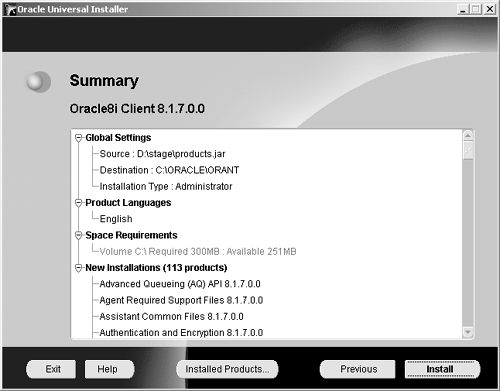
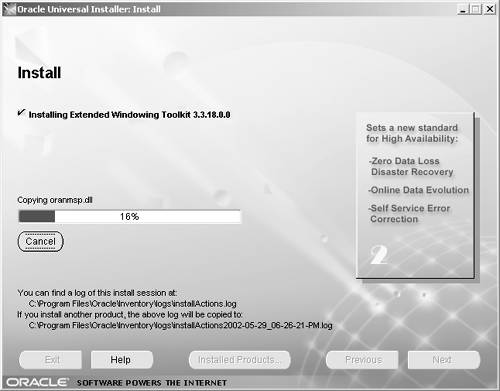
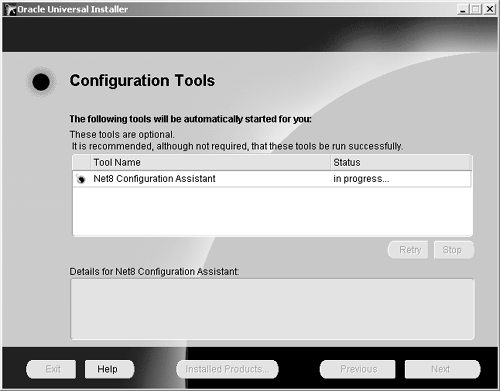
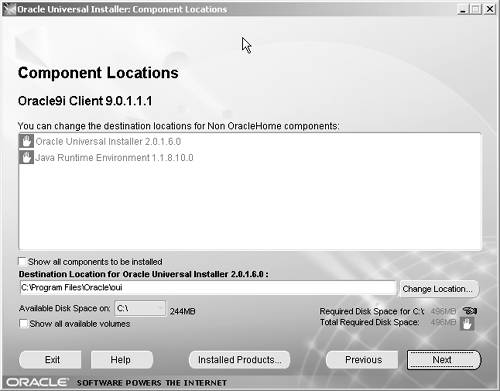
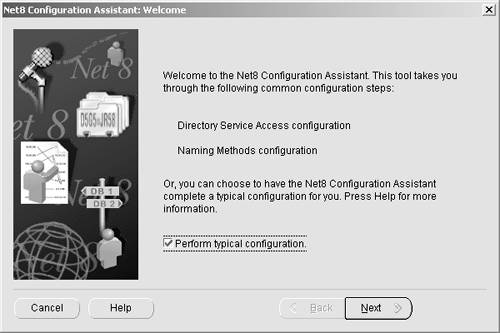
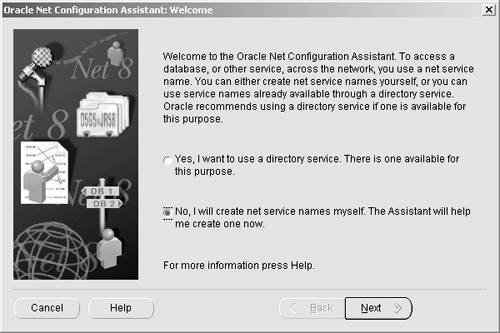
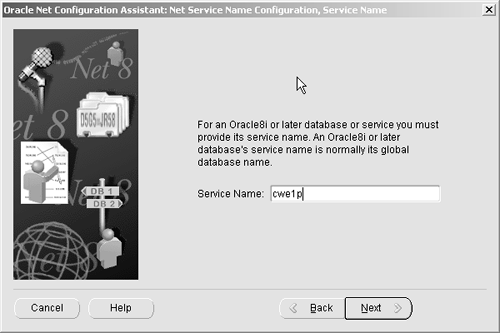
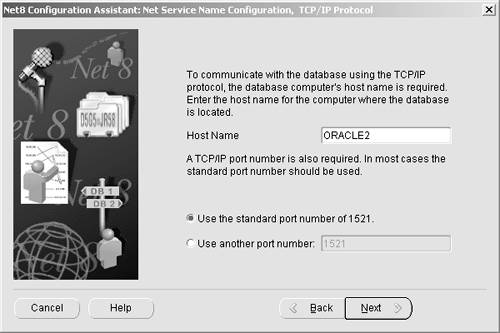
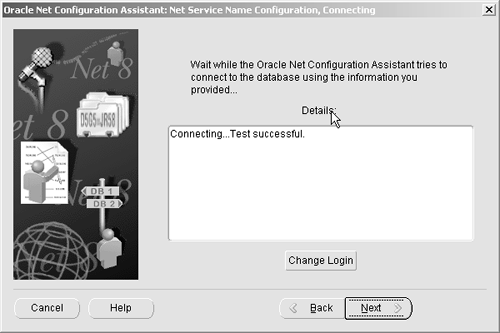
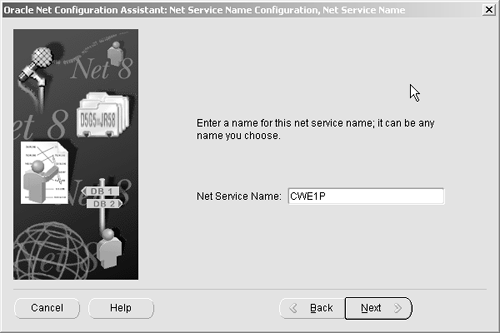
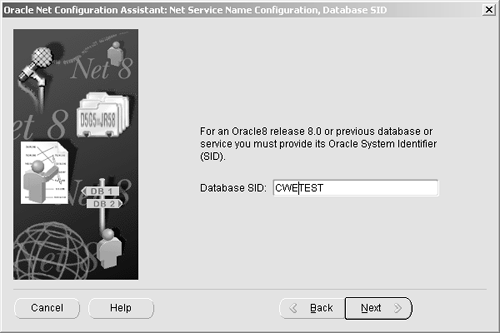
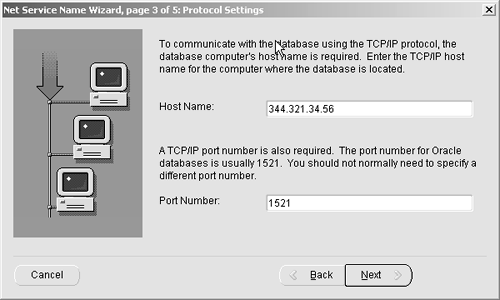
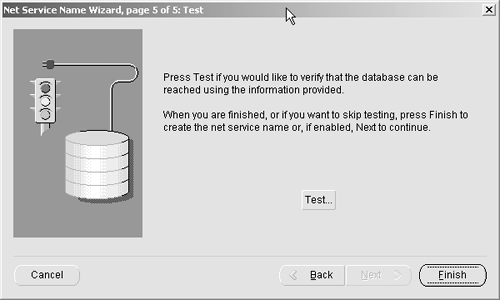
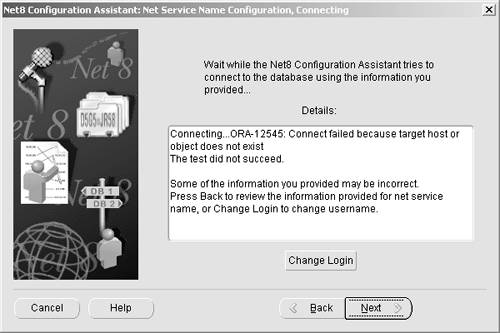
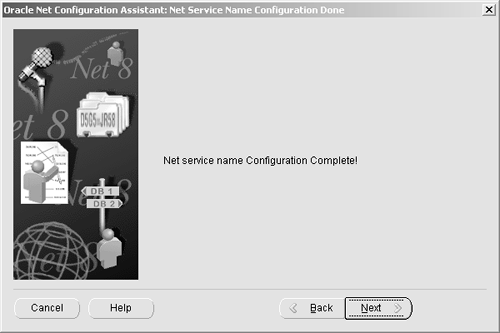
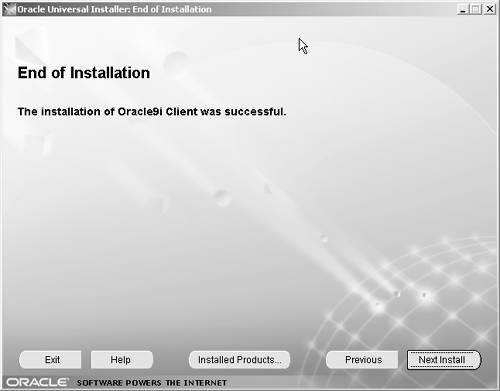
Click Help anytime for a brief explanation of the screen items: Oracle Help Screen, Showing Client Installation Types At this point the installer will determine which products to install. All you will see at this point is a status bar. When the installer has decided what to do, you will see the next screen, and if you scroll down, you'll be able to see the 70+ items that will be installed: Oracle 8 i Client Products Summary Screen Oracle 9 i Client Products Summary Screen I suggest you take a look, and see how many of the Oracle products are Web oriented. Now, click Install , and the product installation will start. During the installation you can monitor progress on the following screen: Oracle 8 i Client Install Screen Oracle 9 i Client Install Screen Once the installation is complete, this screen pops up: Configuration Tools Screen Oracle 9 i Component Locations Screen What's interesting is that the installer goes directly to the next major component that you need, Communications, which is now called Net8 (formerly known as SQL*Net.) Do not be frightened by this screen; there's nothing you have to do. Notice in the 8 i version that there is a Status column, and before you have a chance to really study the screen, the following screen appears (the 9 i screen is the same): Net8 Welcome Screen Let the installer complete a typical configuration. On the next screen, select No , unless you really do have a directory service on your network: Note It's time for a short discussion on what's happening. Remember back in Chapters 6 and 7 when I walked you through creating the database? We gave the database a name: CWE1P. In the next series of steps, you will be telling your client PC how to reach the database, along with another Oracle database that was developed earlier. You will also have a chance to test your setup, and I strongly advise that you do that when the appropriate screen pops up. On the next screen you will be asked to identify the version of the Oracle database you will access. Note that you can add more later by running the Net8 Configuration Assistant. First point to the computer waiver exam database (CWE1P), which is an Oracle 8 i database: Next select the communications protocol: Now define the host computer. This gets interesting. If you are installing the client software on a PC connected to a local area network (LAN), type in the server name. Here's what the screen looks like for a PC on a LAN: Note Here's an important note: If you are configuring a PC that will be used to dial in to the database, enter the IP address of the server with the database. See the steps that follow! Here's what the screen looks like for a dial-in configuration: As I said already, when the next screen appears, run the test: Soon you should see the following message: The next step is to give the host a name. This will be the name you will use when you log on. It can be any name: You can now configure another database that you may want to reach: As an example of connecting to a second database, I will use an Oracle 8 database from my lab, with the system ID (SID) CWETEST: The name is generic because this Oracle database is used for testing, development, prototyping, and so forth. There may be many systems, programs, and forms being tested at any given time, so a neutral name is the best choice. Remember, this is the name we will use to log on to the database. We can always change it because no matter what we call it, behind the scenes the Net8 software knows it as CWETEST. I'll say more about this shortly. Now select the communications protocol: The host computer in this example is GUERRILLA2, with the IP address 344.321.34.56. Enter whatever your server name is in the Host Name field. I'll say more about ports and port numbers later; for now, take the default: Run the test: If the connection fails and you get an error message like this, go back and correct your spellings and other parameters: After you have successfully reached both databases, there are no more to connect to. Select No : Here's the next message you will see: And this message will be followed by another: The final screen looks like this: You get one more chance to change your mind before exiting: Congratulations! You have now defined two Oracle servers to your client PC. Now restart your PC to complete the installation. If you go to Windows Start Programs , you should see the following new selections: |


EAN: 2147483647
Pages: 84