| The simple, straight lines running horizontally across many Web pages (see Figure 22.1) have always been known in Web parlance as horizontal rules because they're created by the HTML tag <HR> HR for h orizontal r ule. Figure 22.1. Horizontal lines are easy to create in various widths and thicknesses and offer an easy, attractive way to organize a page.  Netscape apparently thinks that the term rule is confusing, so in Composer it's a horizontal line . No matter. Rules are made to be broken, or lines, or something like that.  In some pages, you see cool, graphical horizontal lines that zigzag , flash, or scroll. These are not real HTML "horizontal lines," but rather pictures inserted to achieve the same effect as a line (only cooler ). You learn how to add these picture lines in Chapter 25, "Adding Pictures (and Picture Backgrounds). | Virtually any browser (even a text-only browser) can show a horizontal line because any computer system can draw one across the screen (even if the line is made up of only underscores or dashes). Lines are a universal way to add some visual interest to your page and break up logical sections of a page or document to communicate more effectively. -
Click in your page at the spot where you want to insert the line (see Figure 22.2). Figure 22.2. Step 1: Click where you want the line. 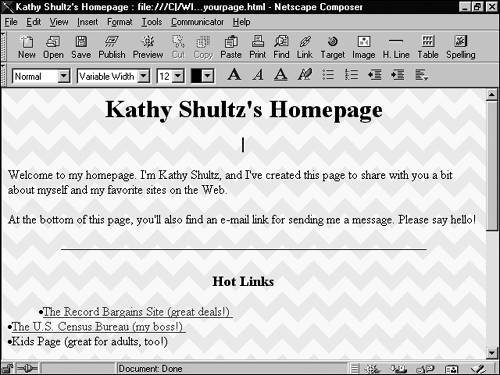 -
Click the H. Line button on the Composer toolbar (see Figure 22.3). Figure 22.3. Step 2: Click the H. Line button. 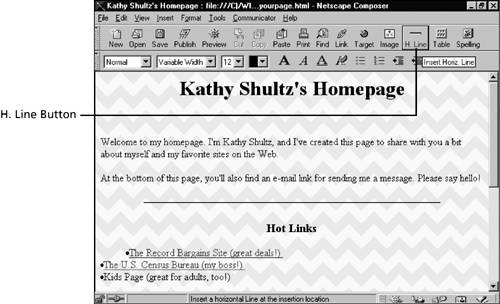 Here's how to change the look of a horizontal line: -
Double-click a line you've inserted to open the Horizontal Line Properties dialog box (see Figure 22.4). Figure 22.4. Step 1: Double-click any horizontal line to adjust its properties.  -
Type a number in the Height box to change the thickness of the line; a higher number makes a thicker line. A height of 2, 3, or 4 makes a good, everyday line. A height of 6 or 8 makes a fat, bold statement.  In the Horizontal Line Properties dialog box, in the list box next to Width, always leave the choice % of Window selected. This option ensures that the number you type in the Width box expresses the width as a percentage of the page's width. Choosing the other option may produce unpredictable results on visitors ' screens. | -
To make the line shorter than the full width of the page, type a Width value less than 100. For example, a width of 50 creates a line half the width of the page. -
Choose an alignment (Left, Right, or Center) for your line. (Note that alignment is irrelevant if the width is 100.) -
Check the 3-D shading box if you want the line enhanced with a nifty shadow. Note that the shadow makes the line look a little thicker; after adding 3-D shading, you may choose to reduce the Height value. -
Click OK to see the results of your changes (see Figure 22.5). Figure 22.5. A line transformed. 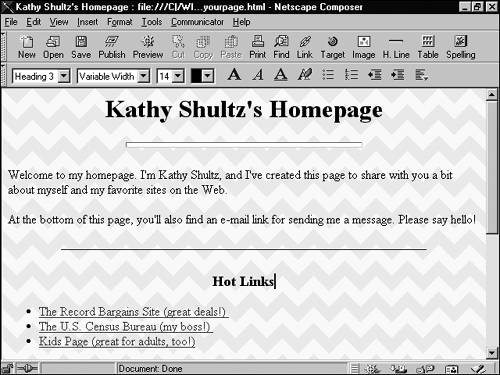 | If you really like the look of the line you've created and want to use the same style of line often, return to the Horizontal Line Properties box by double-clicking the line and checking the check box labeled Save Settings as Default. From then on, all new lines you create automatically take on that style you like so much. On those rare occasions when you want something different, you can simply change the properties for individual lines. |  |