Slipped Disc
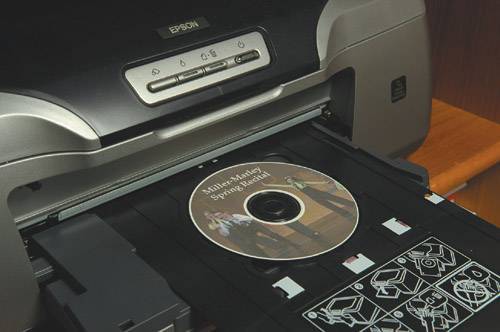
| It's often not necessary to print your photographs when you want to share them. If you'd like to hand someone your photographs, but don't want to spend time printing them, make a CD or DVD filled with your images. Again, this is a snap if you turn to your all-in-one photo program, but you can also do it on a Mac or a PC without any other programs. TIP Collecting images for CD or DVD is something that the photo-editing programs do not do well, generally speaking, and it is easier to do with a consumer-level tool. From your photo package, select a group of images or albums and look for a button that says "Share" or "Burn." This will allow you to collect all of your images (usually giving you the ability to resize them or rename them during this step) and then burn an optical disc with a collection of your photos. Making a disc with your images on your Mac or PC couldn't be easier. On Mac OS X, insert a blank disc, give it a name when asked, and then drag your images onto its icon in the finder. Next to the icon of the disc in any Finder window you'll see a little icon that indicates you can burn the disc. Click that, and your disc will be made for you. Figure 7.7. Microsoft Digital Image Library 10, part of MS Digital Image Suite 10, has an "Archive" button that will start the process of burning the selected material to CD or DVD, depending on your computer. (Photo by Reed Hoffmann)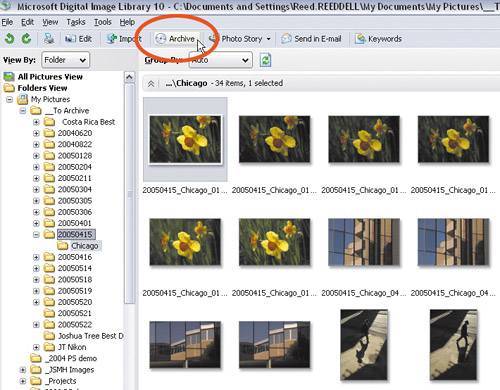 The process is similar on the PC. On Windows XP, the system will see when you insert a blank disc and an autoplay window will pop up asking what you'd like to do with that disc. The easiest way to make your CD or DVD is to have it open a window for the disc and then copy your images into that window. Once they're all there, click the "Burn this CD" button on the left, and you're done. TIP If the autoplay doesn't pop up when you insert the disc, try right-clicking the folder of images you want to burn and choose the "Send to CD…" choice. If you'd like to get fancier, you can take the same collection of images and create a slideshow, which you can burn onto a CD or a DVD for sharing with friends and family. Most programs will let you arrange your images, adjust the timing of the slideshows, add music, and even create special effects for the transitions between pictures. If your program doesn't have a button labeled "slideshow," the features are usually found under a Sharing menu. Another nice way to share your photos with friends is to play your CD or DVD slideshow on your TV using your DVD player. It's more interesting to see photos on a big screen (especially if you happen to have an HDTV set) than it is to huddle around a computer monitor. Big couches, popcorn, and fantastic travel photographs make for a great evening. Most of the all-in-one programs will walk you though the steps of creating a slideshow that'll work in most DVD players. TIP Most consumer and prosumer digital cameras have a connector that allows you to hook them up to your television for camera-generated slideshows. These aren't nearly as sophisticated as the ones you can make with your computer, but they're a fun way to review your photos while you're still traveling, especially if you didn't bring your computer along. Figure 7.8a. Some inkjet printers make it easy to create beautiful labels for your CDs and DVDs using inkjet-printable media. (Photo by Reed Hoffmann)
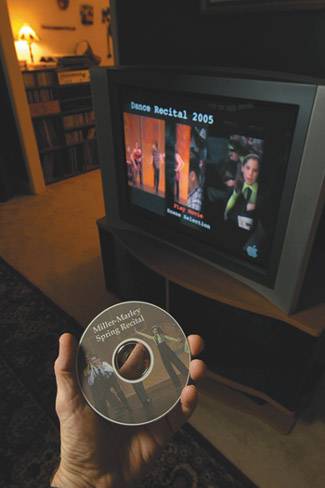
Figure 7.8b. Many applications now let you create a slideshow with music that can be burned to a DVD and shown on a television using a DVD player. The label was printed using an inkjet printer directly on the DVD. (Photo by Reed Hoffmann)
|
EAN: 2147483647
Pages: 79
- Structures, Processes and Relational Mechanisms for IT Governance
- An Emerging Strategy for E-Business IT Governance
- A View on Knowledge Management: Utilizing a Balanced Scorecard Methodology for Analyzing Knowledge Metrics
- Measuring ROI in E-Commerce Applications: Analysis to Action
- Governance Structures for IT in the Health Care Industry