USING THE LAYOUT GRID
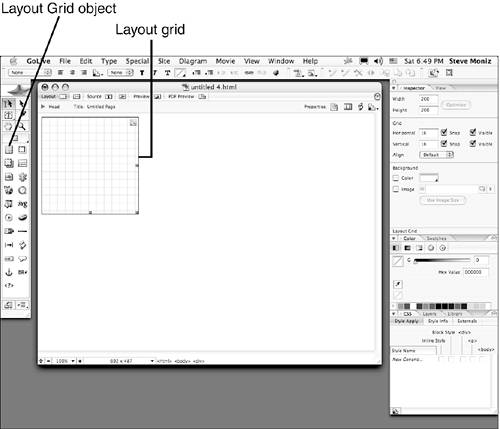
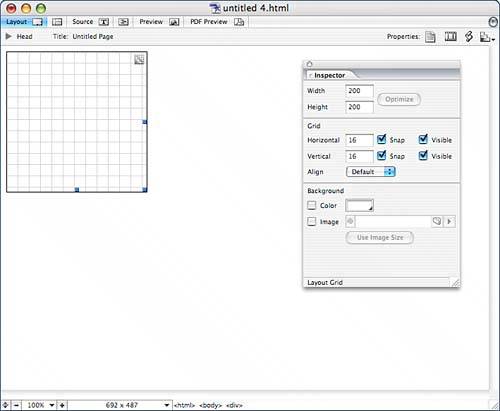
| GoLive's layout grid simplifies the process of creating web content using tables. Instead of formatting tables with cells, rows, and columns to position your content, use GoLive's layout grid to drag and drop elements onto a grid that ends up a table as far as browsers are concerned. Layout grids can contain tables, although it's not advisable to put layout grids inside layout grids. Layout text boxeswhich serve as containers for most of your contentand images and multimedia elements can be positioned directly onto the grid.
GoLive inserts special source code to enable the use of layout grids. This code can be stripped out of your HTML documents when you publish the pages to your web server, or you can convert layout grids to standard HTML tables, which also strips out the code. It doesn't affect the way browsers interpret your tables to leave the code in, but some folks like to keep their code as clean as possible. Adding a Layout GridYou can design your web pages with one large layout grid that represents the entire page, or you can implement a number of layout grids on a single page to create more complex layouts:
Adjusting Settings in the Layout Grid InspectorThe Layout Grid Inspector contains a number of options that affect how you work in a layout grid:
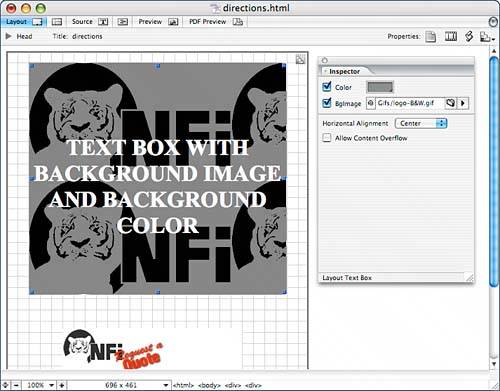
Adding Layout Text Boxes to the GridLayout text boxes act as containers for text you want to add to the grid as well as any images or other media elements you want to encapsulate, as shown in Figure 35.15. Layout text boxes have their own attributes you can set using the Inspector palette.
Figure 35.15. A layout text box containing text and an image. Adding Images and Other Objects to the Layout GridYou can drag images or other media files from the Site window directly onto the layout grid or into a layout text box on a Layout Grid. You can alternatively drag an object from the Objects palette onto the grid to create a placeholder and then use the Inspector palette to link to the desired object, as shown in Figure 35.17. Figure 35.17. Place images and media objects directly on the grid or put them inside layout text boxes with other content.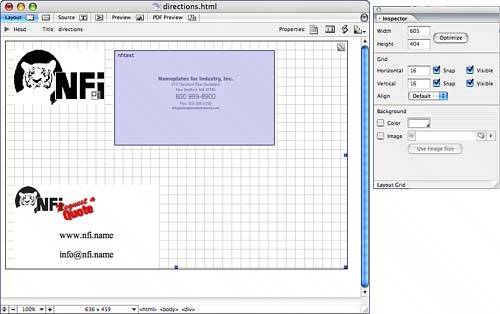
You can click an empty area anywhere on the grid to put the blinking insertion bar there and then paste layout text boxes, images, and other objects that have been previously copied. Setting the Background of a Layout GridYou can set the background of a layout grid to a color or to contain a tiled image much like a web page would, as shown in Figure 35.18:
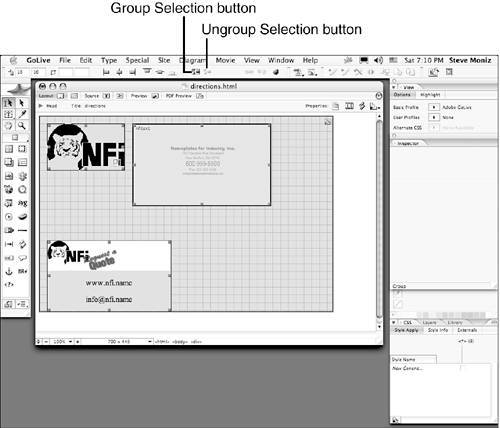
Figure 35.18. Set the background of a layout grid.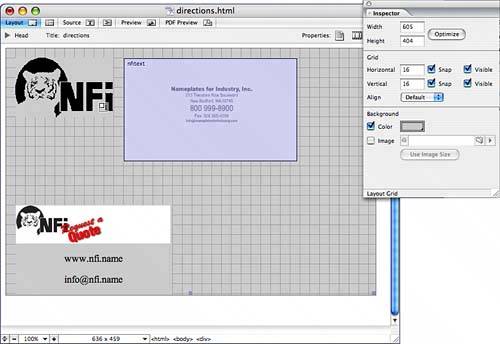 Grouping and Ungrouping Objects on a Layout GridYou can group only objects contained on a layout grid. The advantages to grouping objects on a layout grid are obvious and make rearranging your layout much easier:
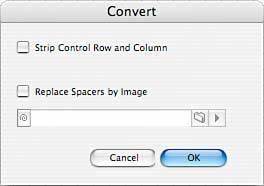
Positioning Elements on a Layout GridPosition the elements on a layout grid by dragging the objects around or by precisely specifying the x and y pixel coordinates of the selected object or group. Set the x and y coordinates using the toolbar or Transform palette, as shown in Figure 35.20. Figure 35.20. Position elements precisely on the layout grid.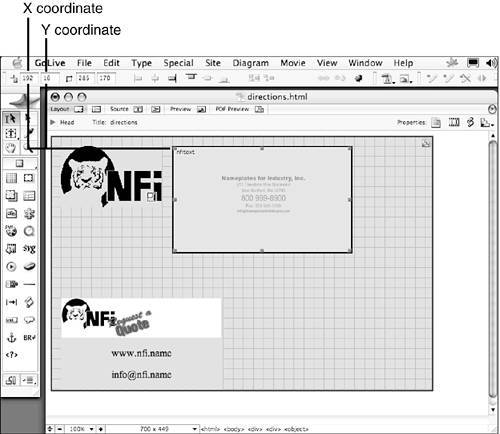 Distributing and Aligning Objects on a Layout GridUse the Align palette to align and distribute objects within the layout grid. You can align a selection of objects to each other or align an object to its parent layout text box, as shown in Figure 35.21. To distribute objects, select them all and click one of the distribute buttons in the Align palette, as shown in Figure 35.22. Click the Distribute Spacing button to distribute the space instead of the objects, as shown in Figure 35.23. If you want to specify the exact number of pixels between objects, check the Use Spacing check box and enter a value in the corresponding field, as shown in Figure 35.24. Figure 35.21. Align objects to each other or to a parent object.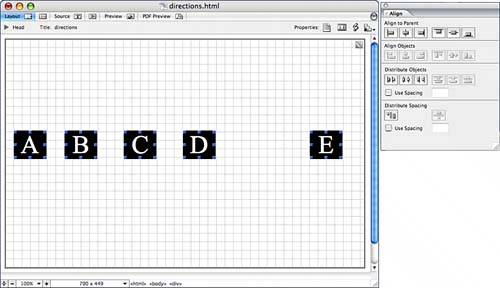 Figure 35.22. Distribute objects evenly.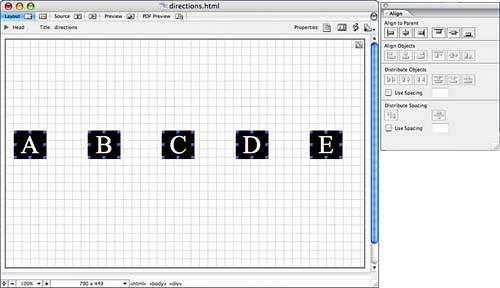 Figure 35.23. Distribute all spacing evenly.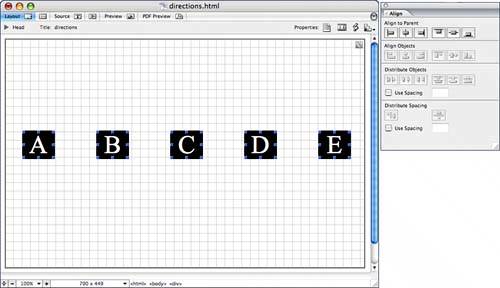 Figure 35.24. Distribute with specific pixel spacing.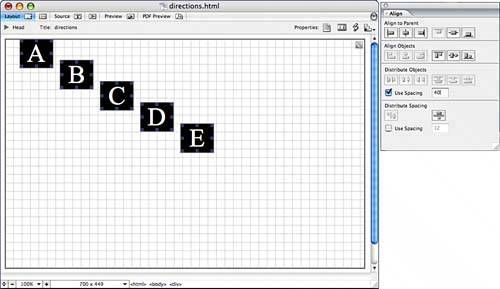 Converting a Layout Grid to a TableYou don't have to convert your layout grids to standard HTML tables, but you can if you want to because layout grids are really just tables with a little extra code that makes them work like grids in GoLive. When you convert a layout grid to a table, the special code that makes the layout grid work is stripped out:
Converting a Table to a Layout GridYou can convert a table to a layout grid by selecting Special, Table, Convert to Layout Grid, or by simply clicking the Convert button in the Table Inspector, as shown in Figure 35.26. Figure 35.26. Convert any table into a layout grid. |
EAN: 2147483647
Pages: 426